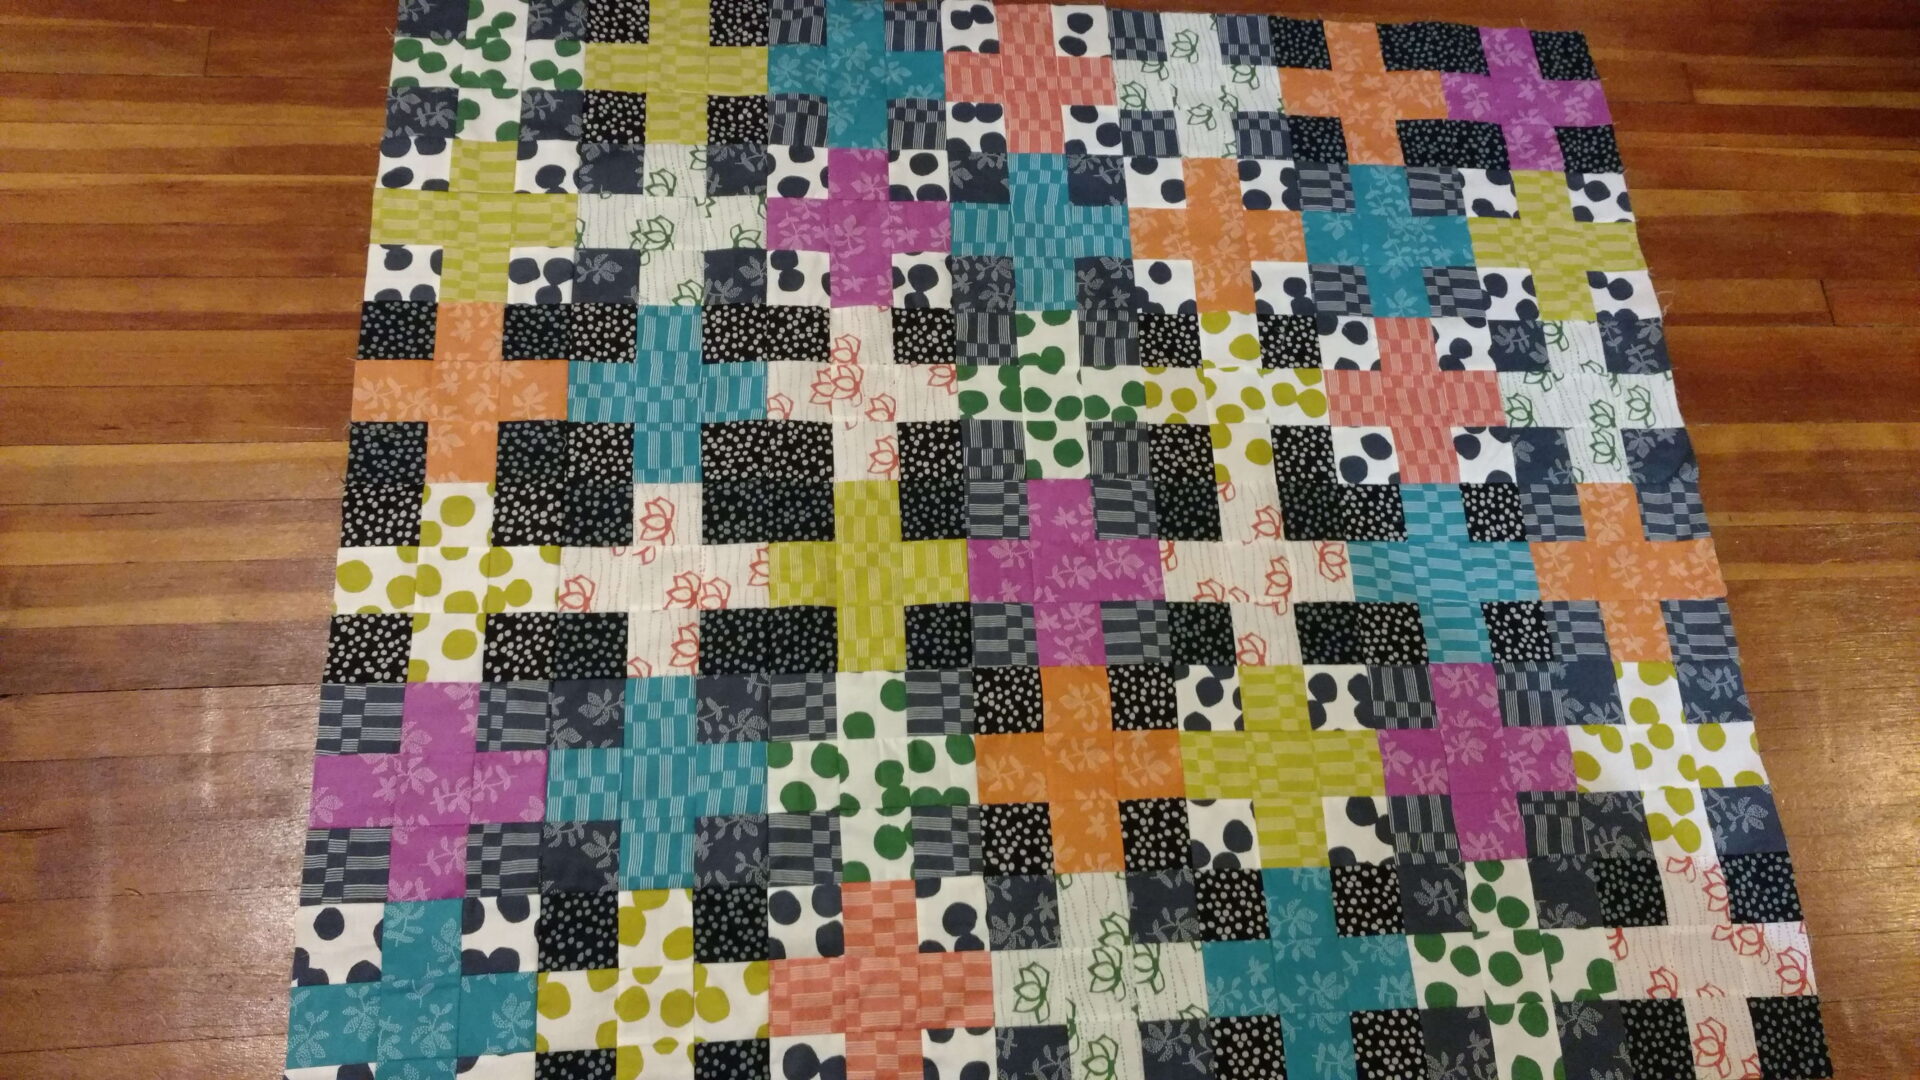
Another quilt entered in a show with a dismal result. My quilt was rejected QuiltCon 2017. There was some wine involved after getting the email, but my perspective hasn’t changed on the whole process. Check the #quiltconreject tag on Instagram and Facebook for a delightful show of quilts. There are some amazing rejects!
I make quilts that interest me, challenge my skills and abilities. Maybe they aren’t show worthy and that’s okay. Let’s highlight some positives from this experience:
I accepted the challenge, even though I forgot I signed up
Worked, begged and borrowed with other quilters for their fabrics if they weren’t using
Quilted densely with almost free motion
Made and submitted a quilt by the deadline (BOOM)
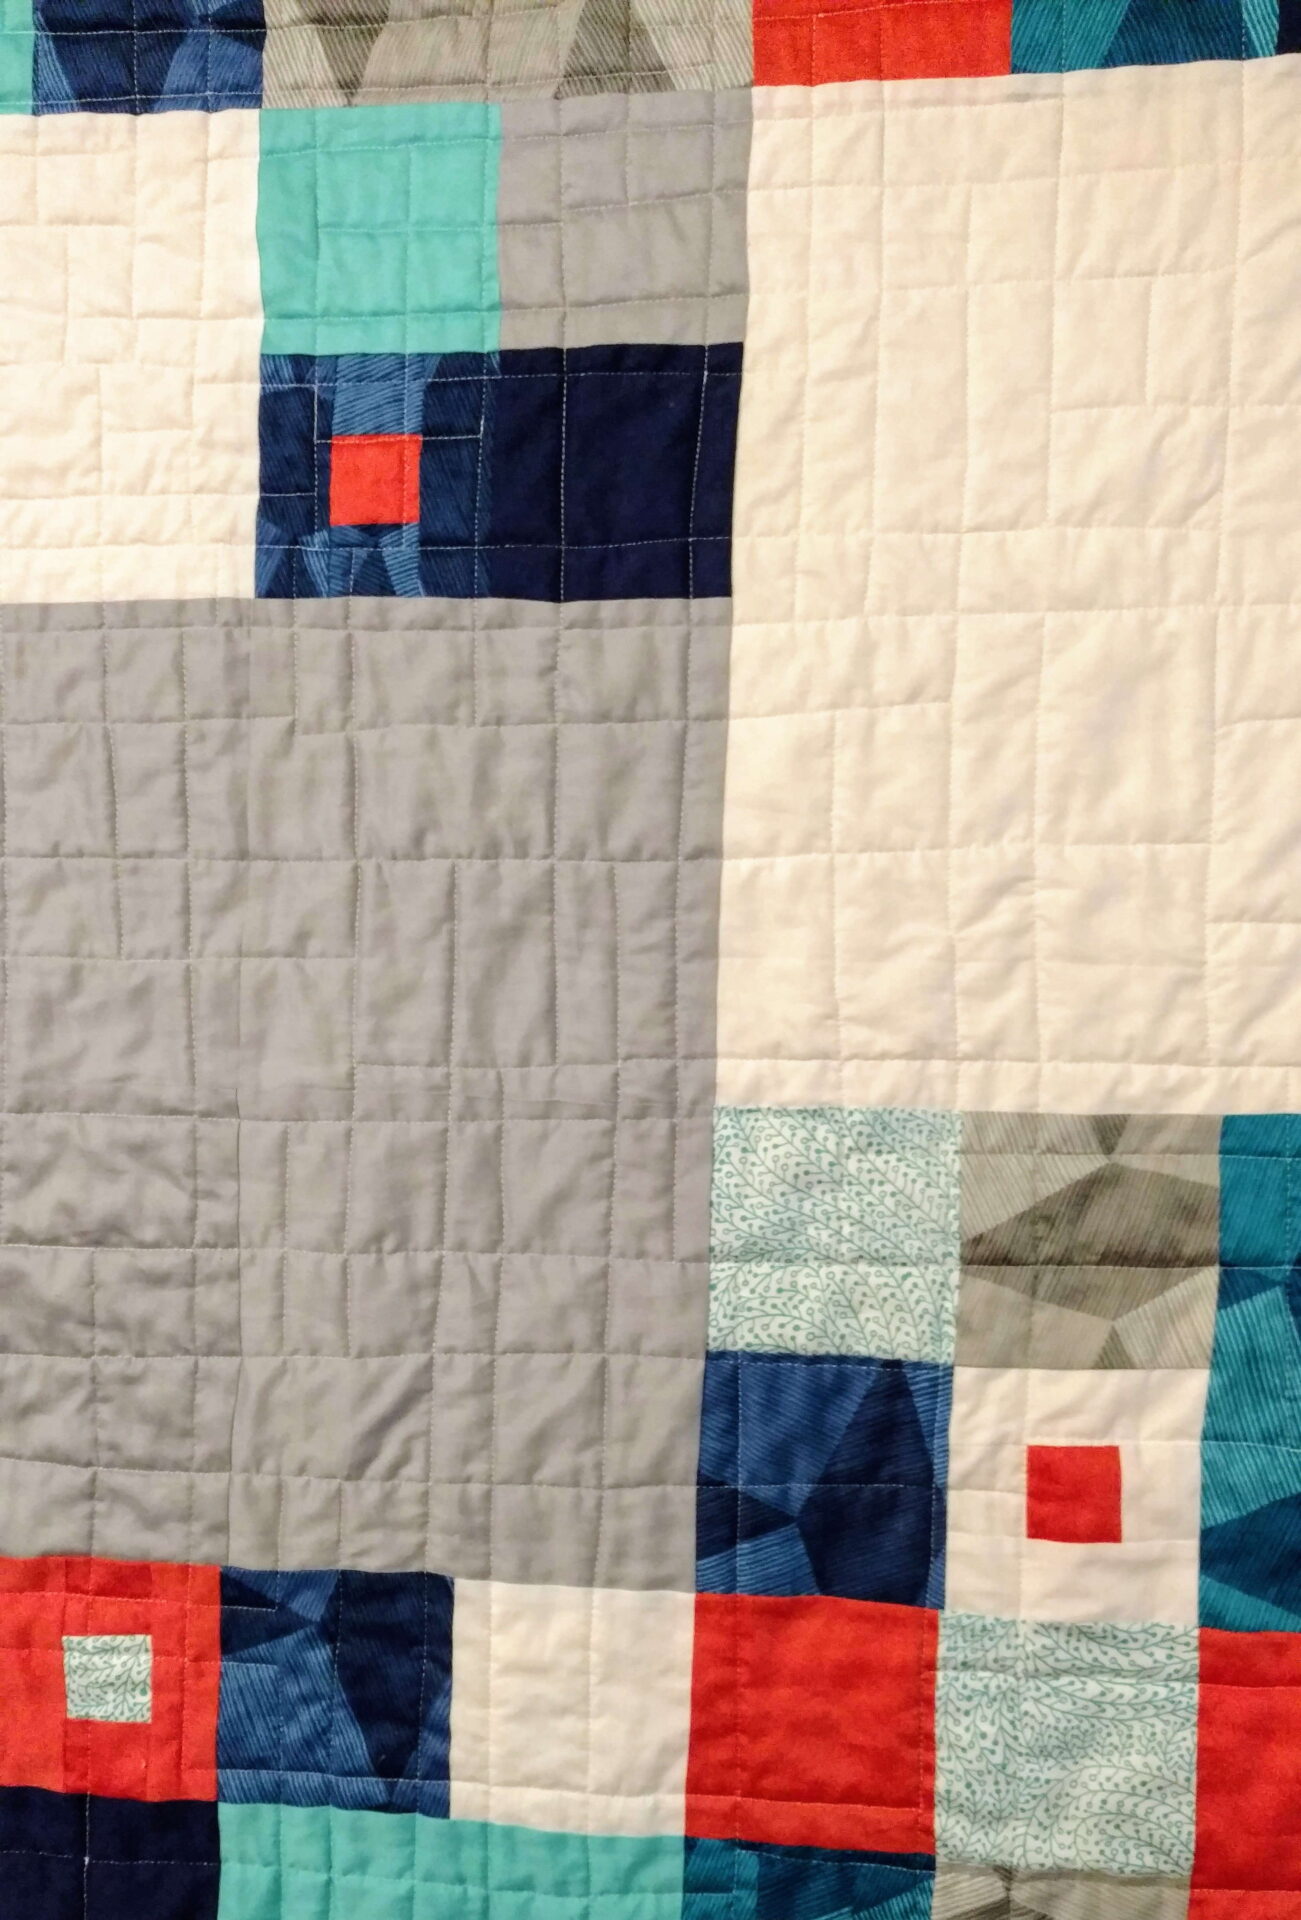
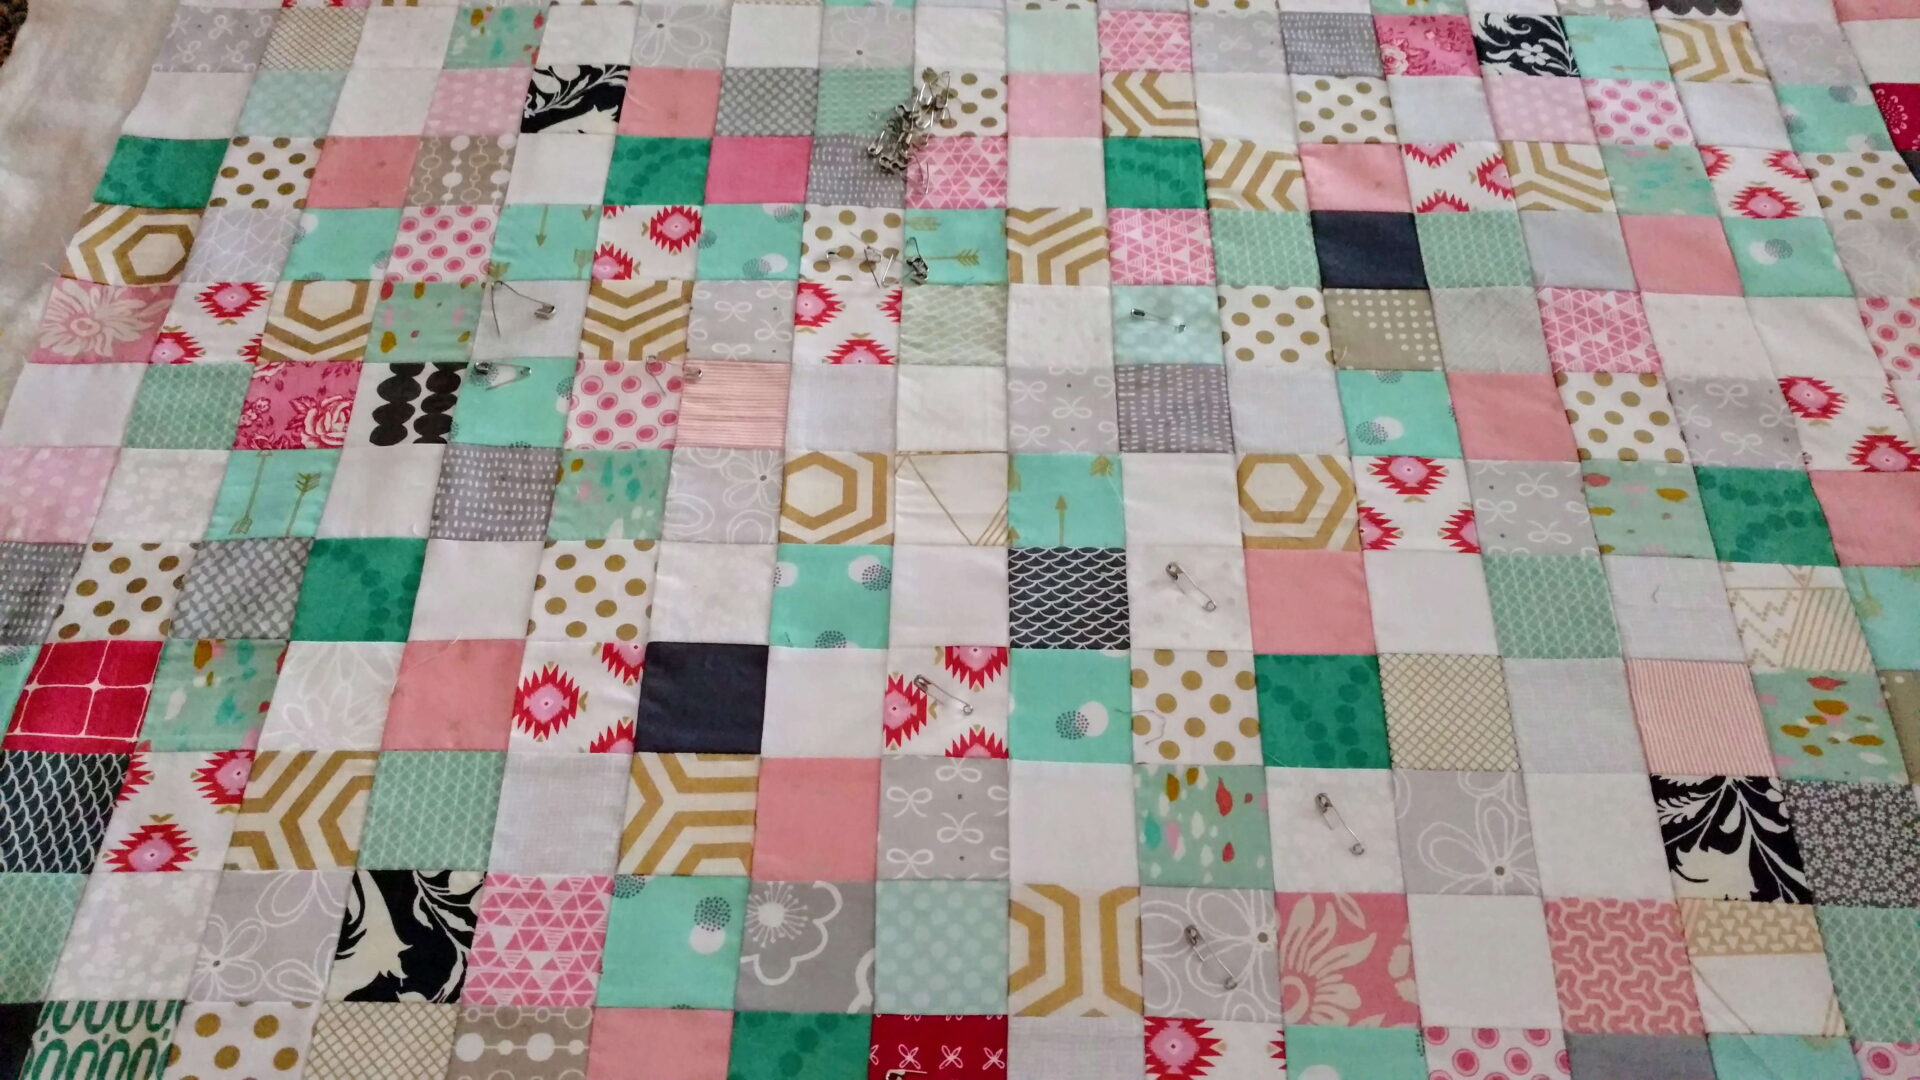
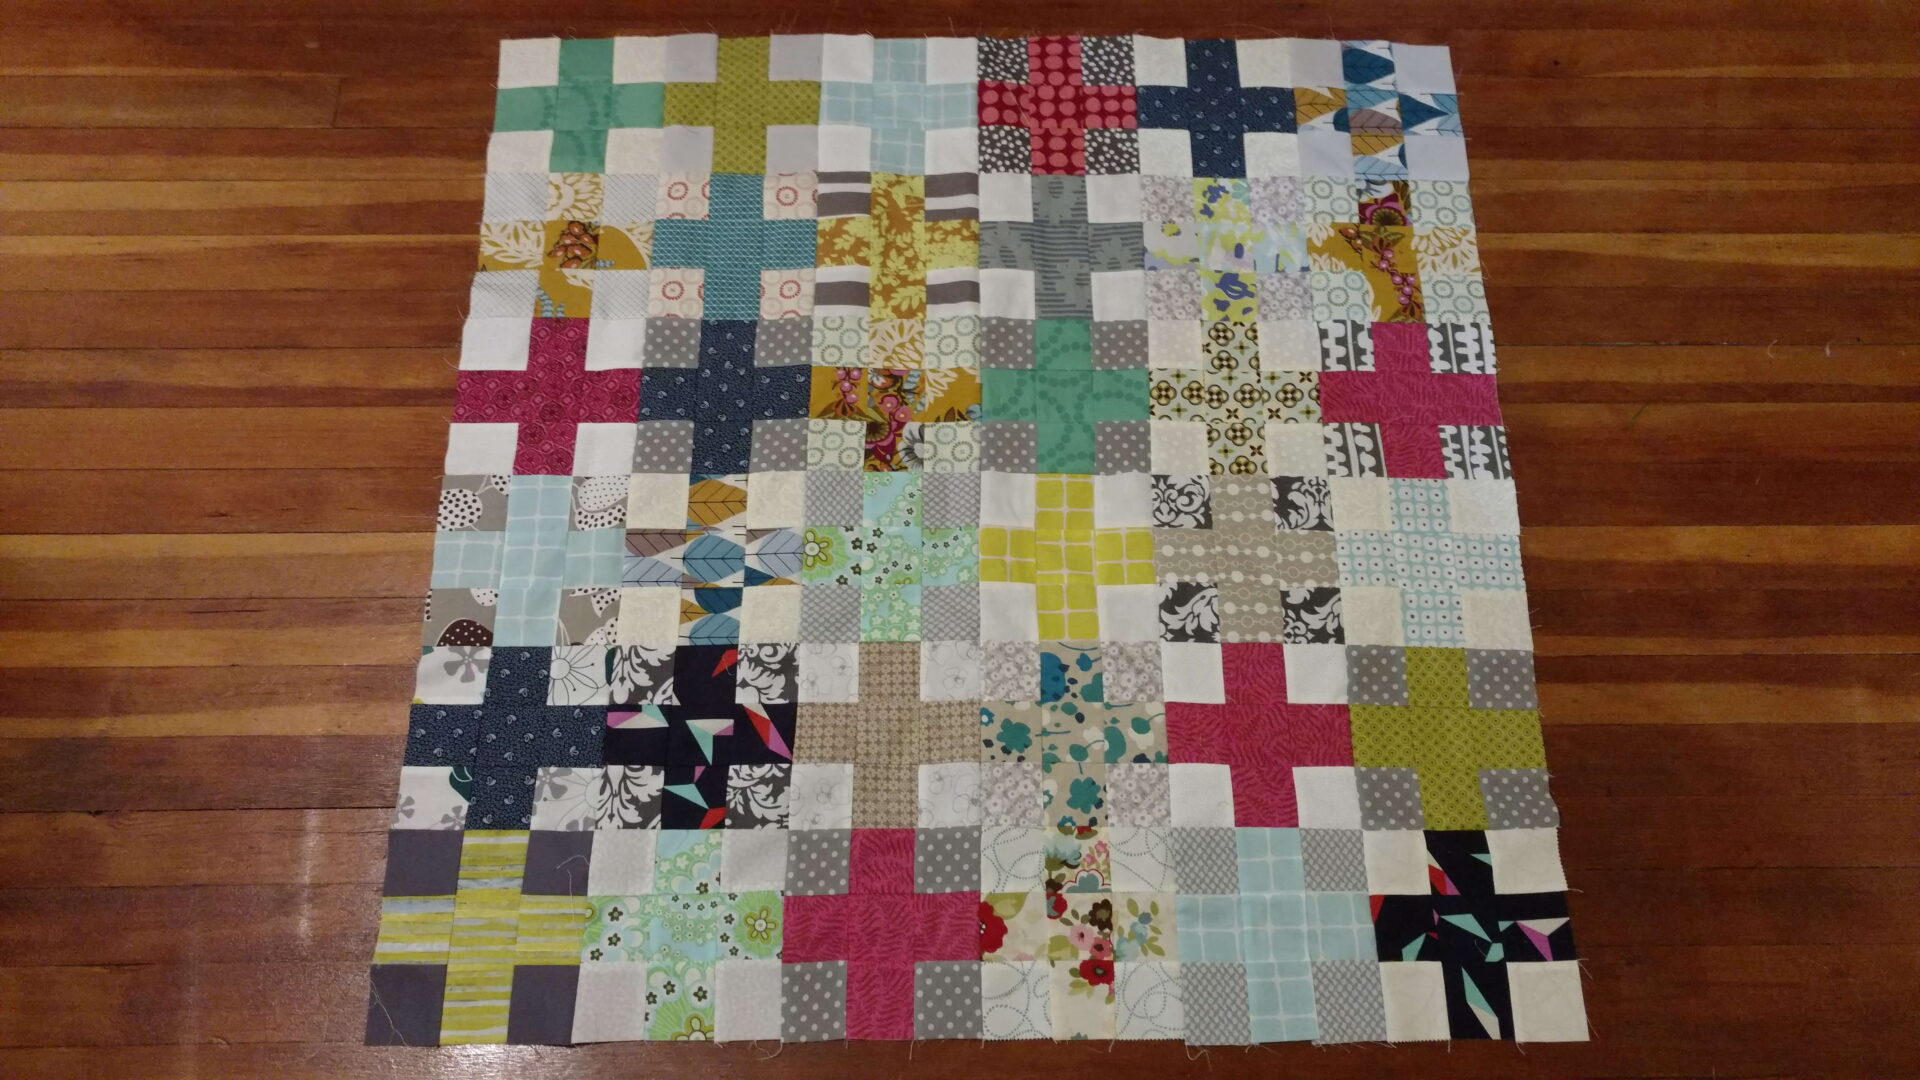
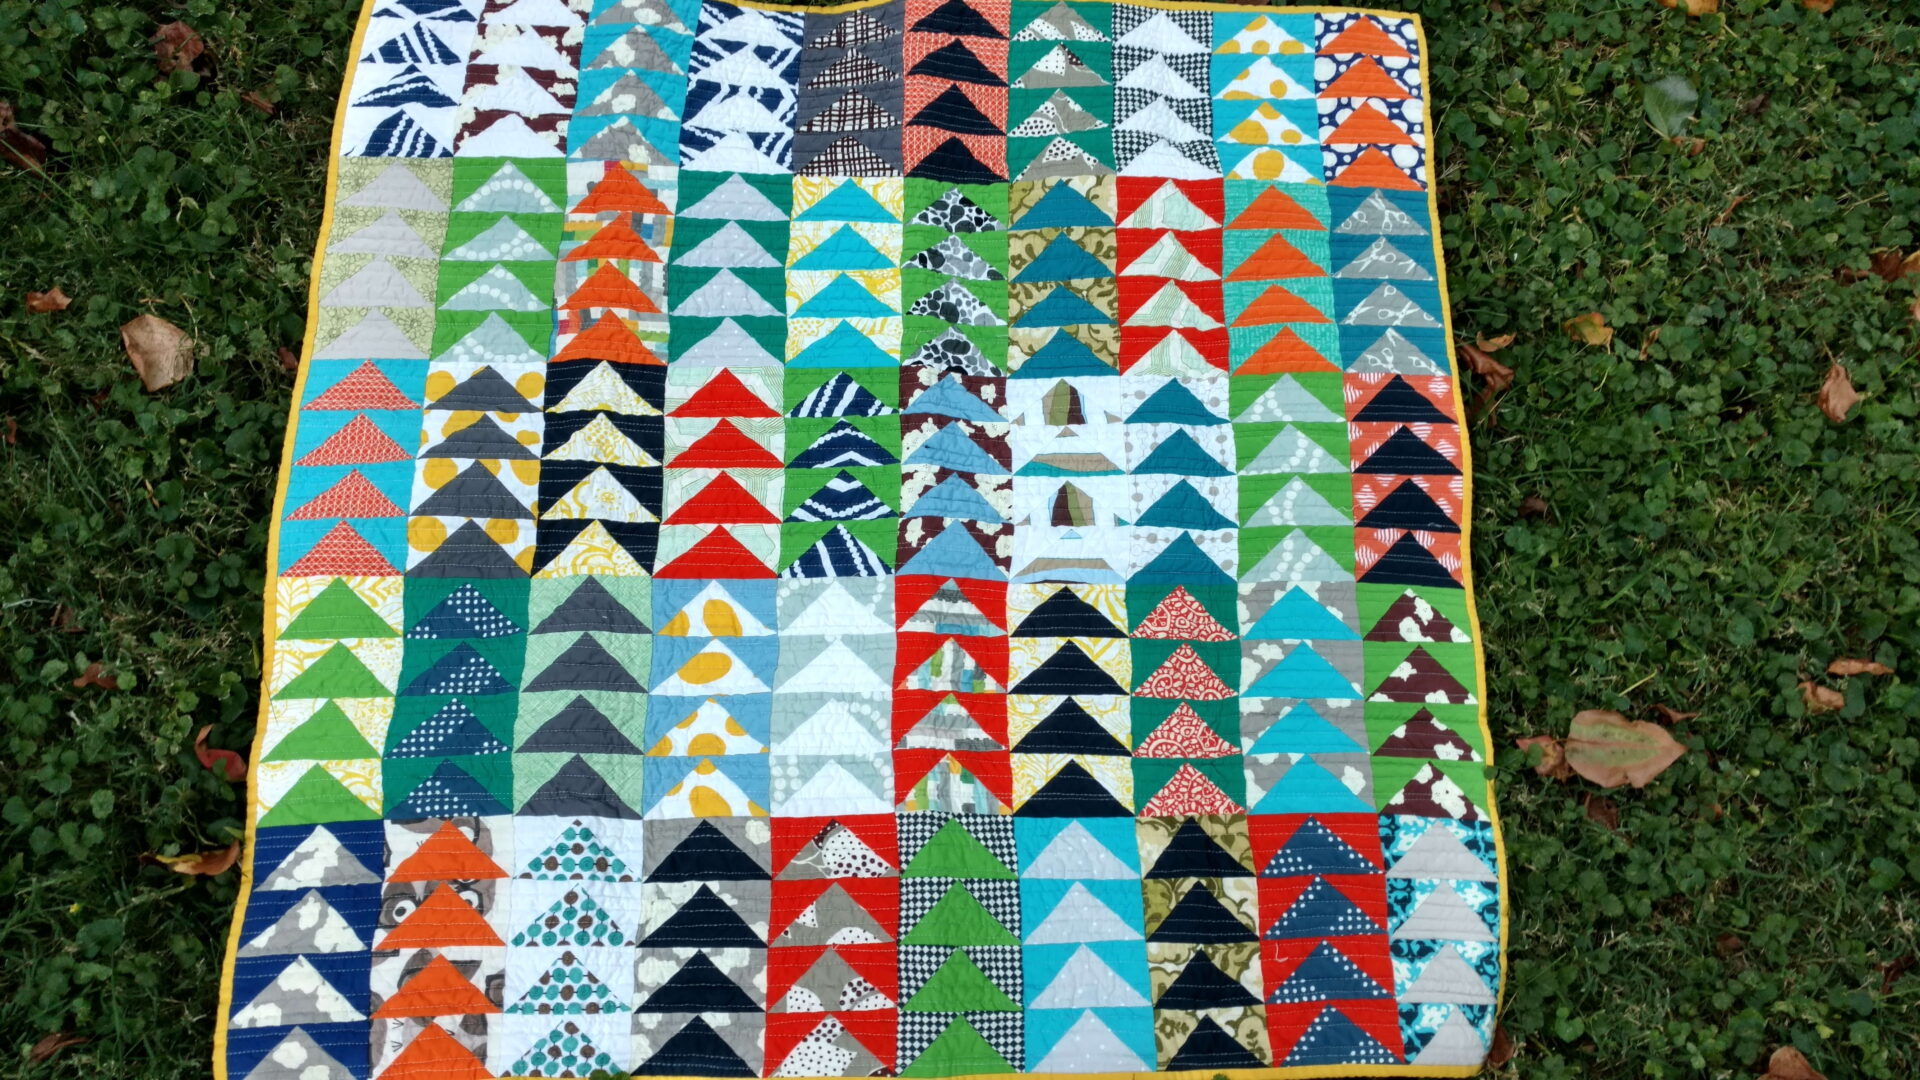
This is a functional art piece. The title is “Wait, how many squares?” My concept was to create something that would get people talking. Looking deeper into the quilt and pausing for a moment to appreciate it. It’s for sale if anyone is interested. I’m going to post on Etsy over the weekend.
So how many pieced squares do you see created by fabric? Hint: the quilt is square.
The headline isn’t just click bait. It’s the truth. These are my tricks to work on multiple quilts at once.
Keep the plan simple
Similar color palettes are helpful
Batch work for cutting and sewing
Optional: wine or adult beverage of your choice, along with something to binge on Netflix.
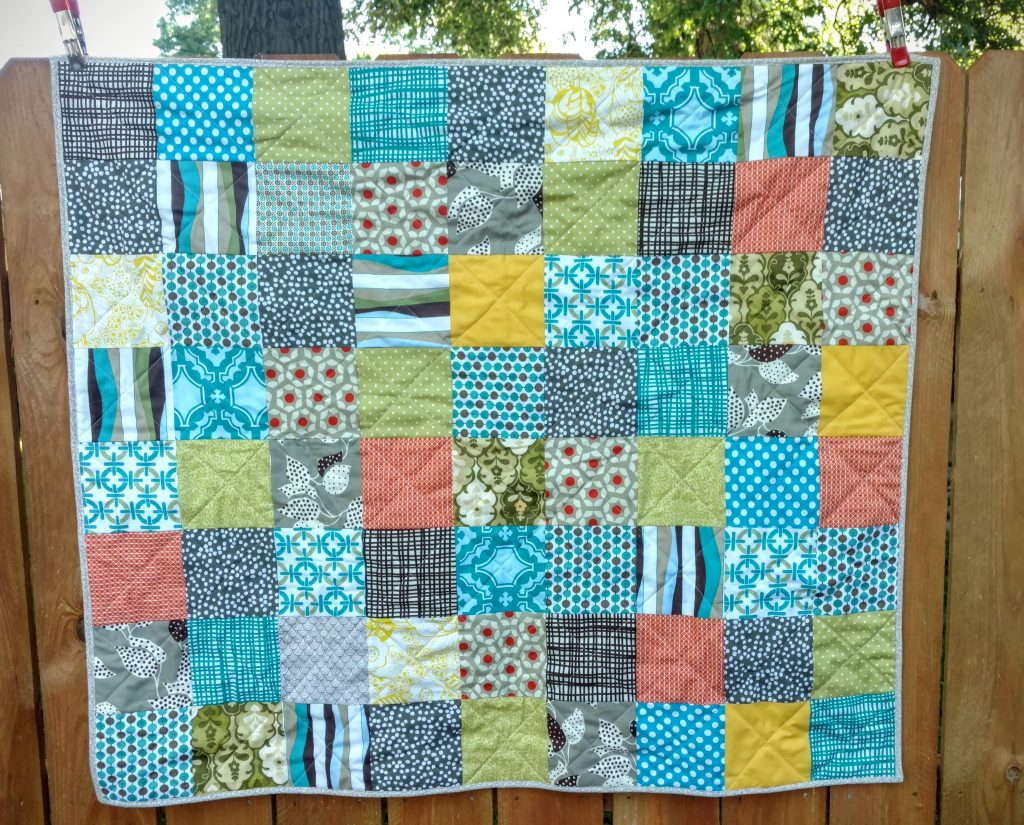
If you have been a reader for a while, you may not be surprised by my tricks. However I wanted to highlight the process for those that may be curious. Currently, I have a commission for three baby quilts. Here are the details: all are for girls, simple patchwork, and two are for twins.
After discussing with my client, she wanted something similar to this.
I had a bunch of pink and purple already cut into 2.5″ squares from this quilt.
She opted to go with the smaller squares which makes more seams and work but the overall effect will be great. The color choices for both quilts are very similar:
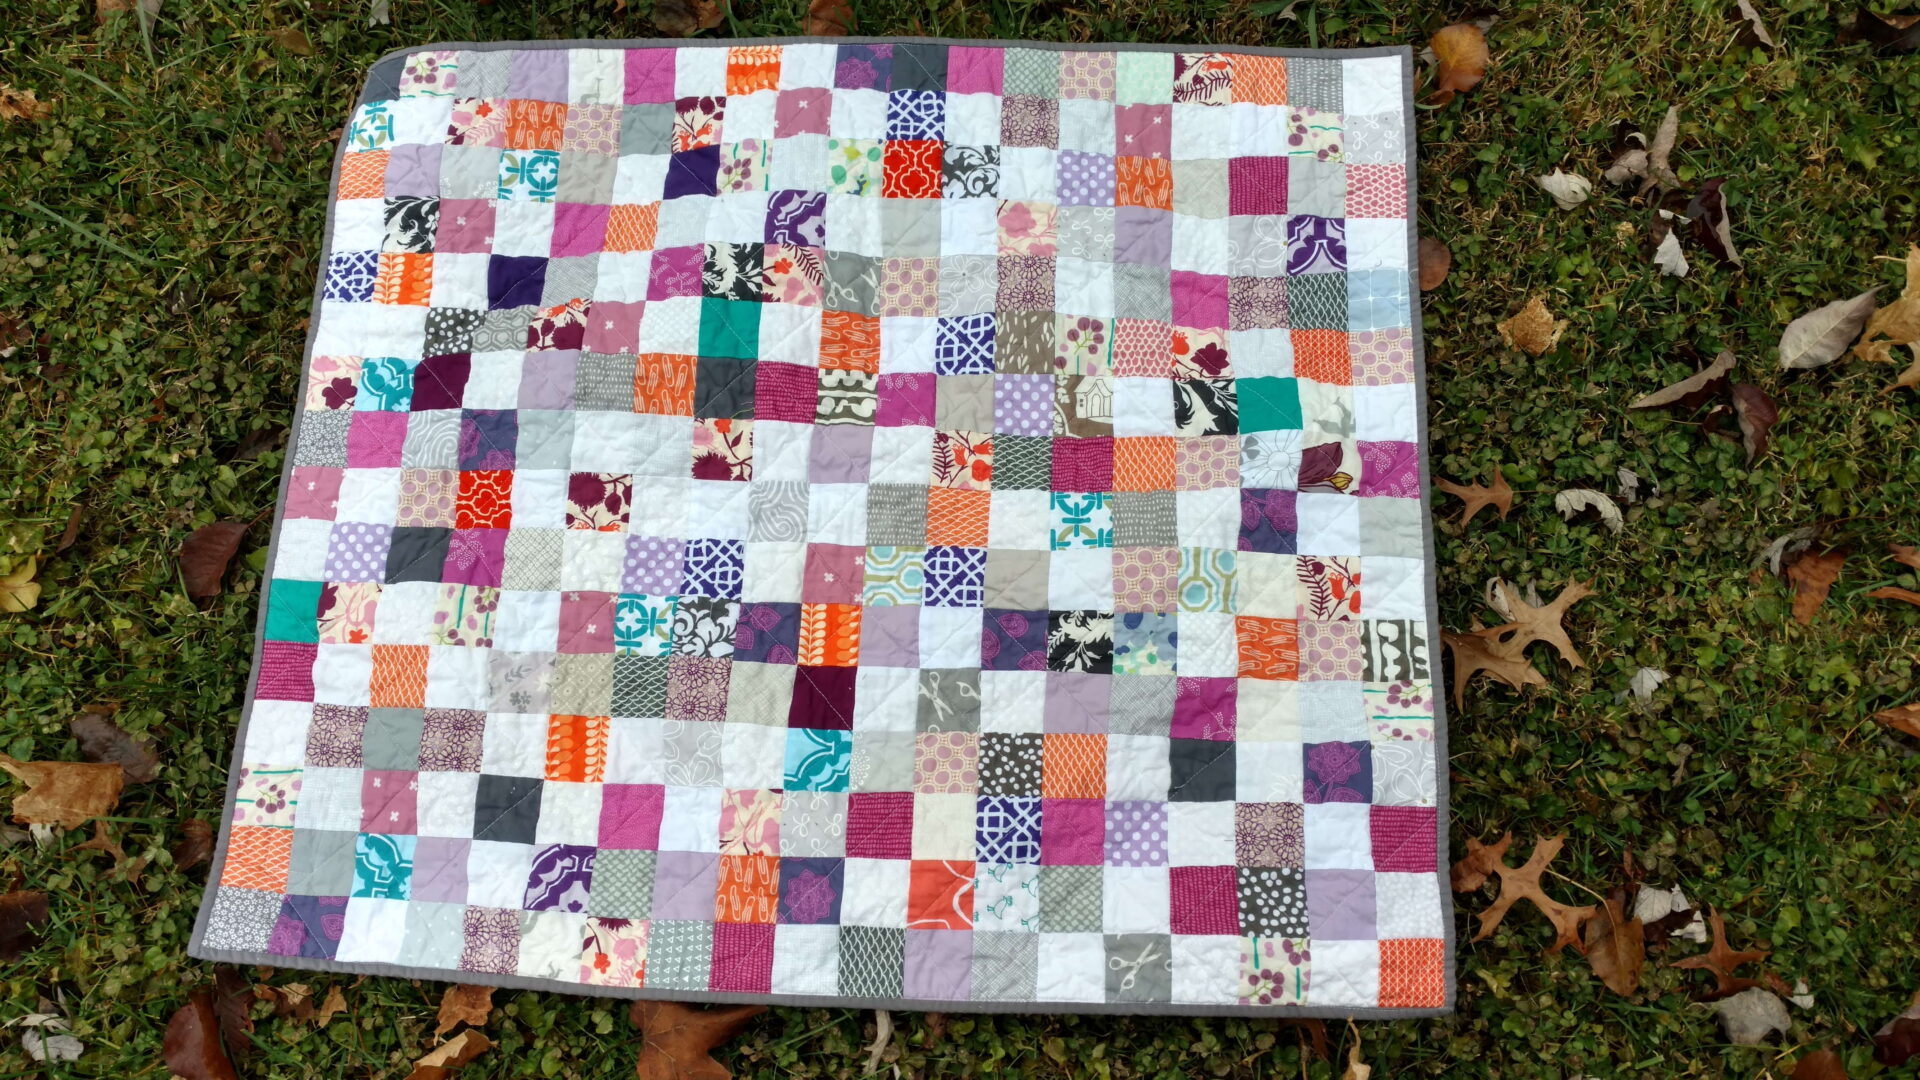
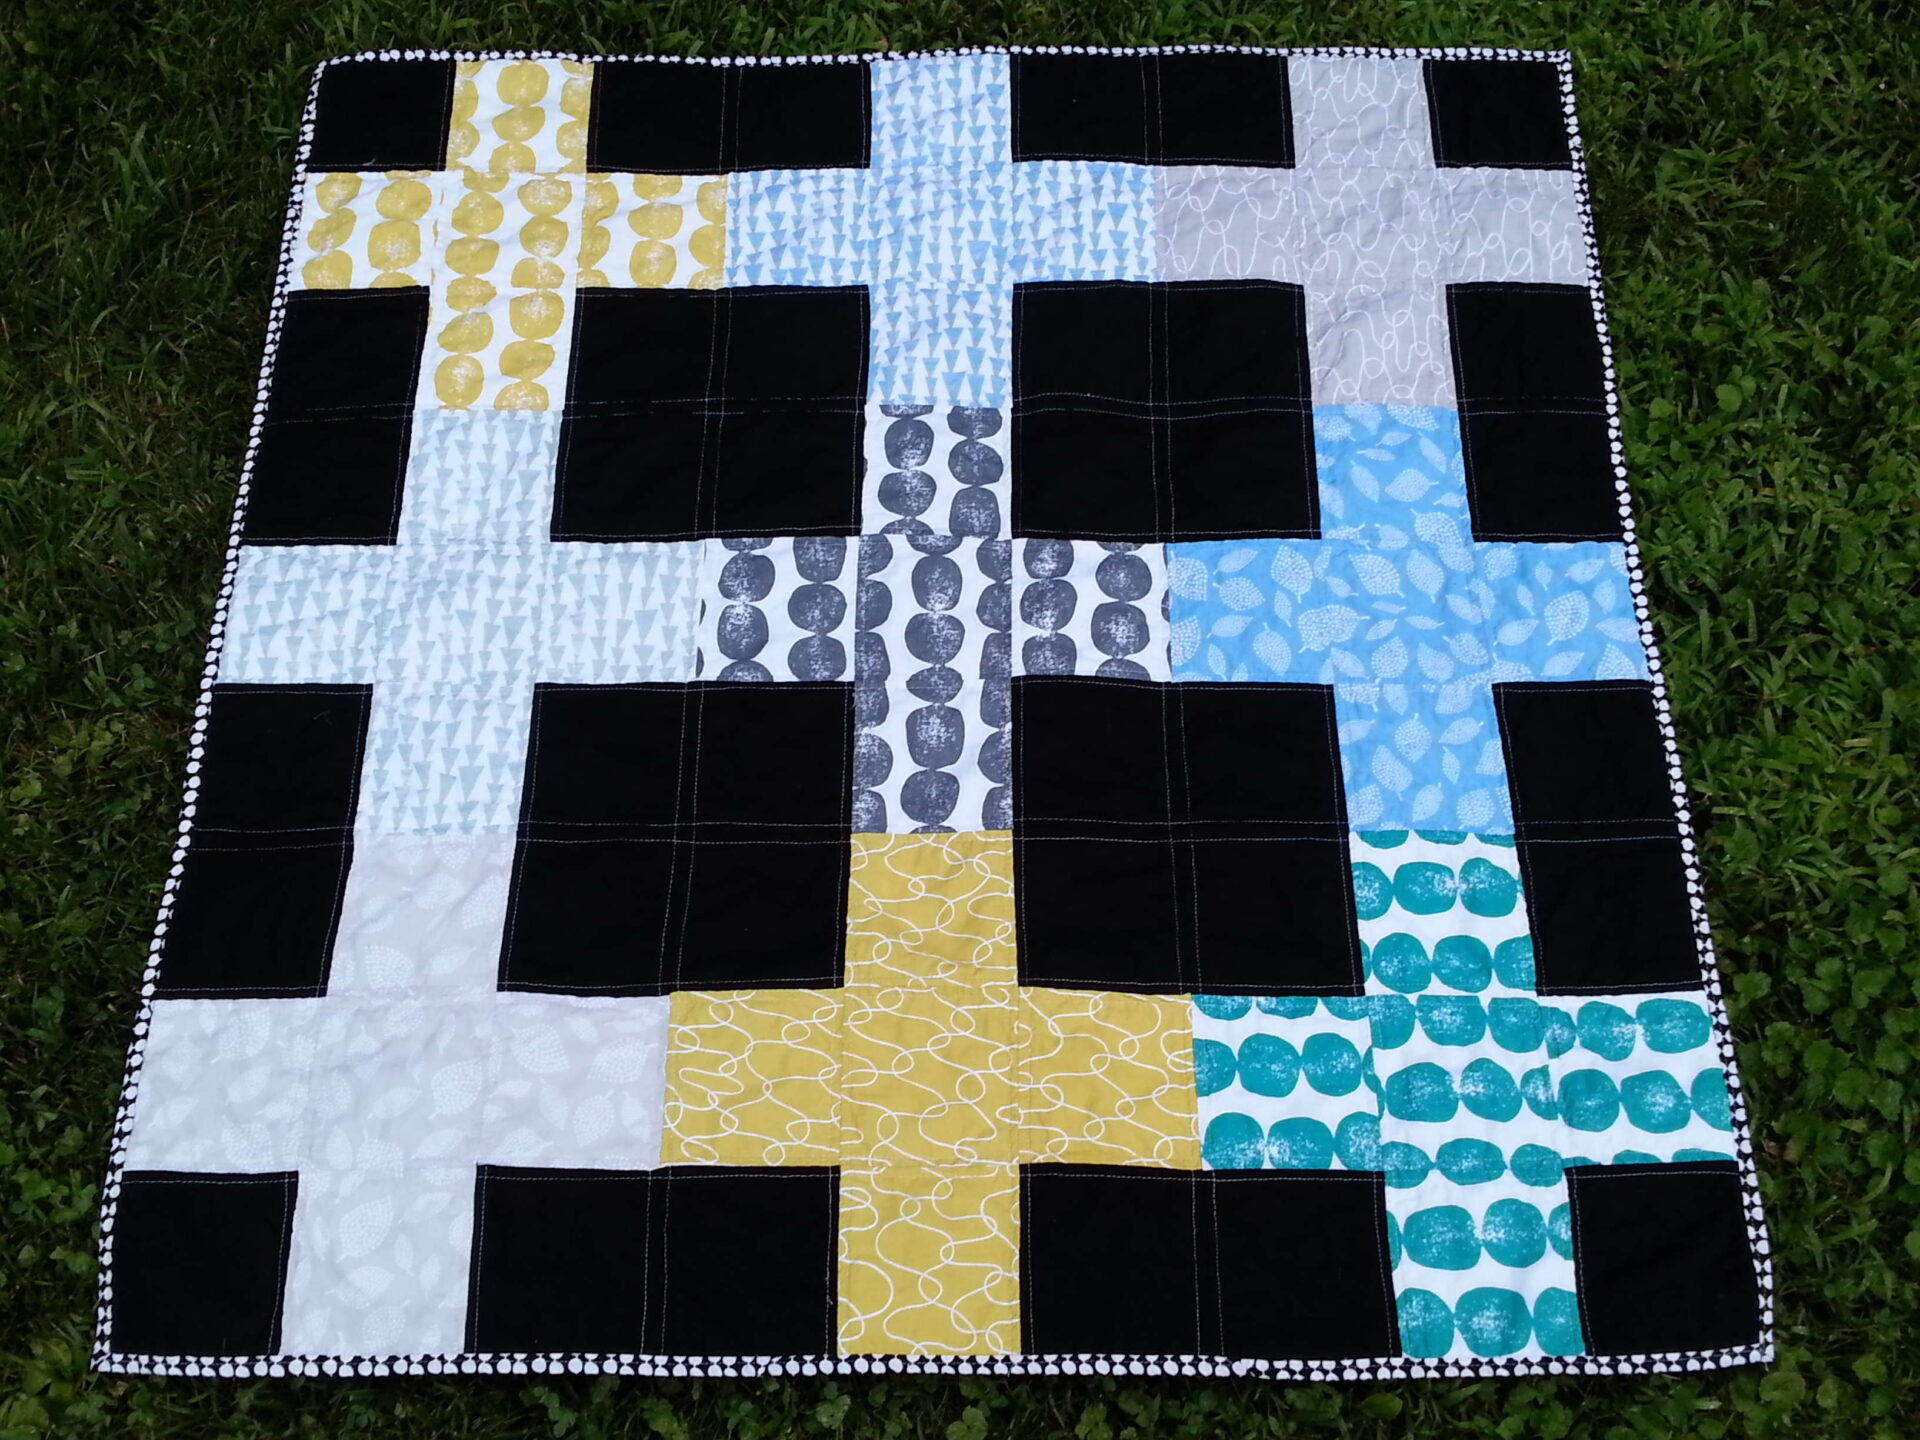
Lilac, gray and white (1)
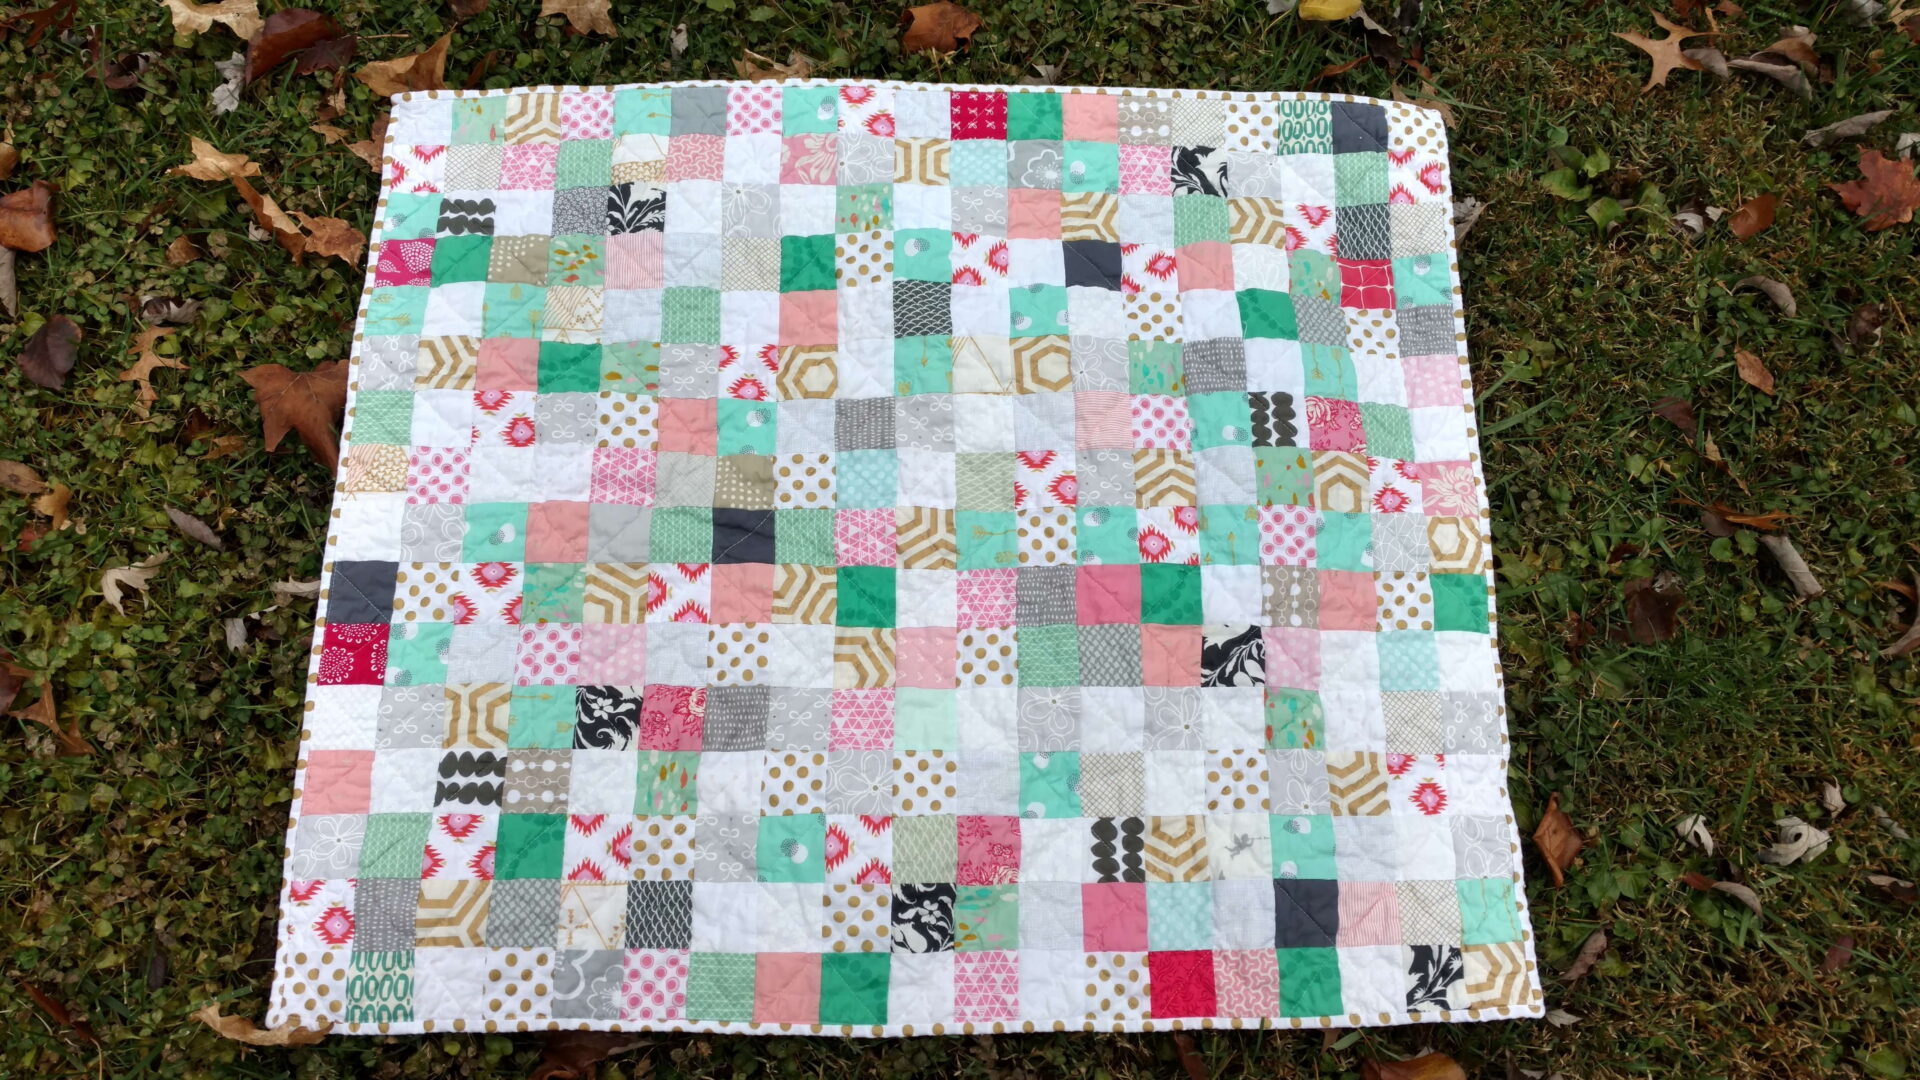
Pink, mint, gray and white (2)
Keep the plan simple
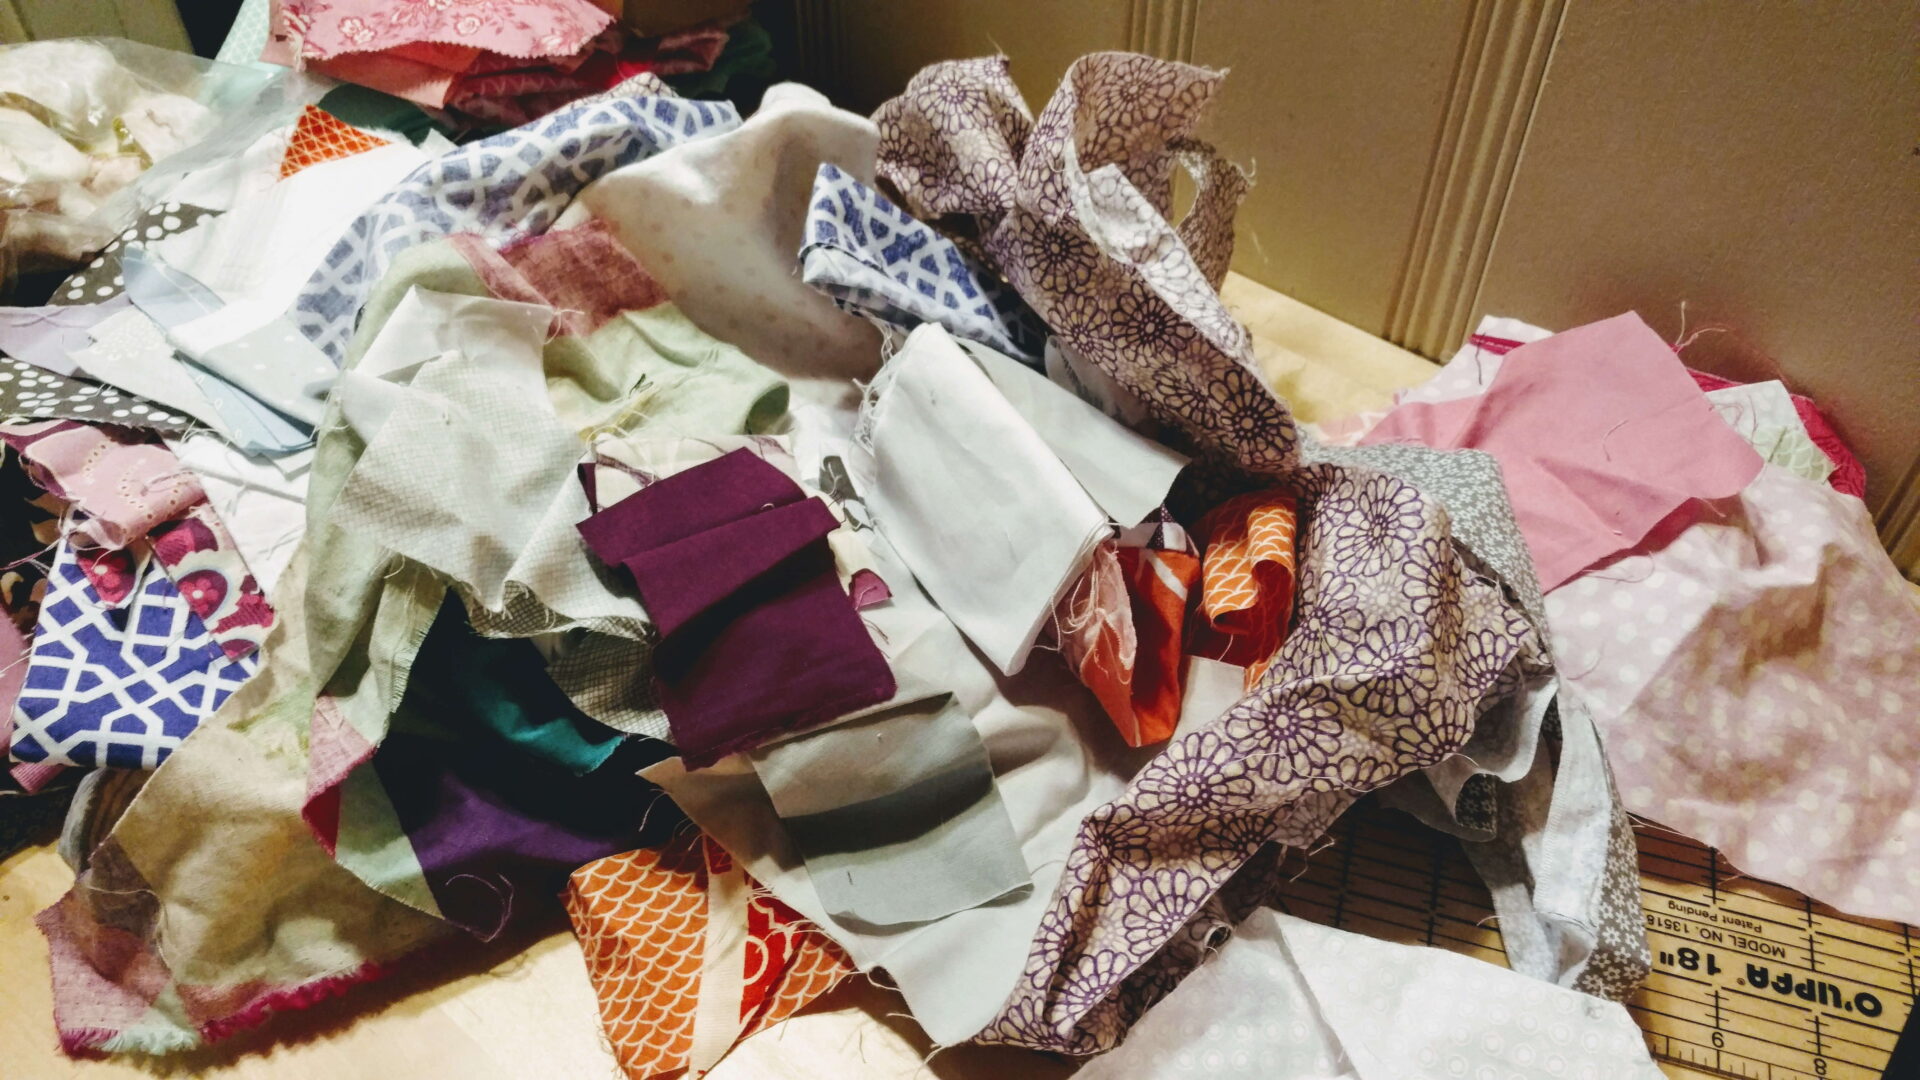
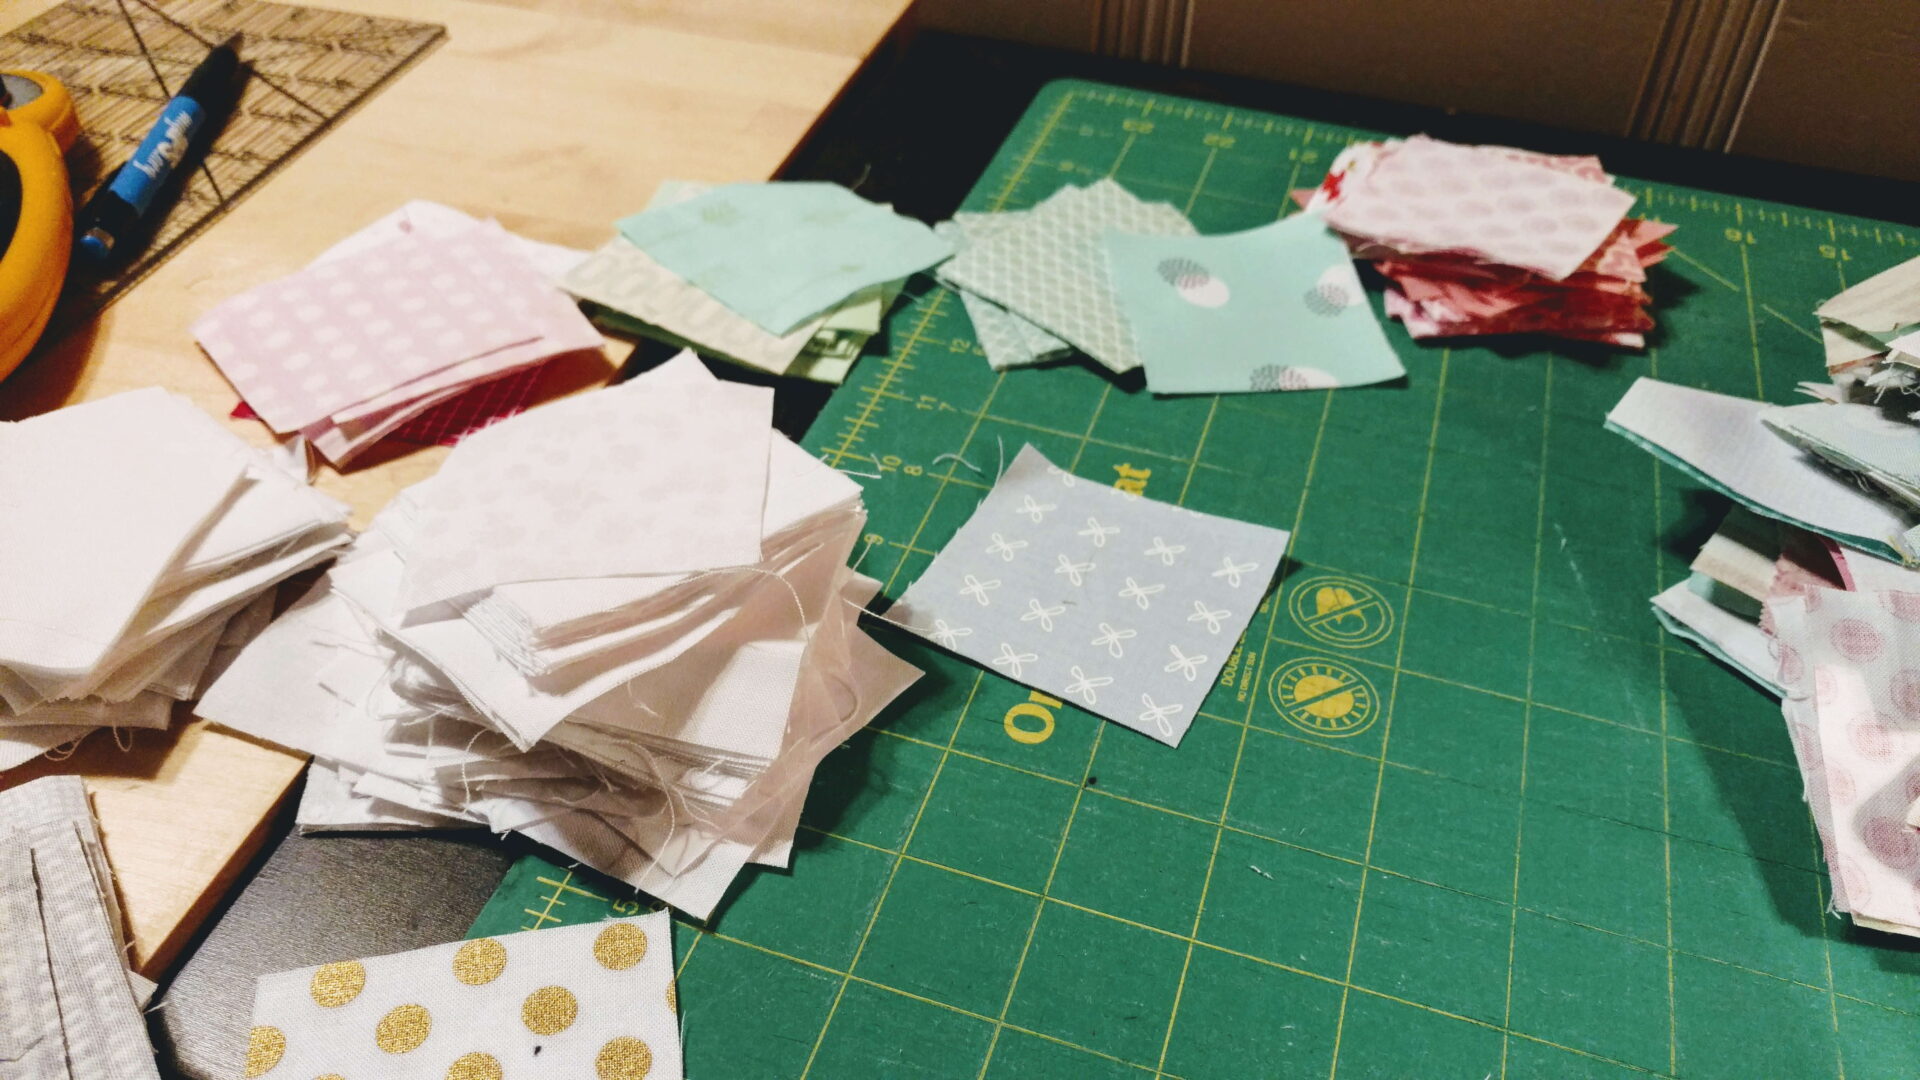
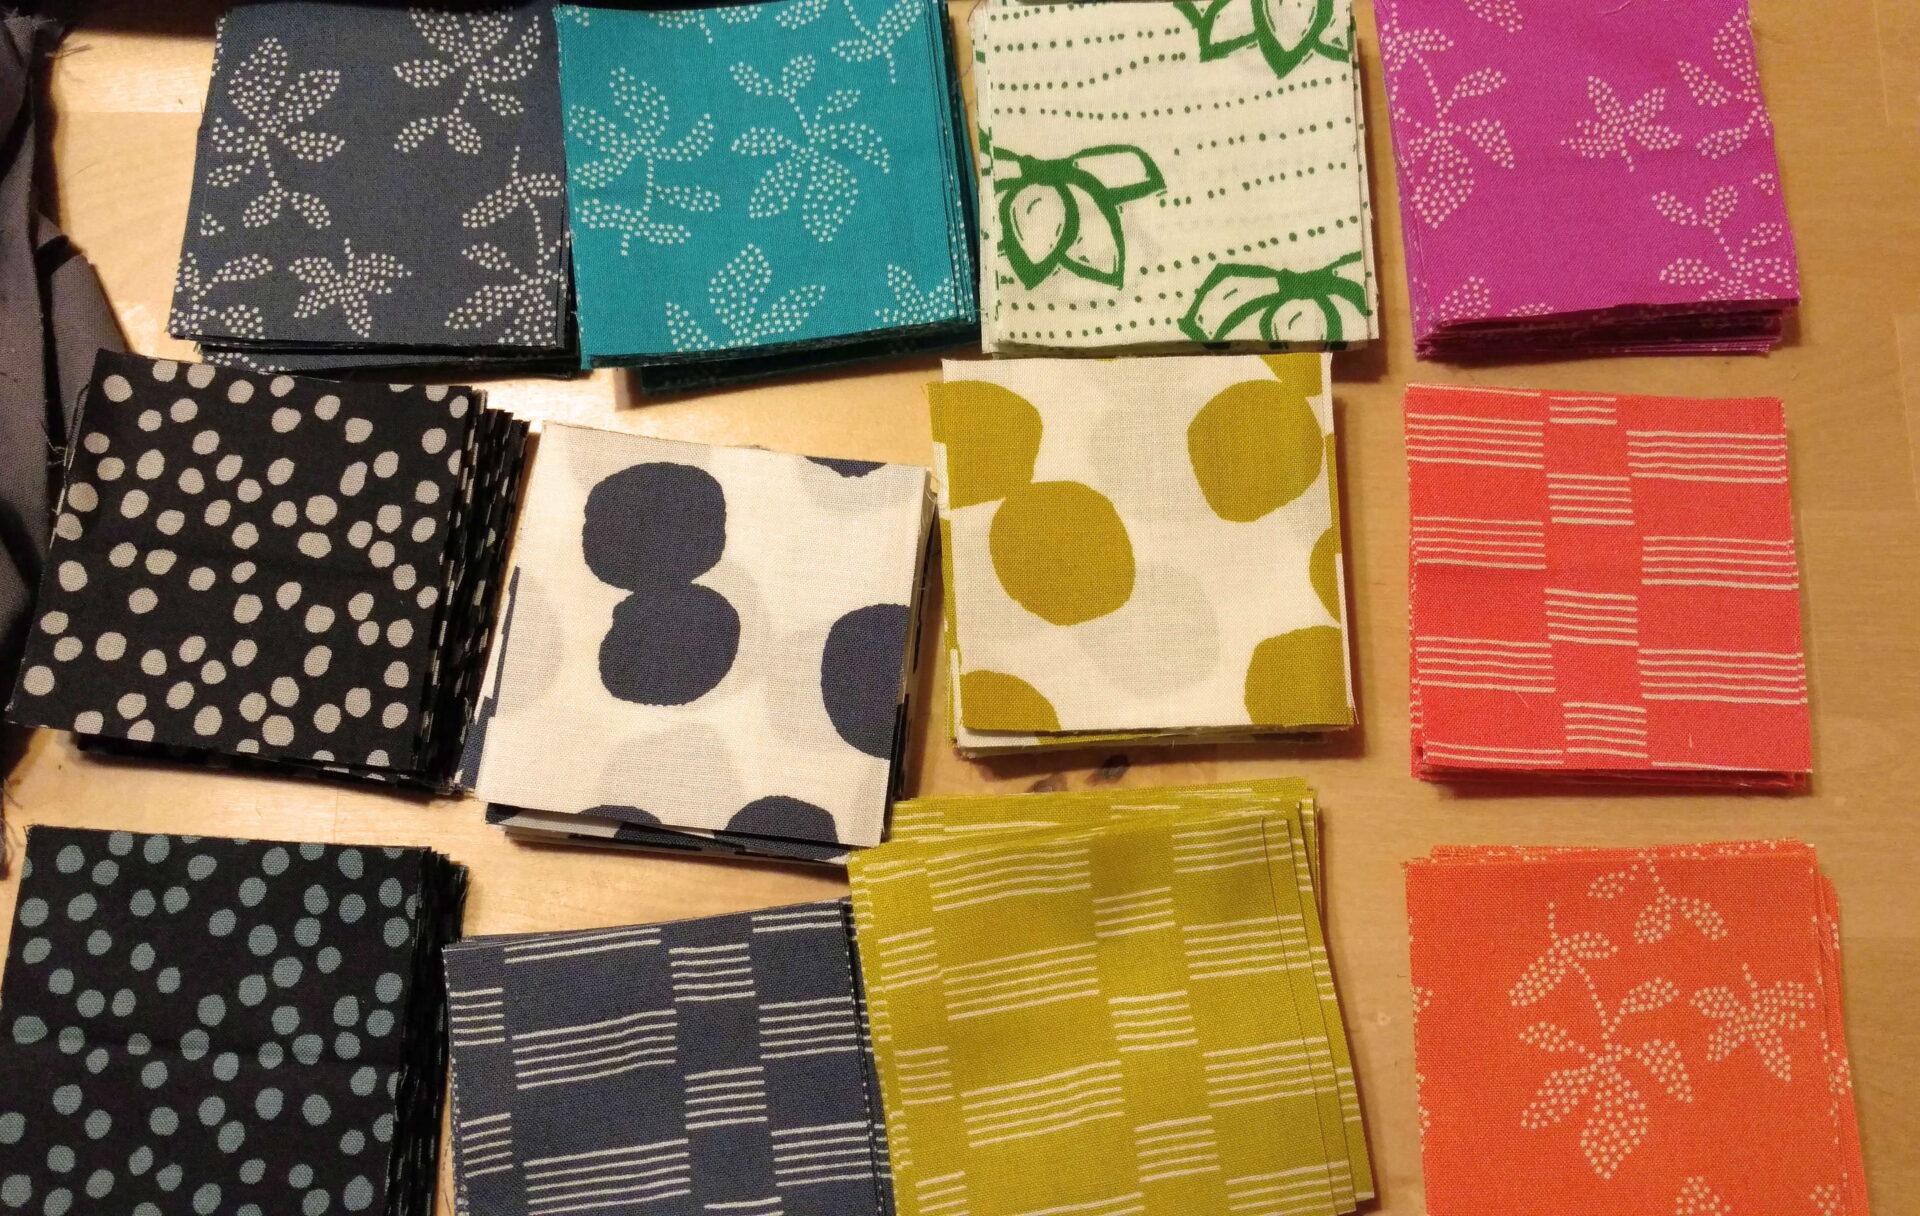
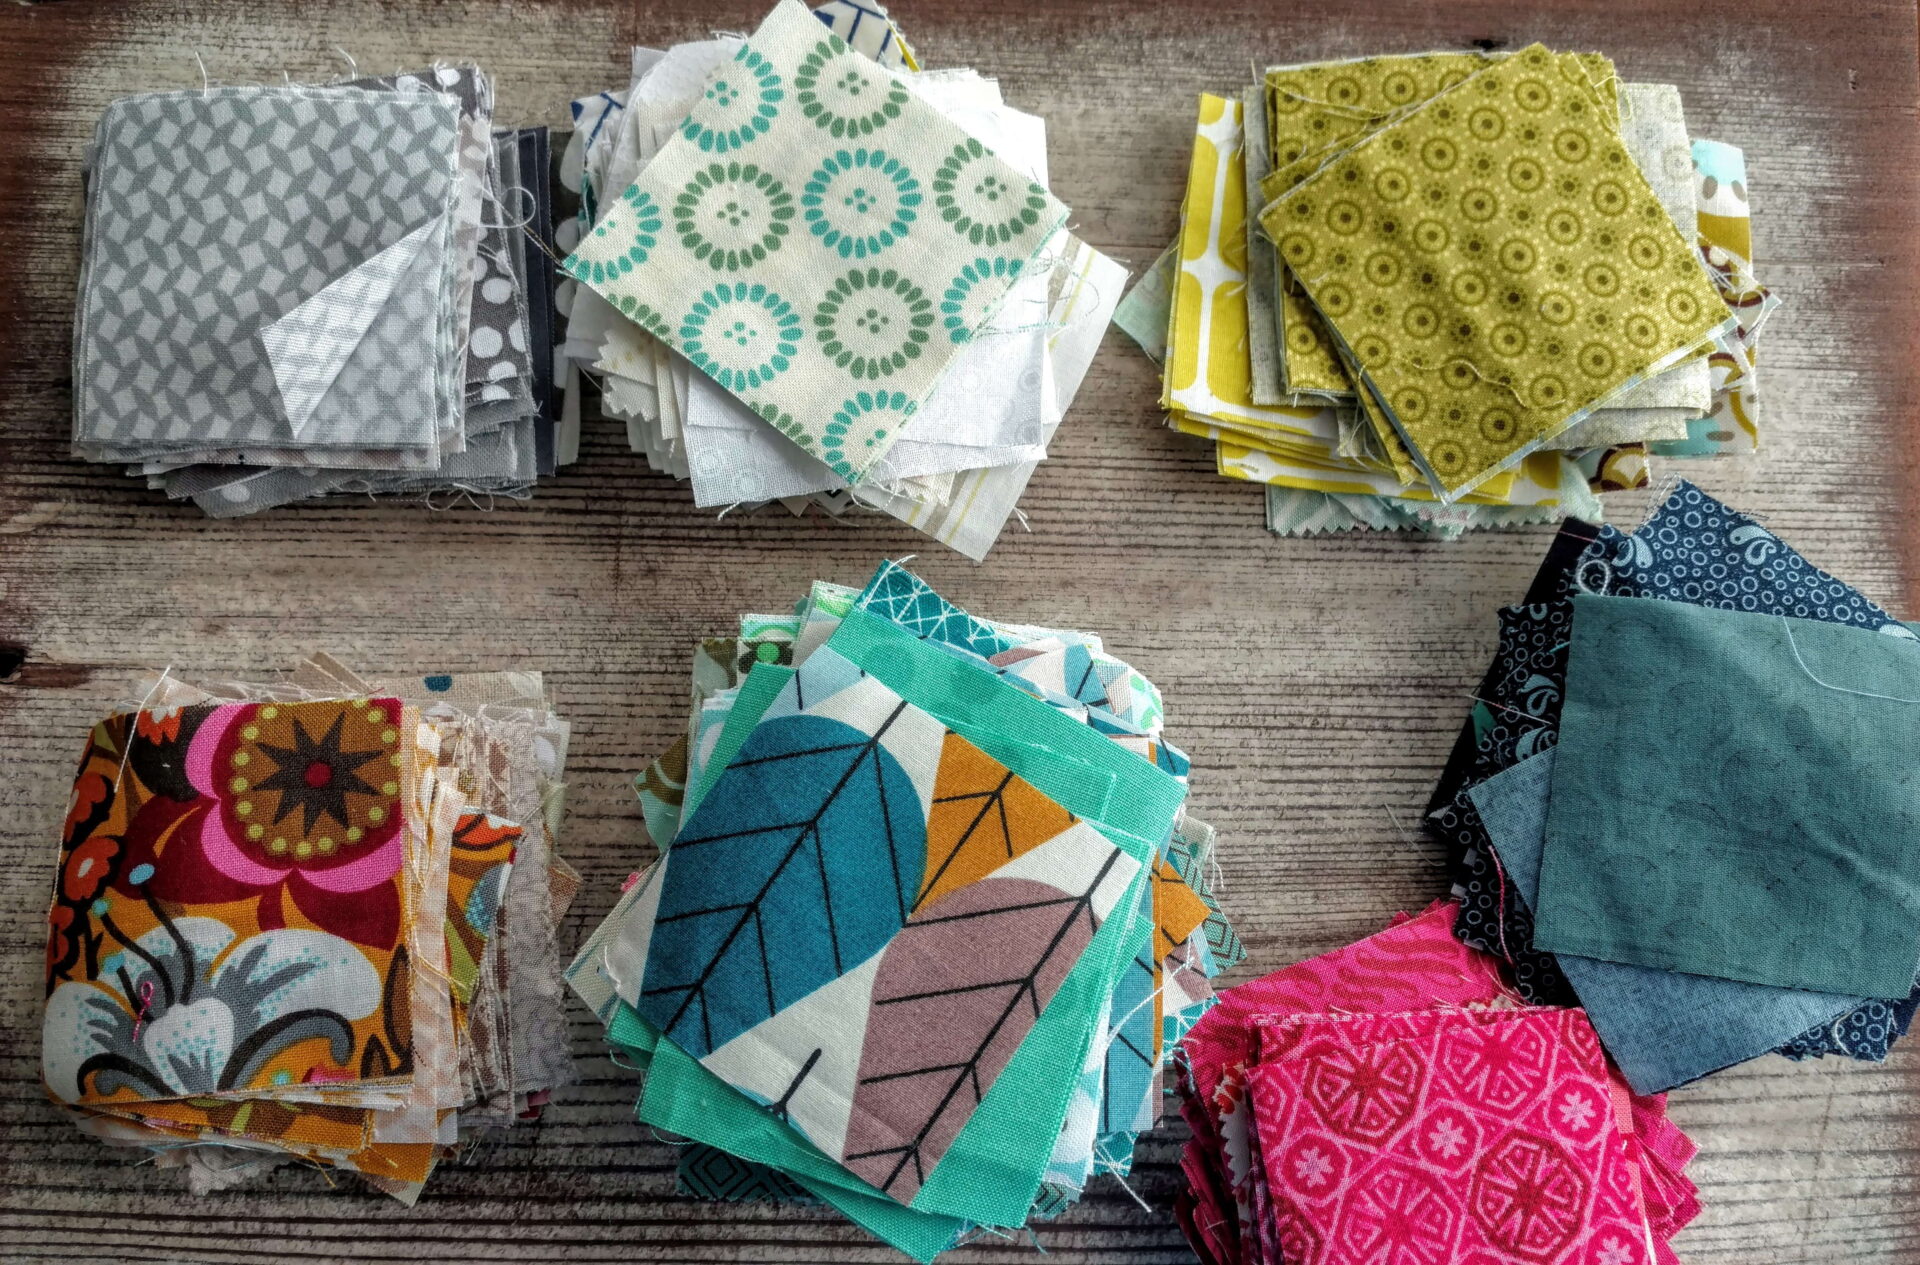
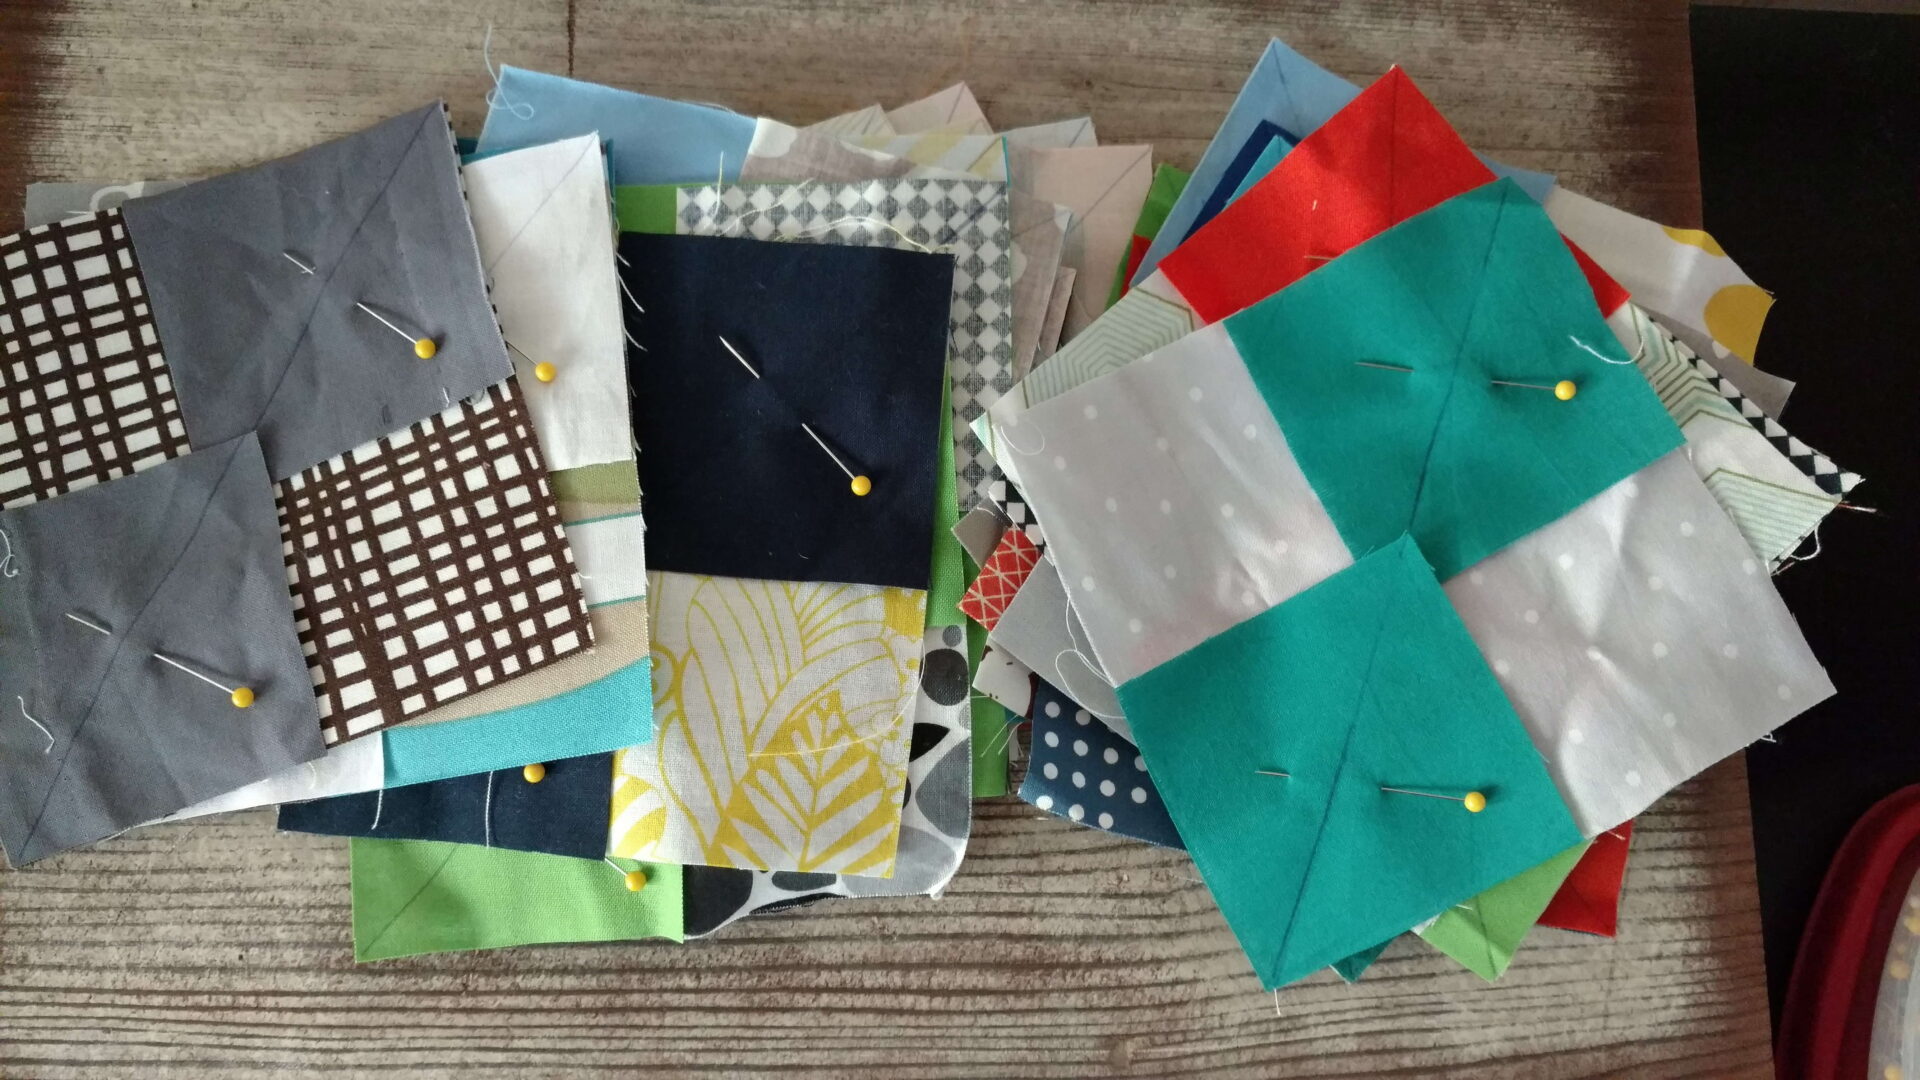
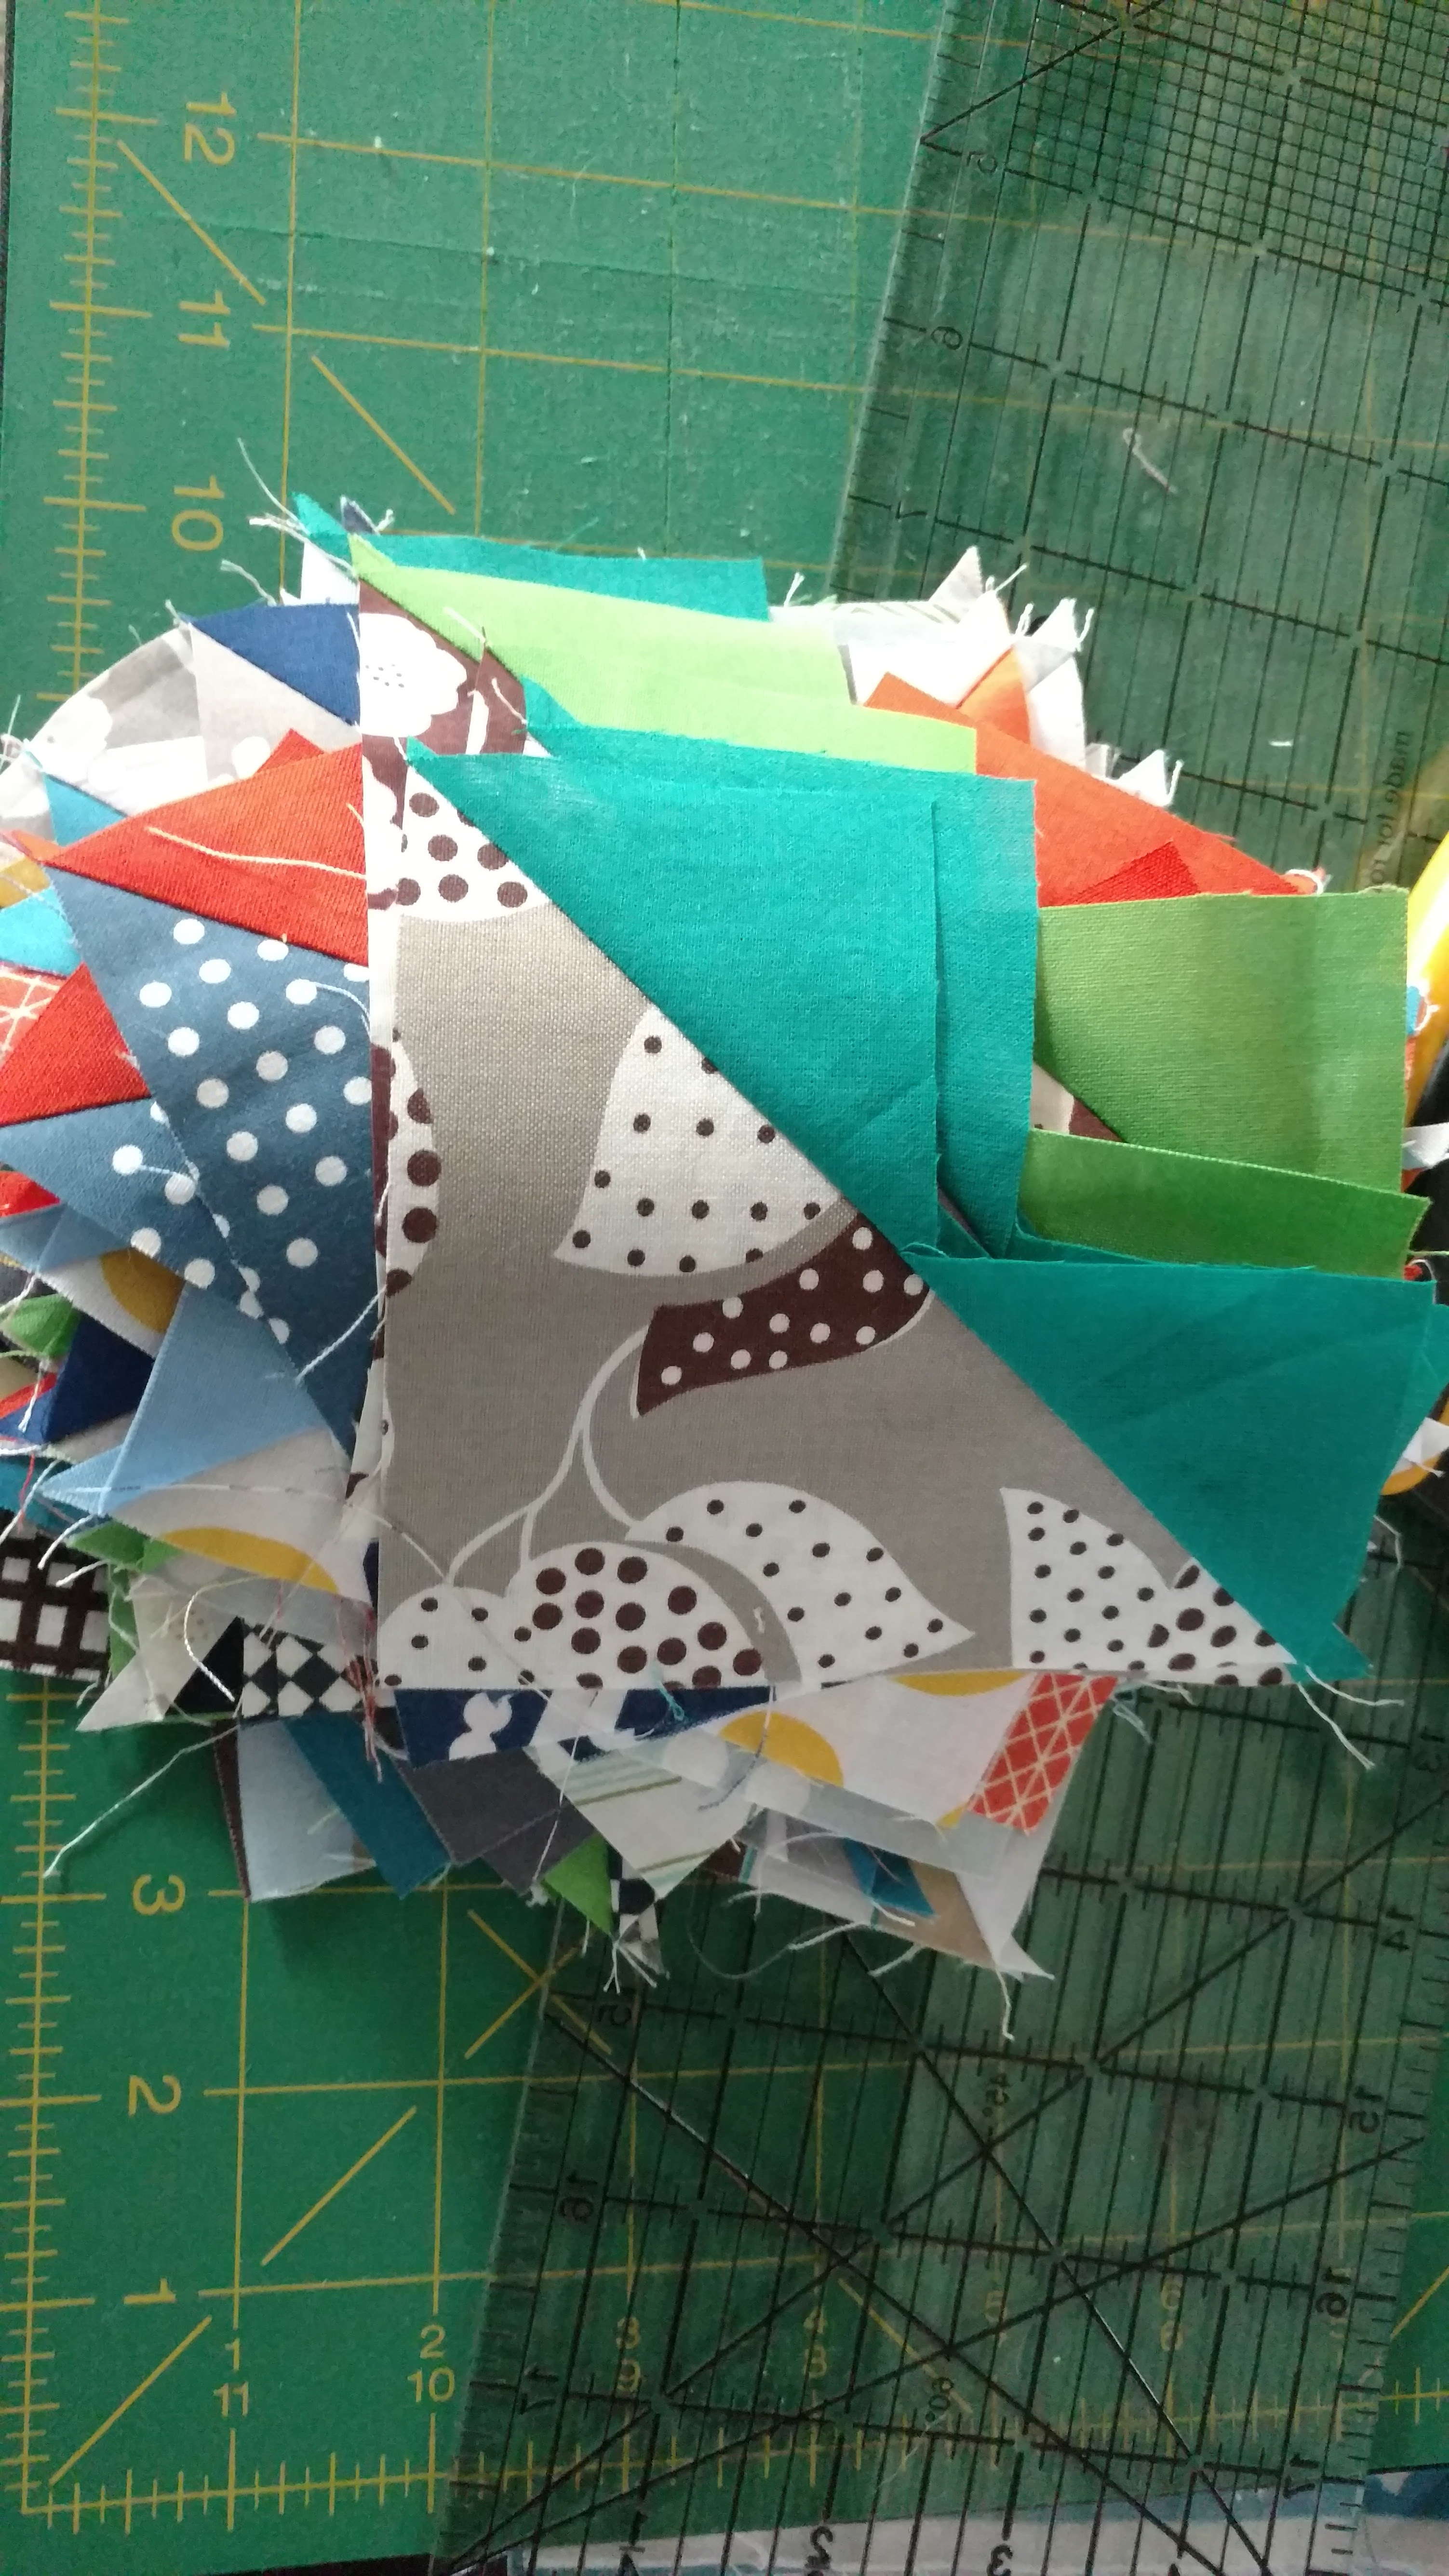
All 2.5″ squares. First, I head to my scrap bins and pull any 5″, 3″ and 2.5″ squares already cut in these colors. Then head to uncut scraps and start pulling out larger pieces in the various shades. I pulled a variety of purple and pink colors since I’m not sure if I want to add more variety to the layout. In digging through the scraps there were some softer shades of orange that I thought could play will with both color palettes. Prepping everything now into 2.5″ squares will save time if I need to add more later.
I did also select a few new fabrics during a shopping trip to make sure the quilt had enough variety. It was important to pick out fabrics I knew would compliment my stash and be able to use again.
Keep a few prints, solids, and colors nearby in case you need them. I had pulled out some khaki/tan prints thinking I wouldn’t use them with the twins’ quilts, but they added a nice break up in the colors.
Similar color palettes are helpful
To complete these quilts I will need big stacks of white and gray. Scraps were sorted through first, then on to the larger cuts of fabrics. To assist with color selection I spent some time at Crimson Tate picking out backing fabrics. I was able to get the backing and binding options selected for all three quilts before I started sewing. This helped me with planning colors to pick and draw from. Full disclosure: the fabrics purchased were not apart of my fabric budget for November.
Batch work for cutting and sewing
This is truly the secret right here. However, I needed the first two steps to prepare for this. As noted above everything is cut to 2.5″ squares. Each color is sorted and stacked.
Tips:
Put in a new needle, clean your machine, and oil if recommended from your manufacturer
Have a few bobbins wound
Keep a small pair of scissors nearby
Turn on a movie or show
Relax your shoulders and stretch a bit
Get sewing. Keep it random and don’t overthink combinations. You have already picked colors that work together, just sew and worry about the placement at the end. When you think you’re done, sew some more. To make a baby sized quilt you need about 320 squares.
Take breaks if needed. Break it out over a couple of days or sessions so you don’t overthink it. I have found overthinking my selections really slows the batch sewing down. If you feel like you want to add in something else, grab from your extras you already have set aside. You can always remove them as you are laying out the quilt.
Once you have completed all your squares, I find it helpful to press the seams open to help everything lay flat during layout. From here I just start sorting into piles. I sorted any pieces with gold metallic into a pile and then broke that into two. In the end I had three piles, one for each quilt.
During layout of the quilt, I grab some batting and just start laying out pieces. Generally I put the top row middle(ish) piece in first and then work my way down in a zig zag. Then I just begin filling in the quilt with my 2 block sets. Moving pieces around and exchanging for others if needed to complete the look.
Using my left to right sewing method I stack up each row and continue chain piecing until all the rows are finished. I do label the rows as I’m sewing them for ease later on. After each row is completed I press the seams in opposite directions to nest easily in the next piecing steps.
Quilting in simple straight lines takes no time. Plus machine binding. Throw those quilts in the washer, with a Shout color catcher of course, and dry.
Wow, am I few days behind. Sorry everyone. My schedule and work situation took a hit last week. I had to be in the office for three days, taking away time at home to be productive on laundry, cleaning, and of course sewing. I have been able to get the two tops finished.
Scraps Version
Bundle Version
Backing fabric is picked out and almost ready for both.
How is your version coming along? Have you been following #charmingplusqal on Instagram?
Someone has even finished one completely. Wow! Keep going.
Deadline for entry in the grand prize is 12/15/2016 to get at least a top finished. Submit a finished quilt to be entered in the $100 gift card giveaway to Stitch Stash Diva.
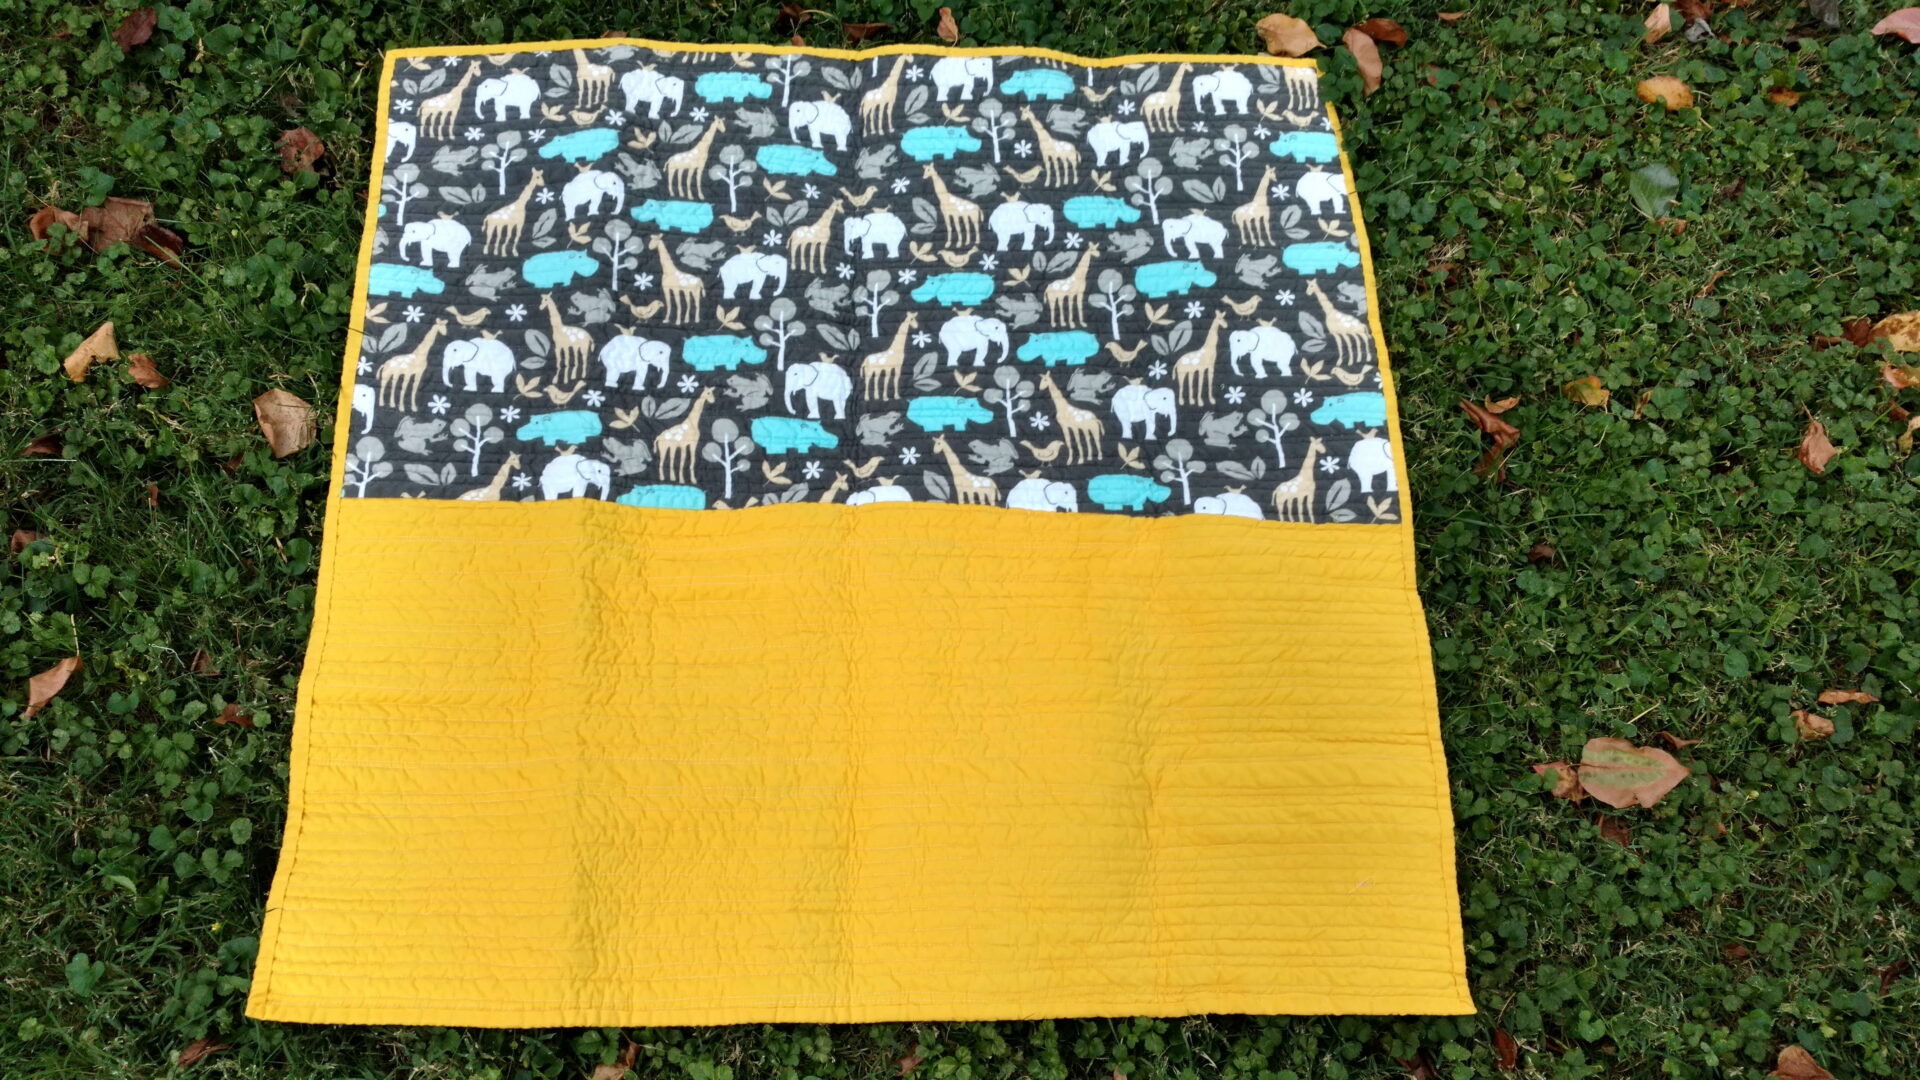
Thank you for the kind words on this all stash baby quilt. I love this top and will be sad to see it go to it’s new home. Deep in my stash was a Michael Miller animal print that I had a half yard left of. Considering mom is a vet tech, it’s a great fit.
For the quilting I went simple horizontal lines to contrast the vertical columns. Plus, it looks extra crinkly once it’s washed.
The bolt of corn yellow Kona I have is slowly dwindling down, but there are many more yards to go. Maybe yellow will be my binding of choice for 2017. Ha!
Did you have a chance to look at the tutorial I shared? Easy peezy with those instructions. If you haven’t, it’s below.
PS…there is another version coming of this quilt with more all stash fabrics and an update on the dwindling fabric budget.
You can use just about any size squares to make these blocks. I recommend no bigger than 4″ as I have mentioned before. This is how a baby quilt looks with 5″ squares. It loses some effect I really wanted. Wonder how it will look with a bigger quilt?
5″ squares
Bundle Version
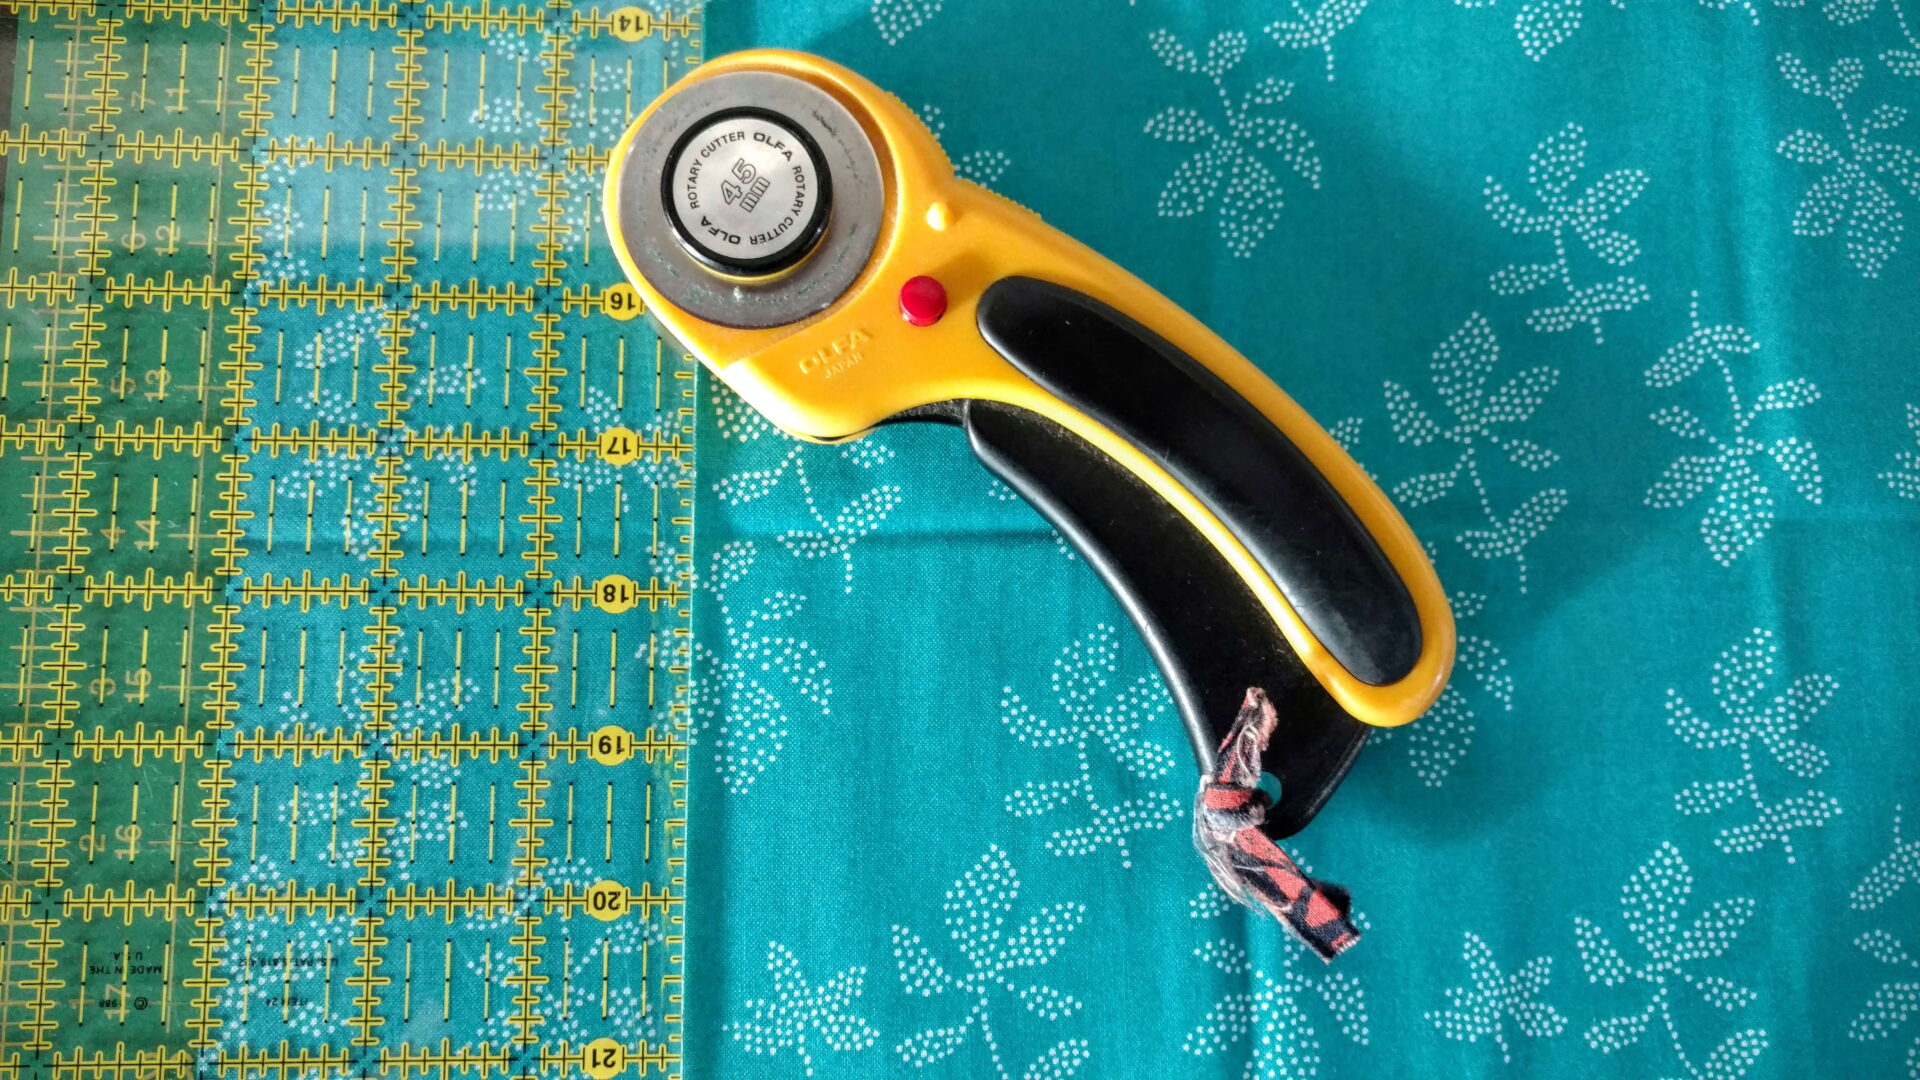
If you are cutting fat quarters, you will need more strips, more like 3-4 strips to avoid cutting more later. I cut my bundle on the 18″ length so I could get the most of my fabric. My squares are cut 3″.
lots of strips
Ready to go!
Scraps Version
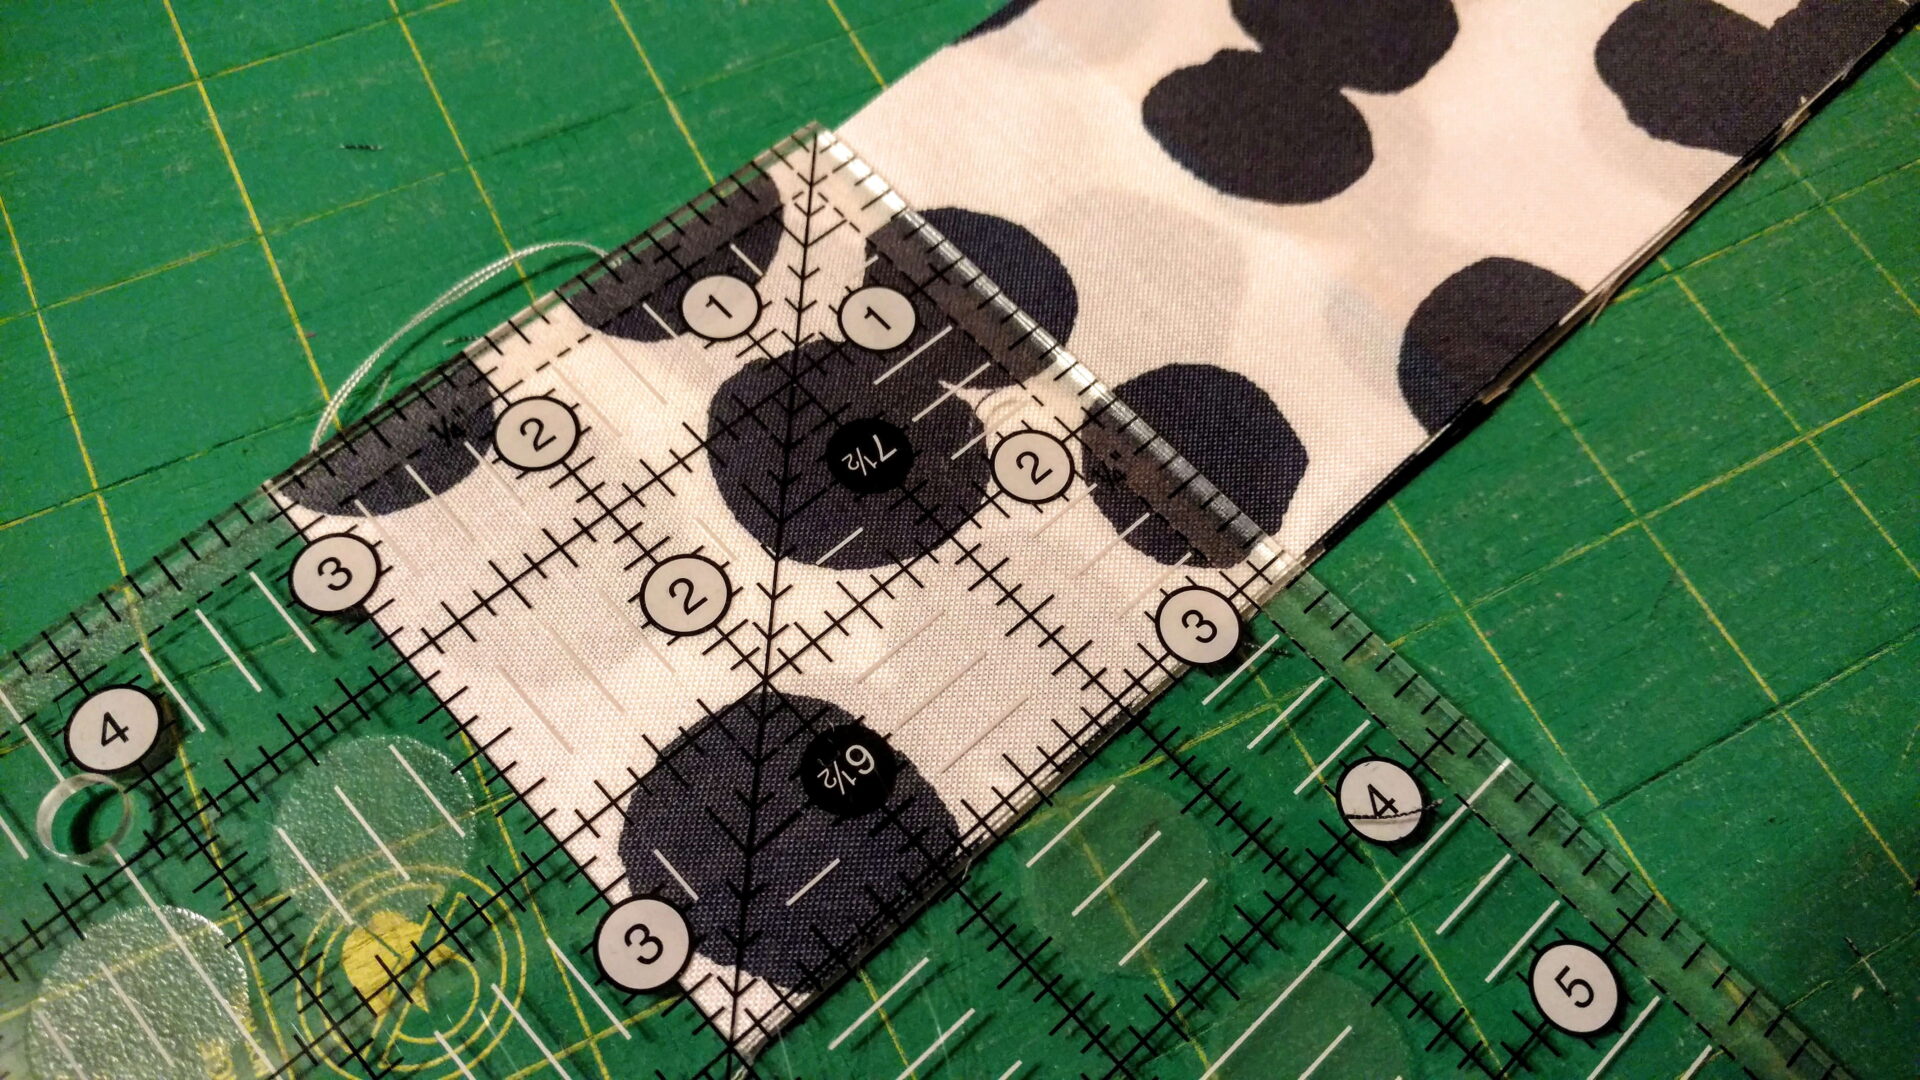
All of my squares for the scrap version are cut to 2.5″.
Alternate Option
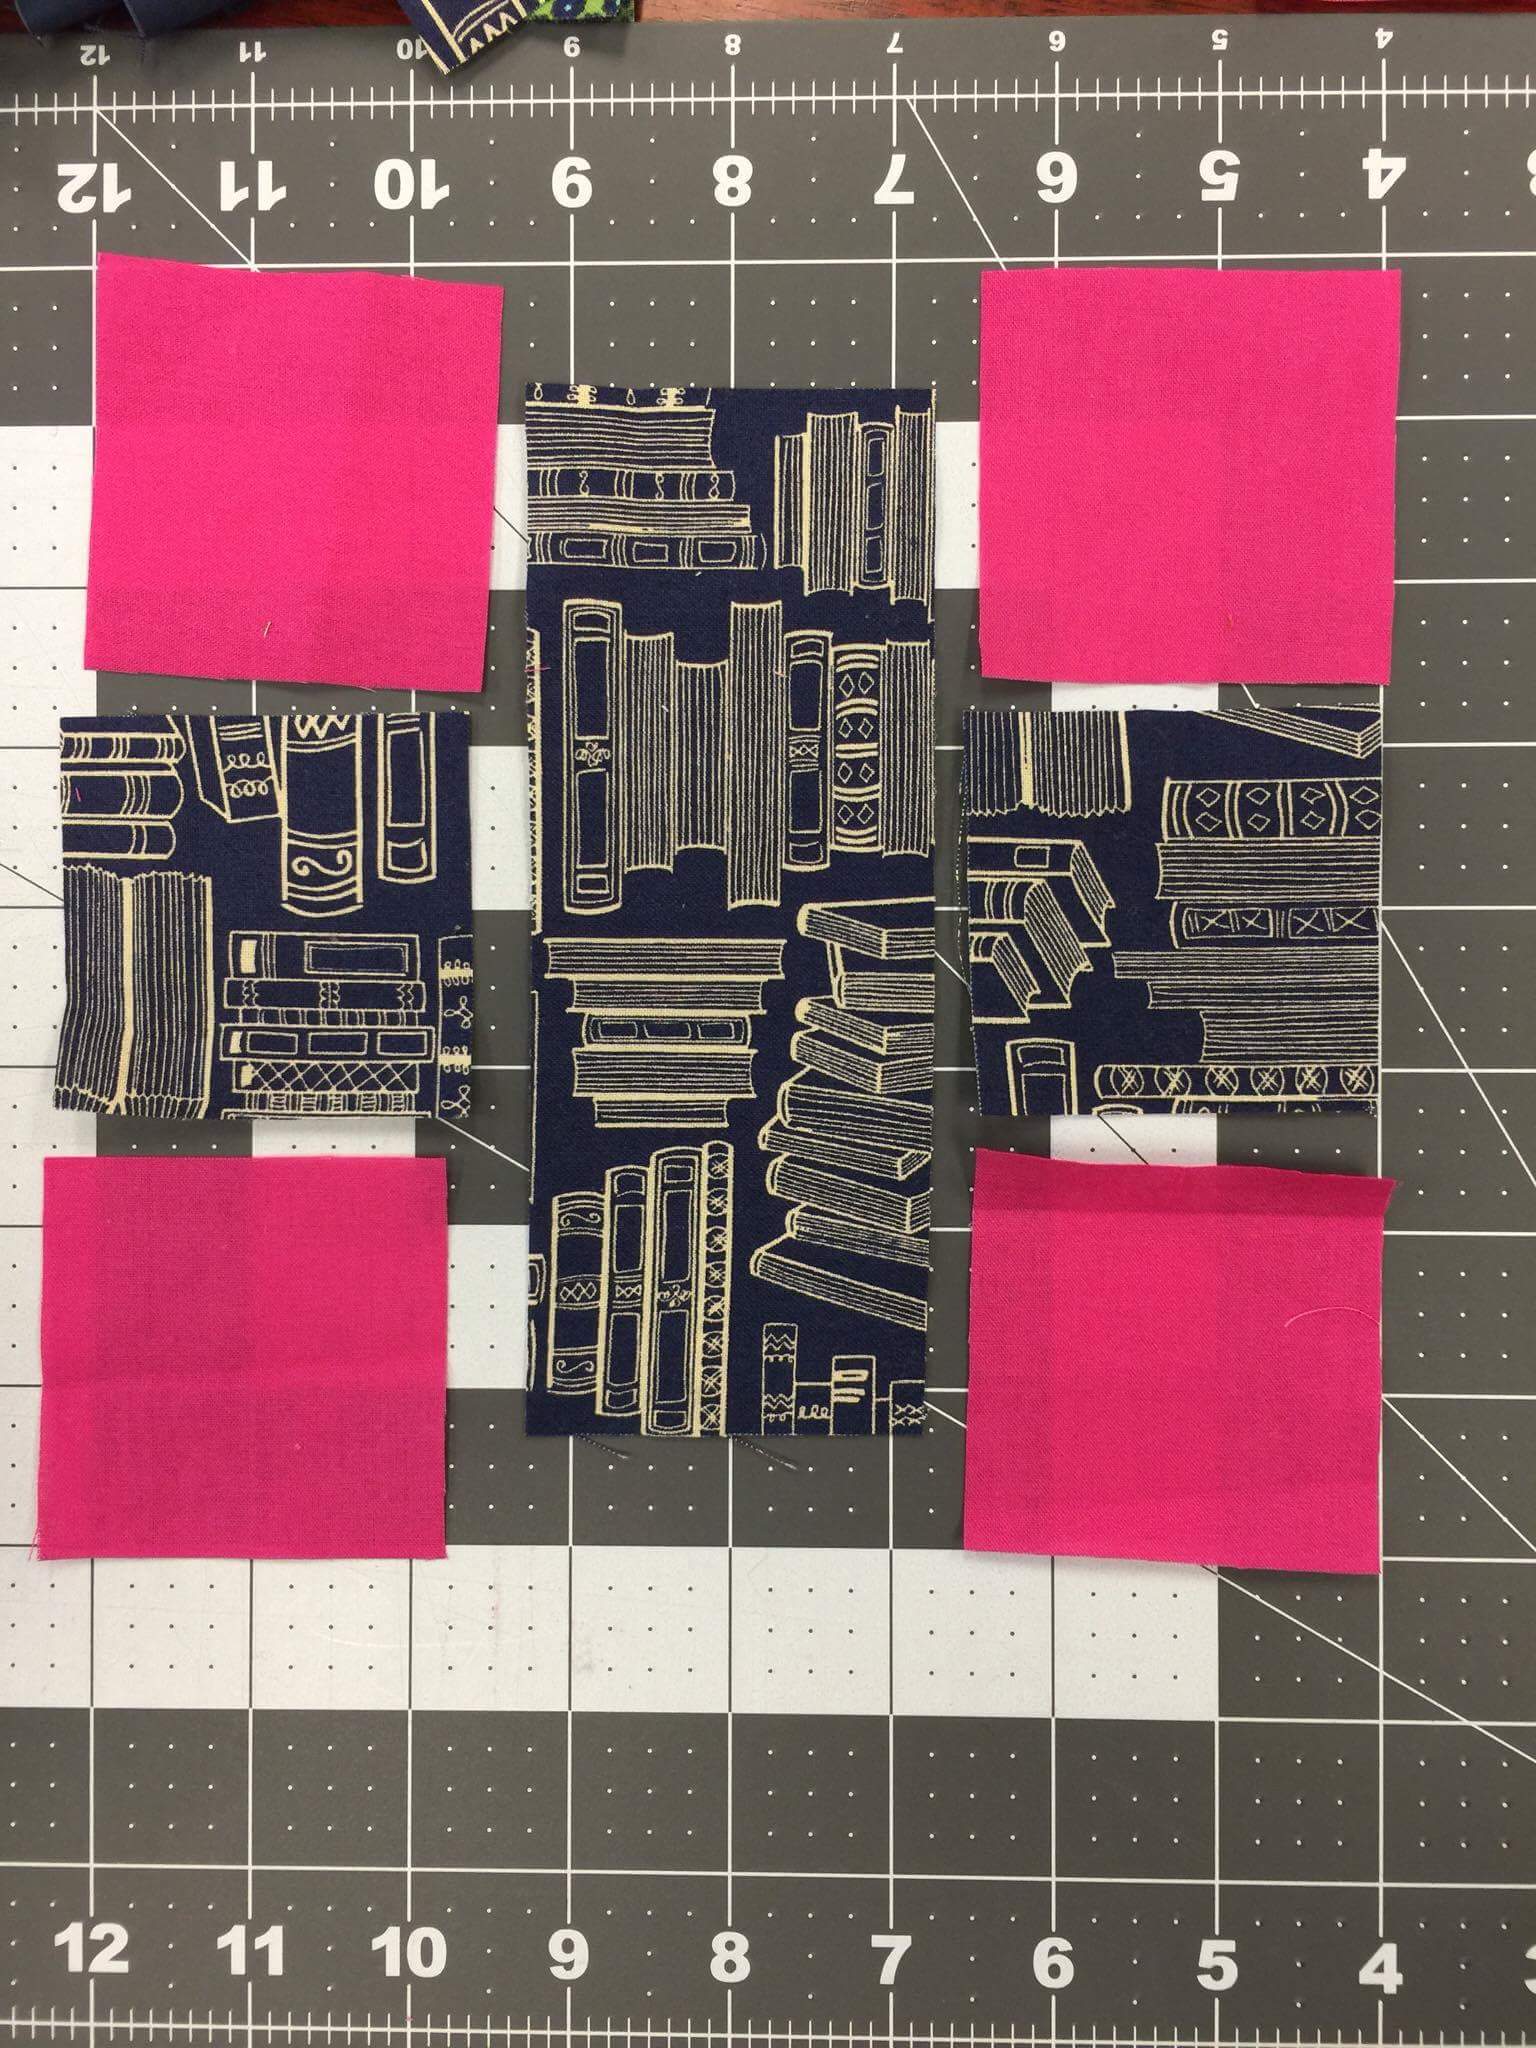
Erika is working through her scraps to make this quilt. We chatted at the Indy Modern Quilt Guild meeting this Sunday. If you want to save a step you can cut a 2.5 ” x 6.5″ strip for the middle. See the picture below. I rarely keep strips of fabric and just cut everything into squares when making scraps, hence the three square middle.
Next Steps
Once you have everything cut, it’s time to pair up fabrics to make the nine patch. I love sewing in batches and operate the piecing in assembly line fashion. To make that work, I lay each block out to make sure it’s the right look and keep stacking them on top of each other. This cutting board is ready to place next to the machine and make chain piecing EASY.
It’s a been a rainy week here in Indy, sorry the photos are not the best light. Rainy overcast days are not helpful for pictures in the sewing room.
Questions? Concerns? Comment below and I will respond.
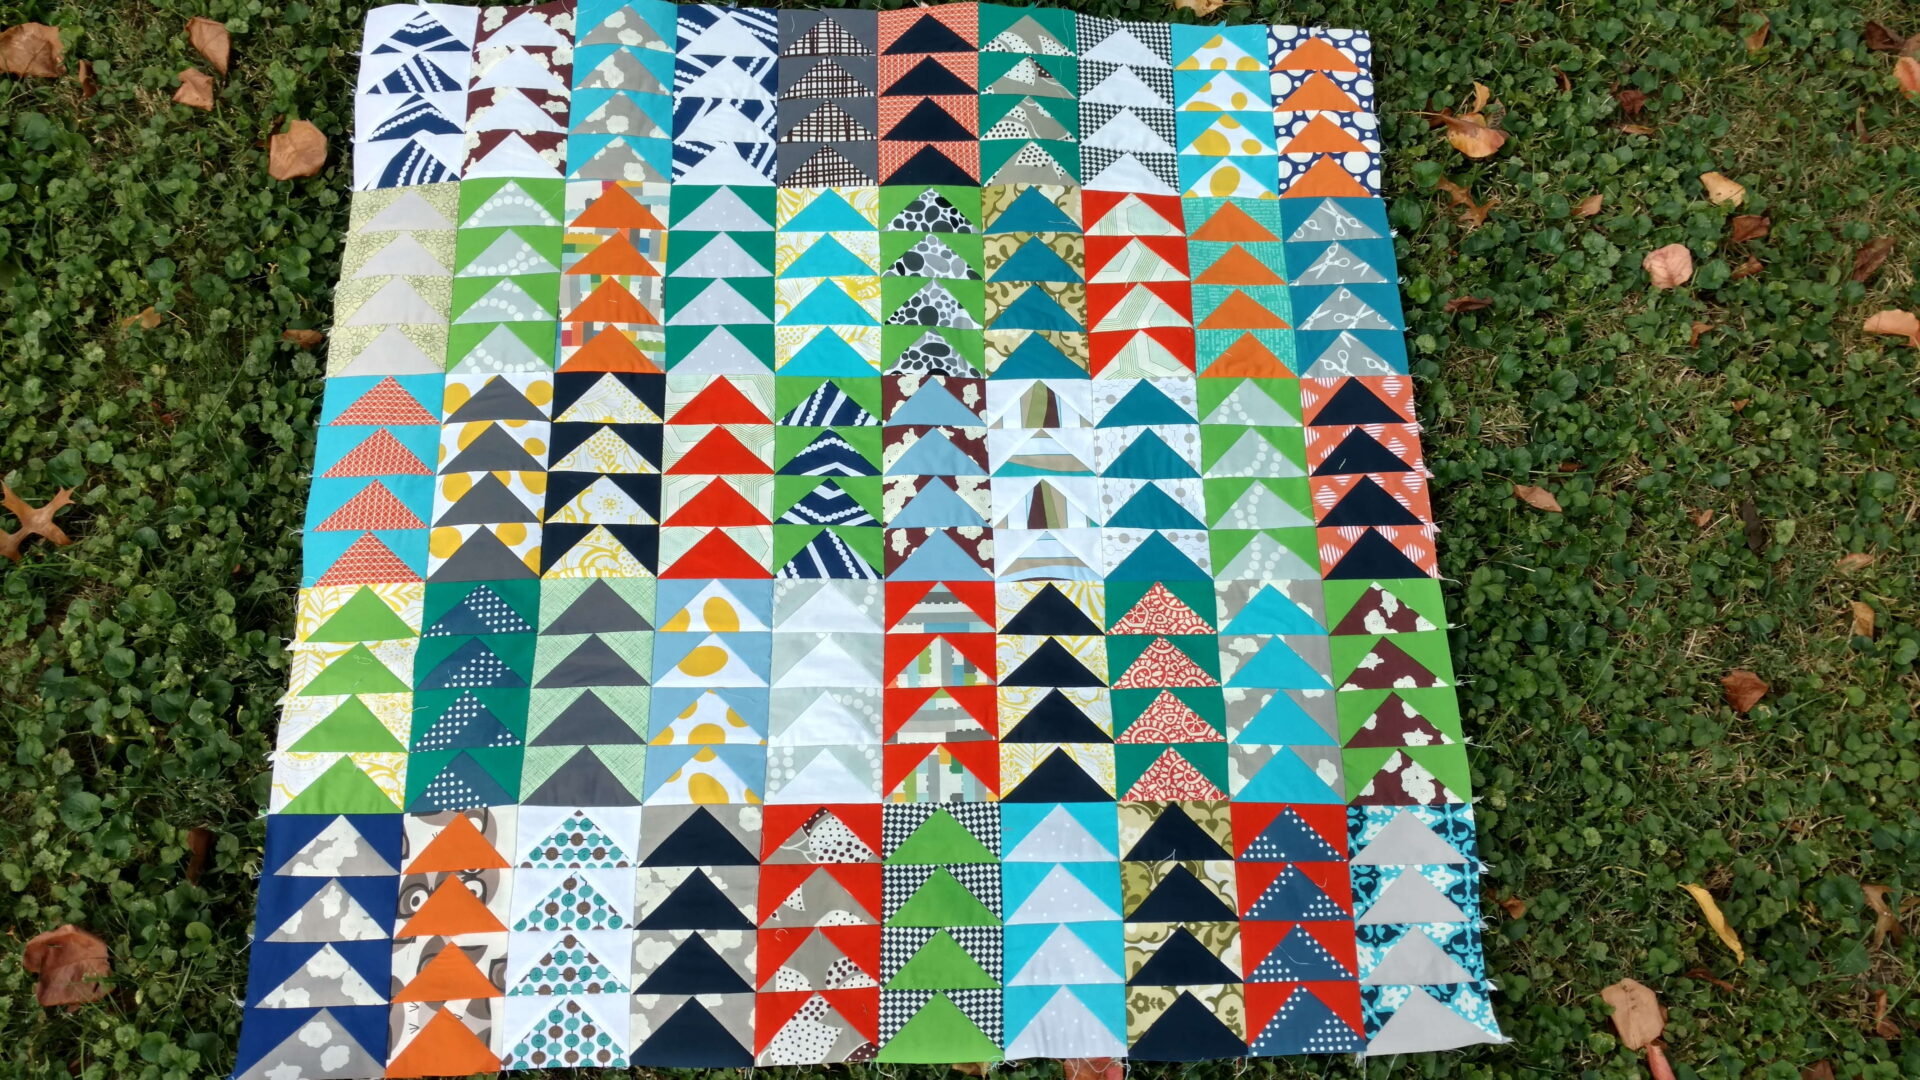
Flying geese is such a staple in quilt blocks. Why have a I waited so long to really make them? Cutting odd sizes like 7/8″ or 3/8″ drives me insane. The thought of making a large amount of flying geese was the obscure size squares I would have to cut makes me cringe.
I’m not alone I’m finding. Lots of great tutorials on Pinterest to help with no waste flying geese. Take your pick of one. I was able to find one that is my style. The tutorial is based on using charm squares and a squares that don’t encourage me to throw my ruler across the room.
Save the pin if you like the tutorial.
Since the fabric budget is at an all time low right now, I dug deep into my scraps and stash.
Not a bad selection of colors of for a boy quilt. Cutting was either a 5″ square or 2.75″ square. That’s the kind of quilt math I enjoy.
Chain piecing was so nice to work through. It was kind of therapeutic to hear that hum and watch the progress of these blocks. I did have to go back and make some more to complete a baby quilt top.
The blocks look like little hearts before the next step.
For the design of the top, I knew I wanted all the geese to fly in the same direction. Maybe in the next one I will play around with more movement. The dad of this baby is in construction. Having the geese like little towers is in recognition of that. The mom is a vet tech and there are some small animal touches added to the quilt.
I adore the completed top. Maybe it’s the fumes from all the starch I had to use. There are many many seams on the back that did not want to cooperate with pressing.
There should be time this week to quilt. I’m leaving for a girl’s weekend and want to bind on the drive.