Marmalade Irish Chain Baby Girl Quilt

marmalade fabric, baby girl quilt, modern baby quilt, improv pieced quilt, twin quilt idea

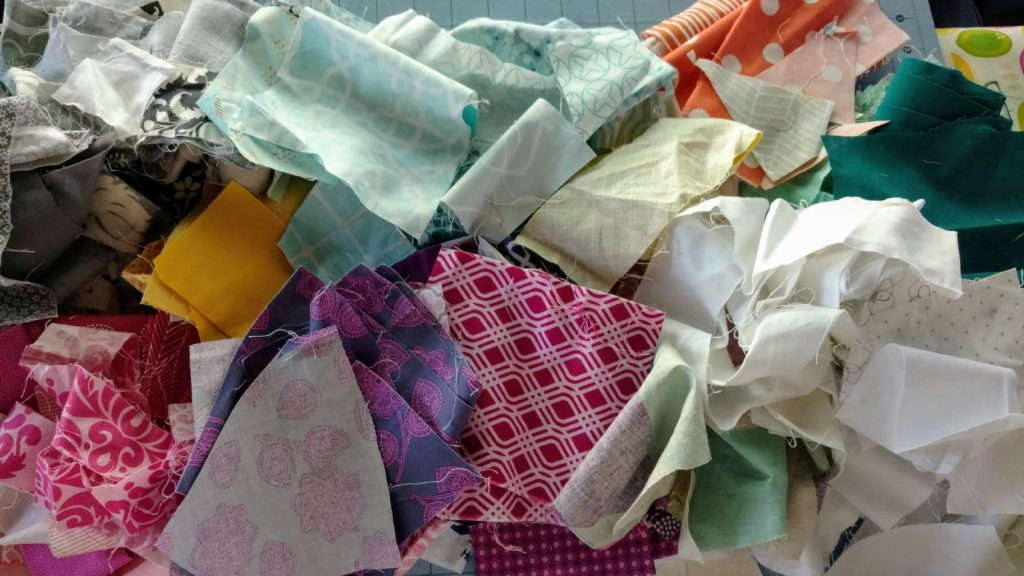
I truly appreciate when a customer asks me to make a quilt and gives me a general guideline.  For this quilt, the only guideline was girly, more traditional girly than bright.  I had an idea already in mind but not being as bright really made me re-think the design.  There were some scraps of Marmalade buried in my bins and I thought they just work.

Looking back, I made these quilts five years ago.  Goodness.

marmalade fabric, baby boy quilt, modern baby quilt, improv pieced quilt, twin quilt idea


marmalade fabric, baby girl quilt, modern baby quilt, improv pieced quilt, twin quilt
marmalade by moda fabrics

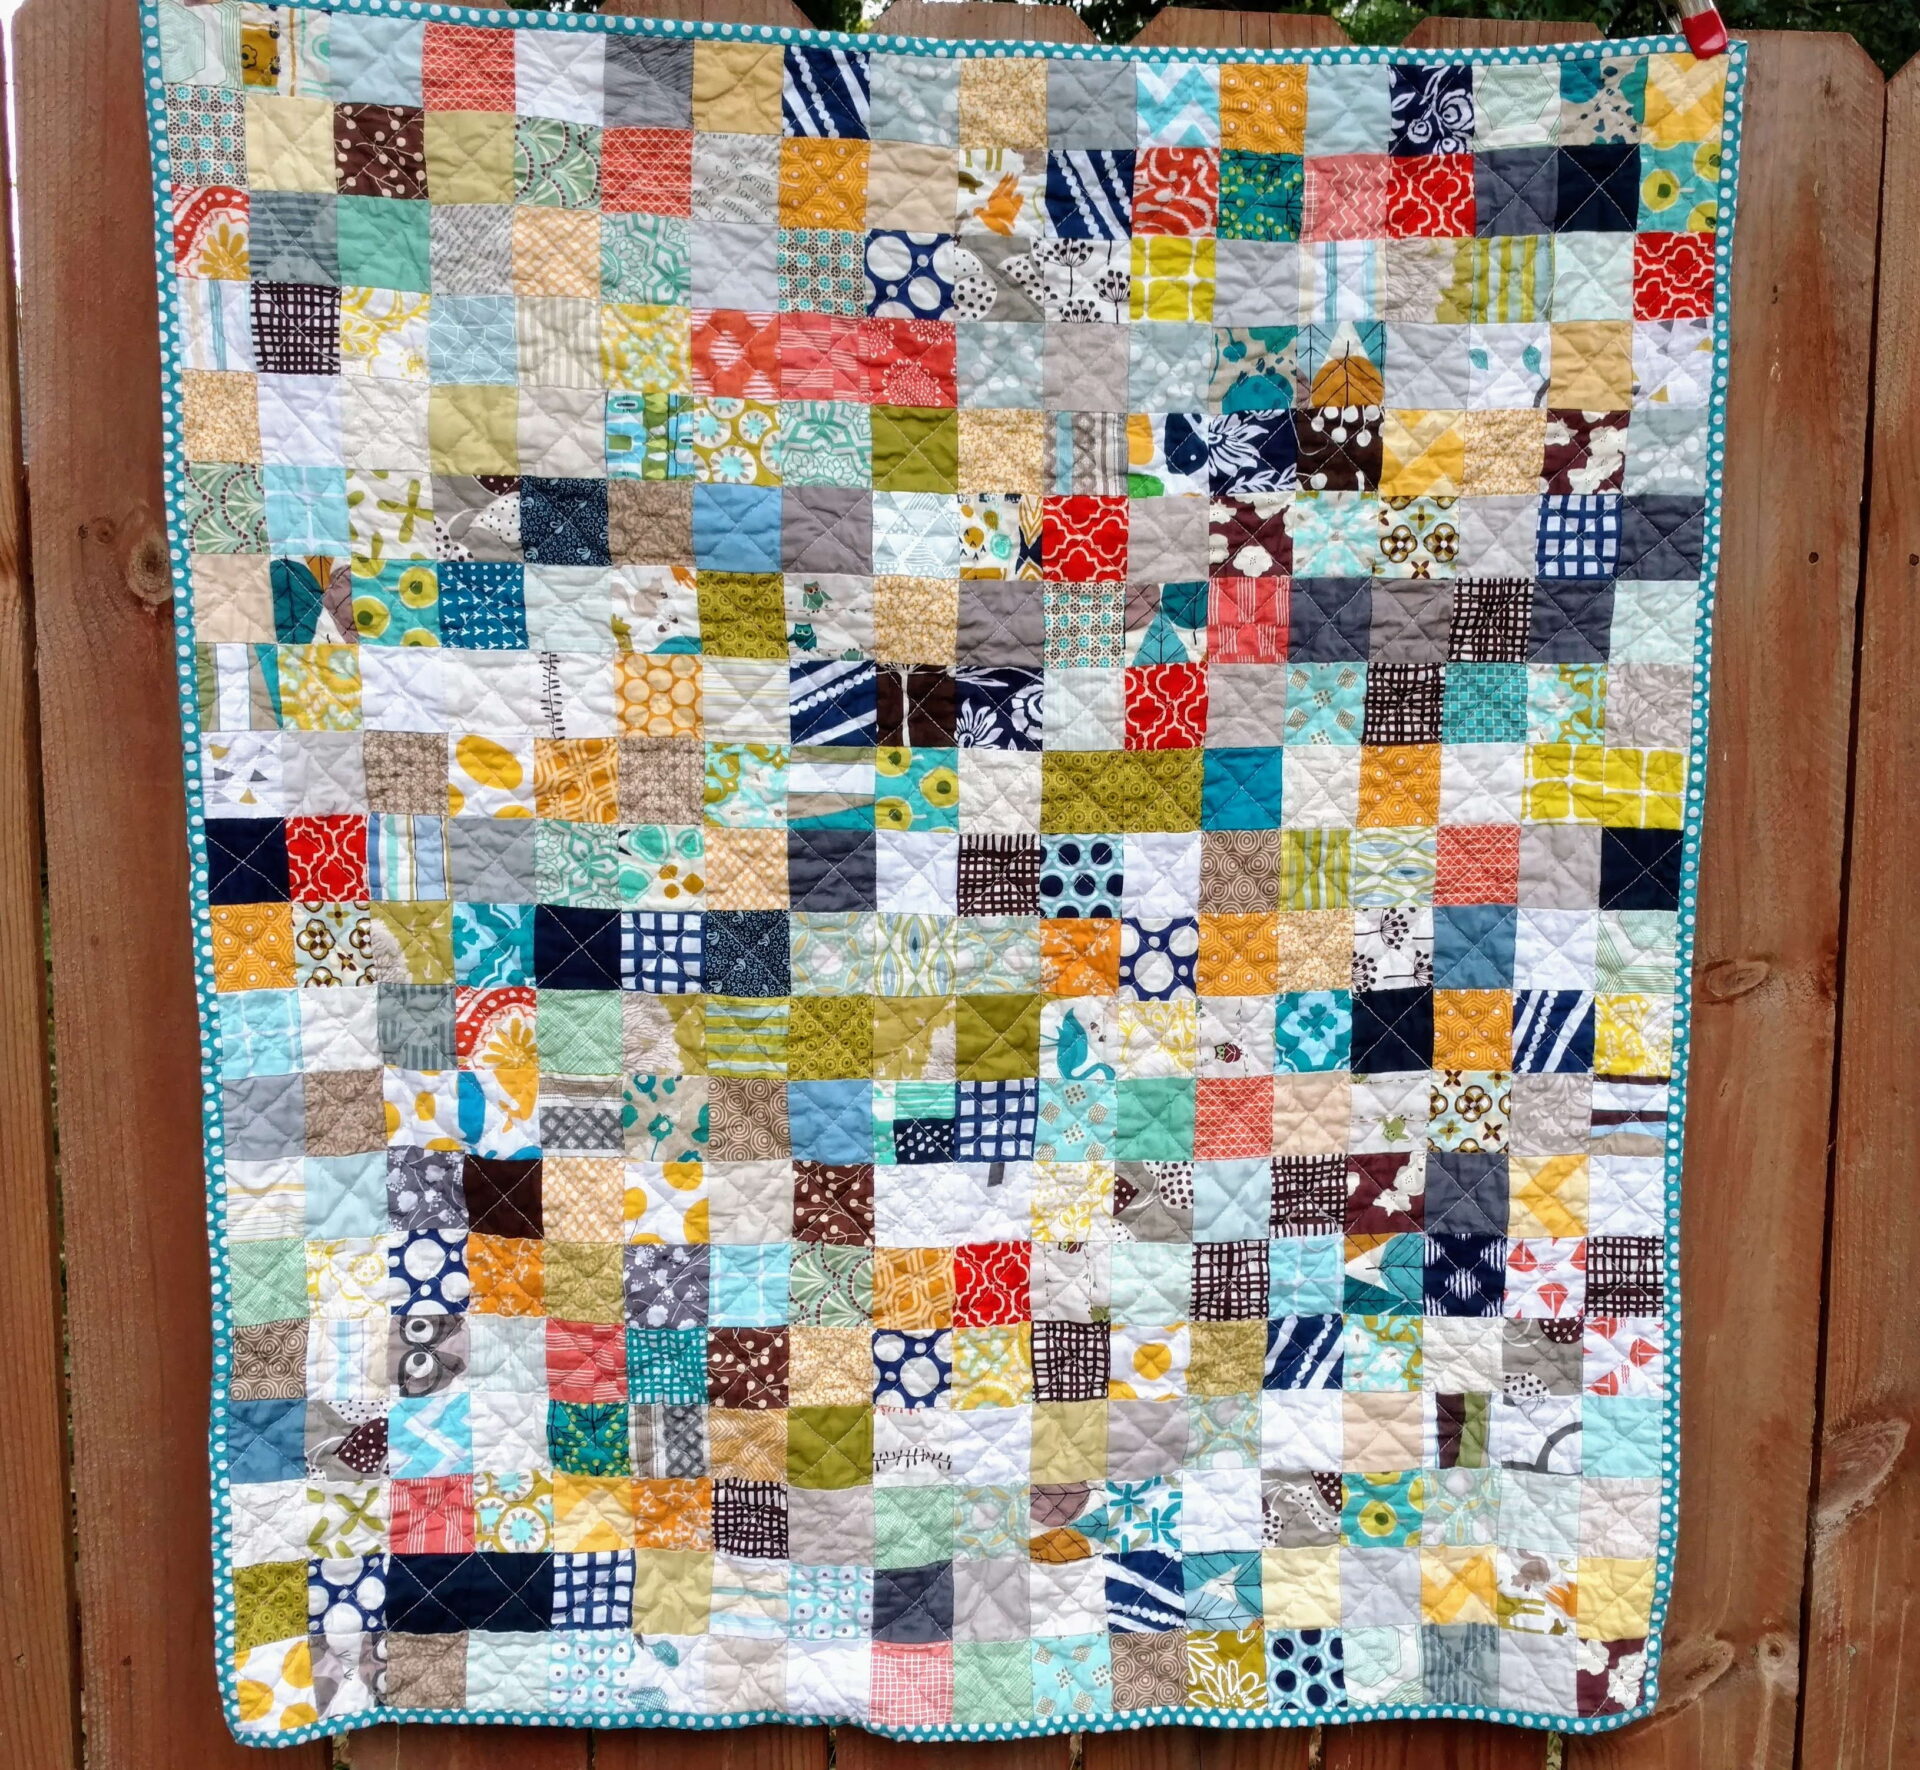
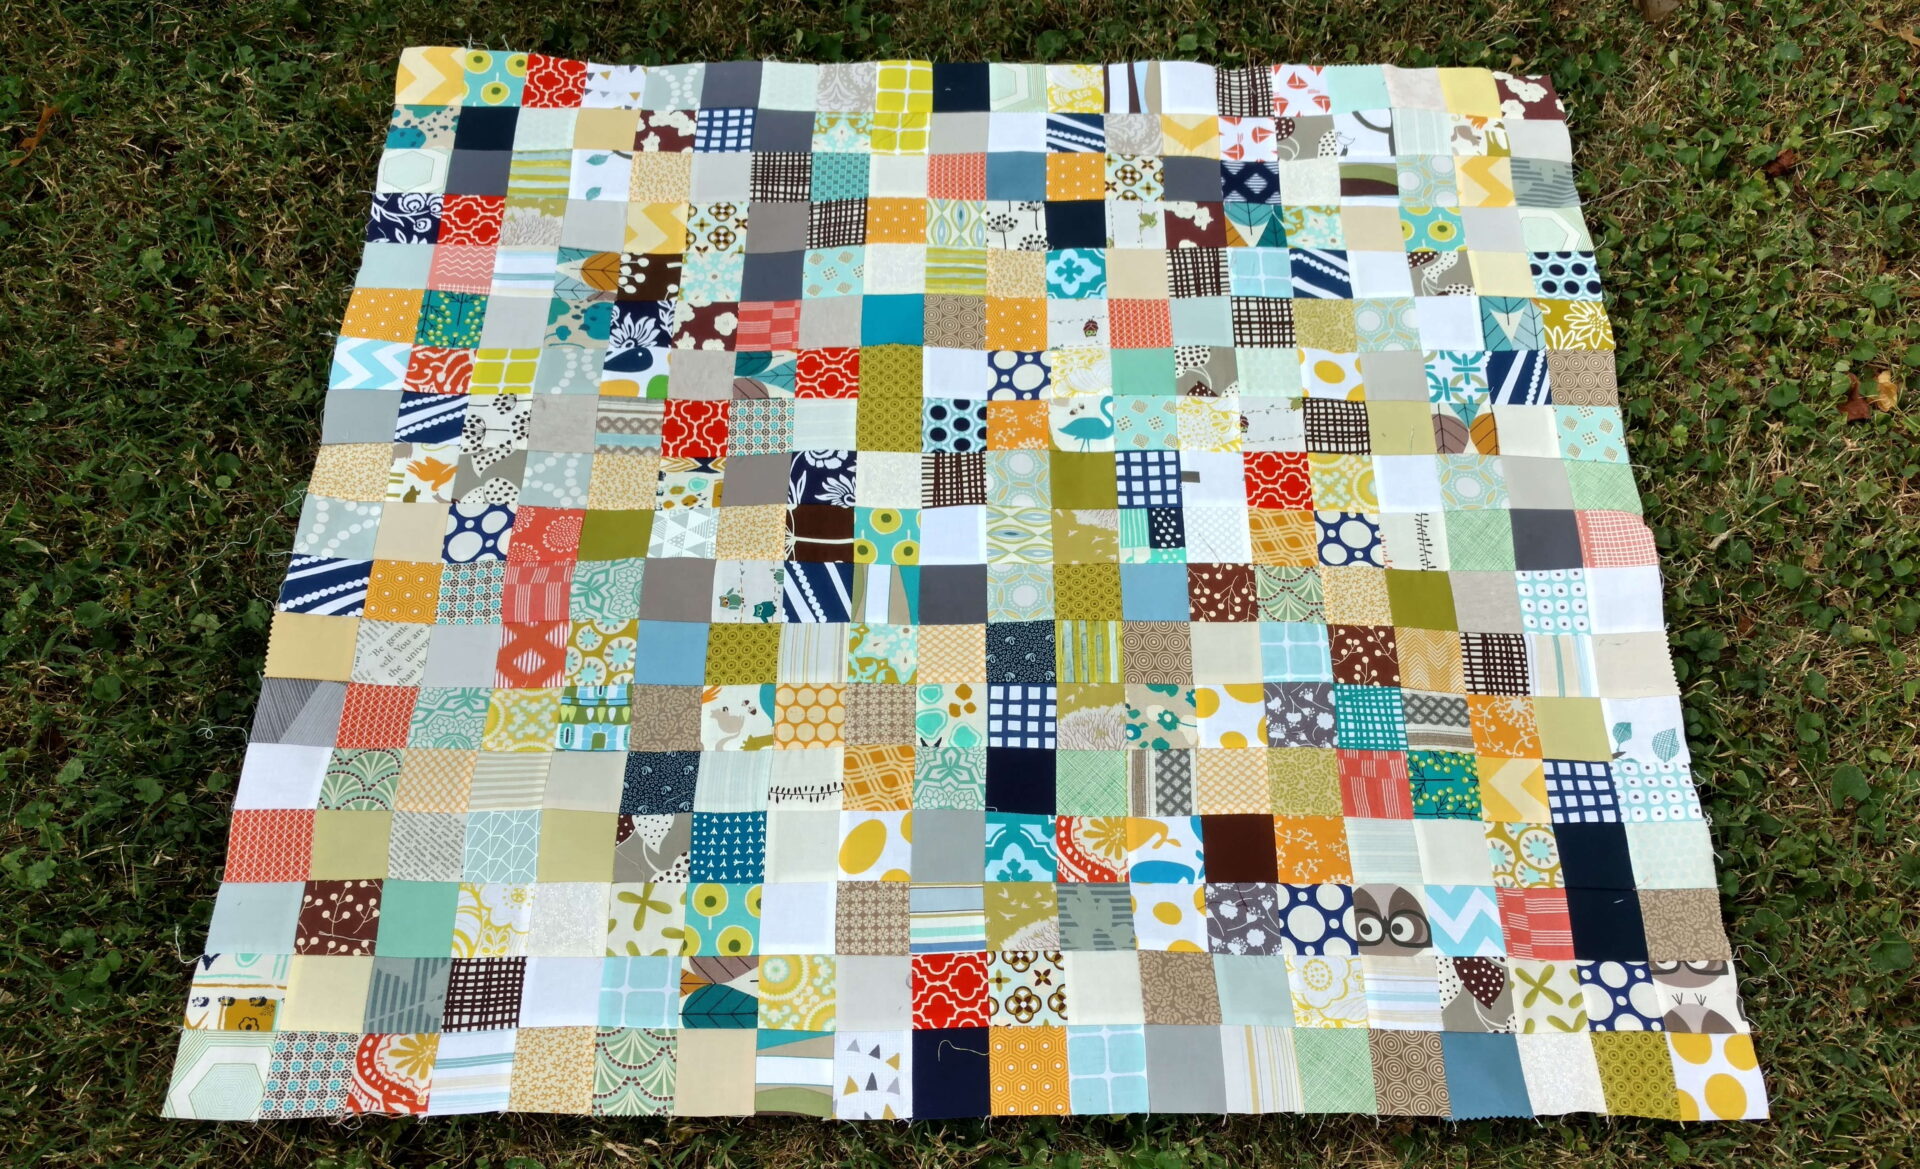
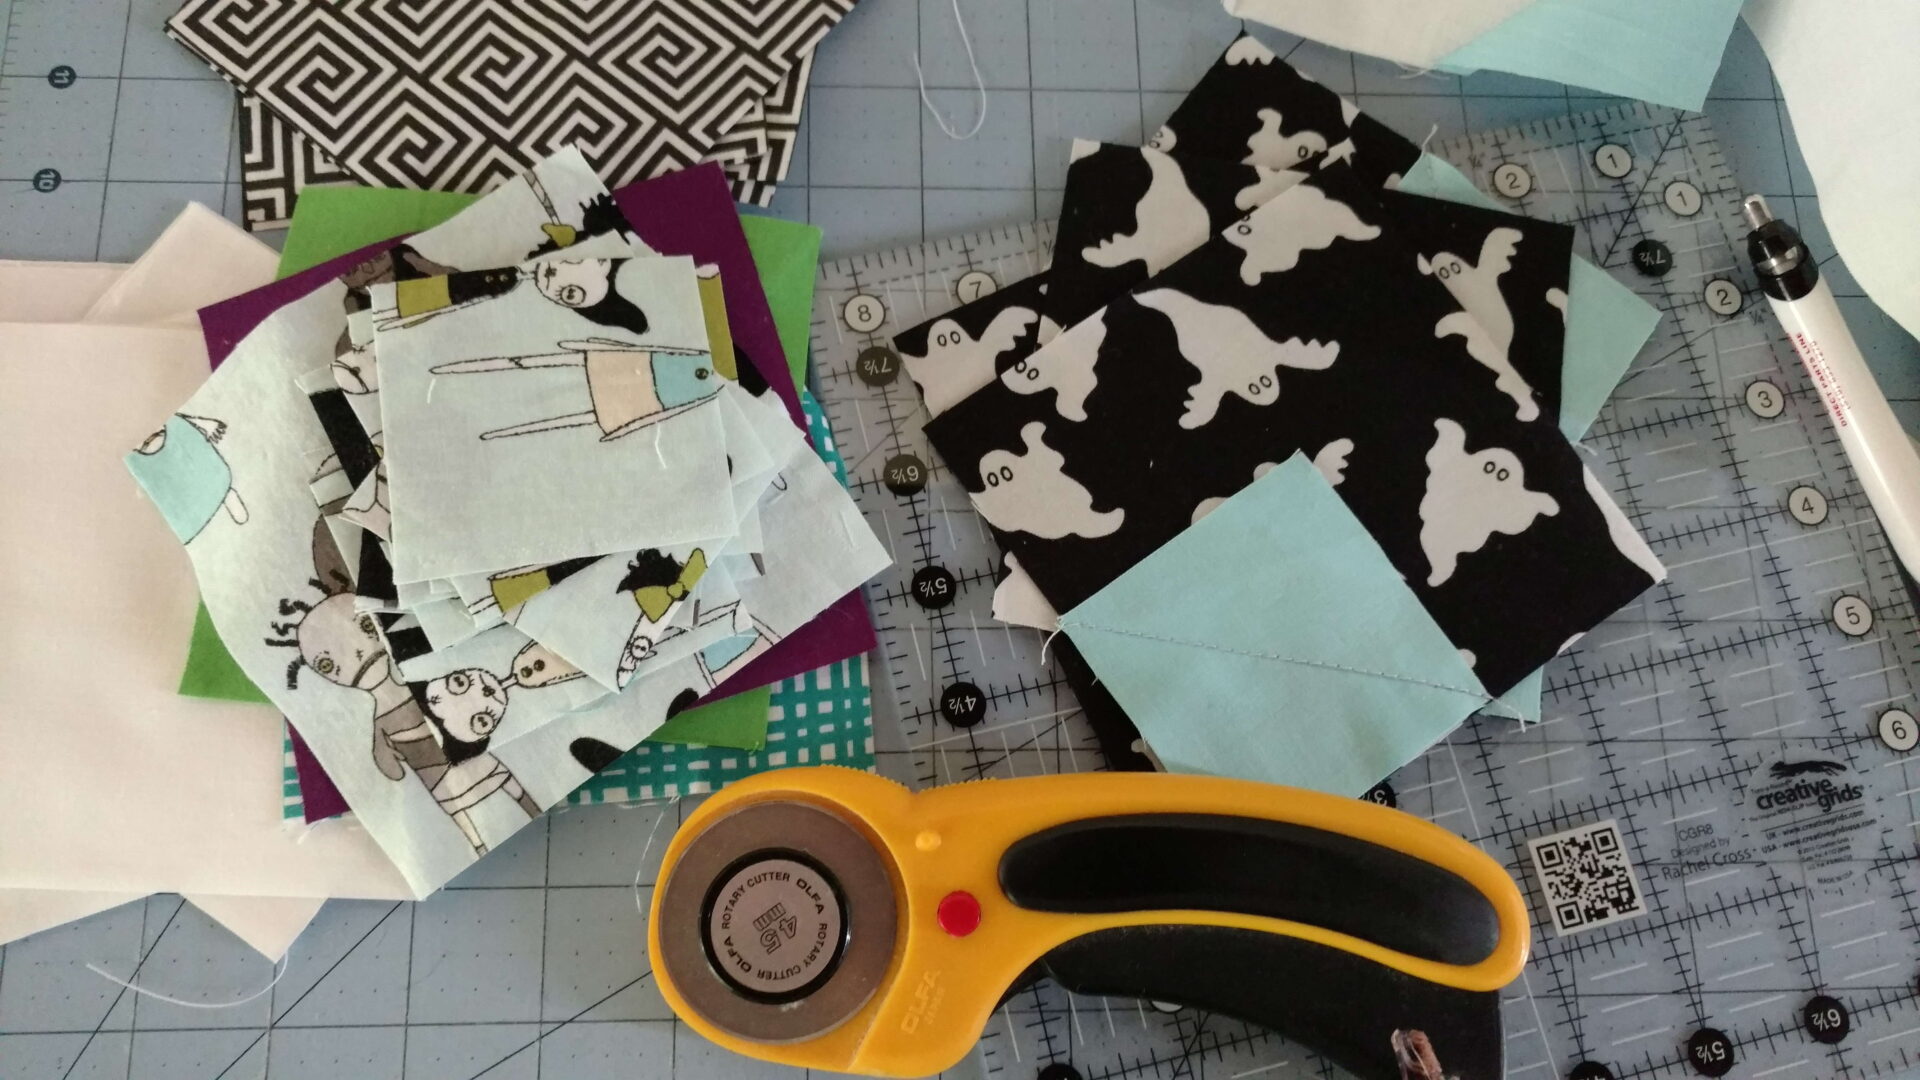
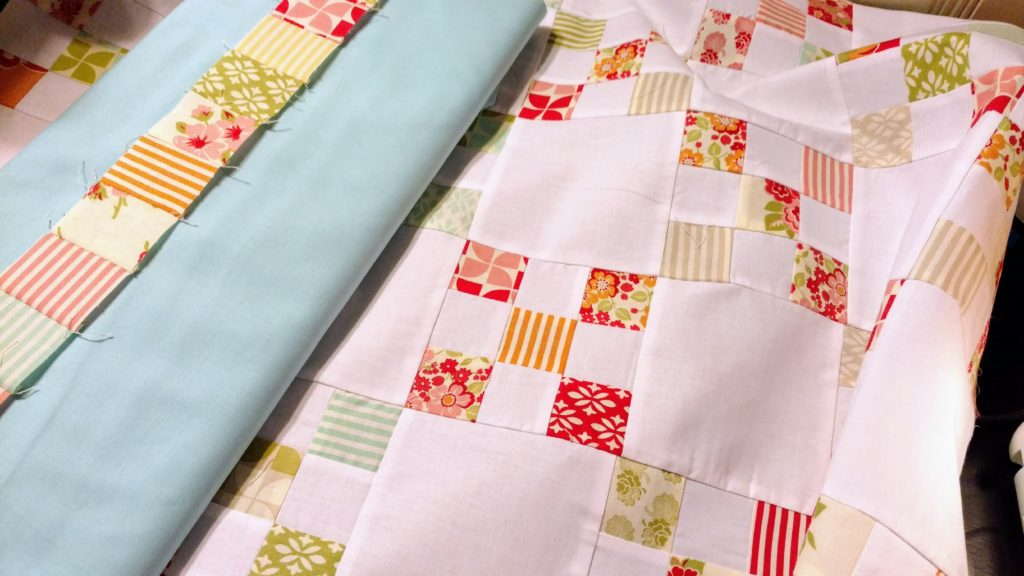
Five years these scraps have been hidden away in a green tub in my sewing room.  No more.  There were just enough to create a scrappy Irish Chain quilt.

marmalade fabric, baby girl quilt, modern baby quilt, improv pieced quilt, twin quilt idea

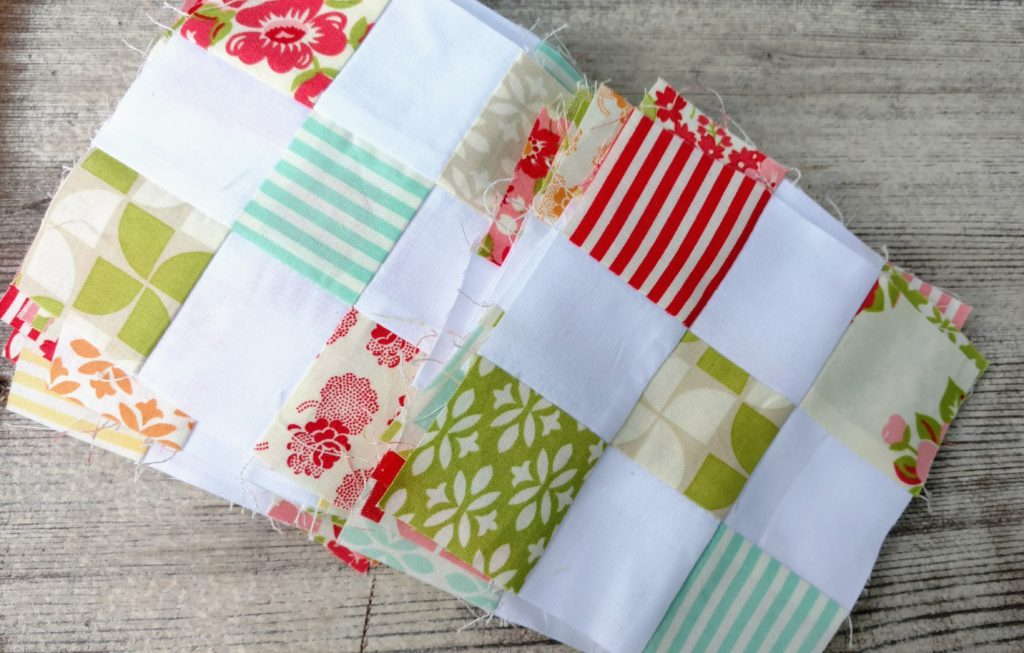
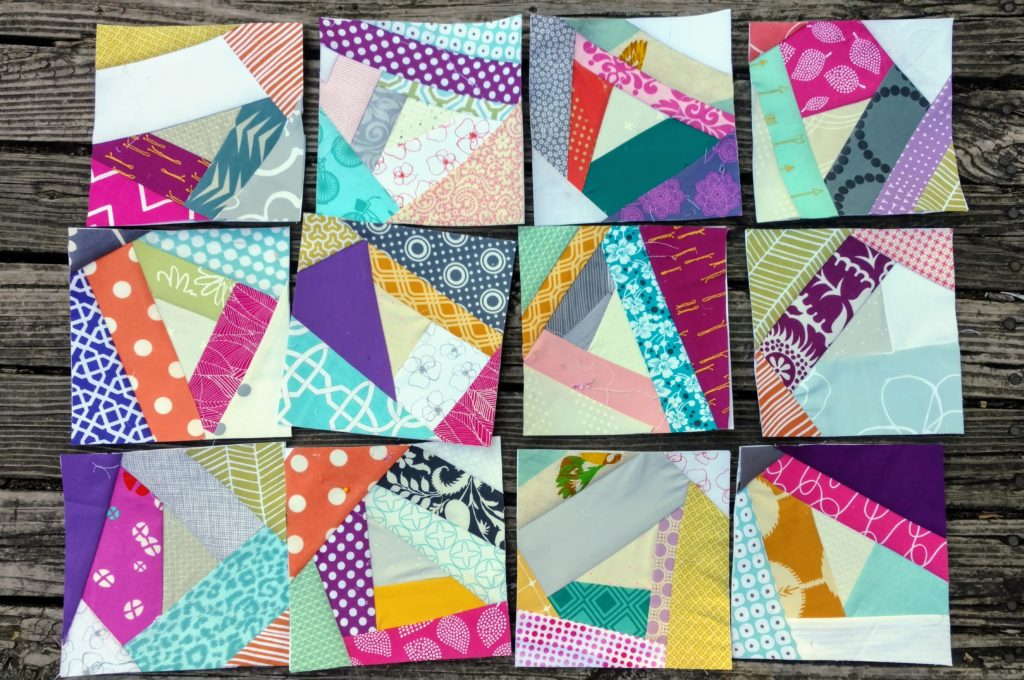
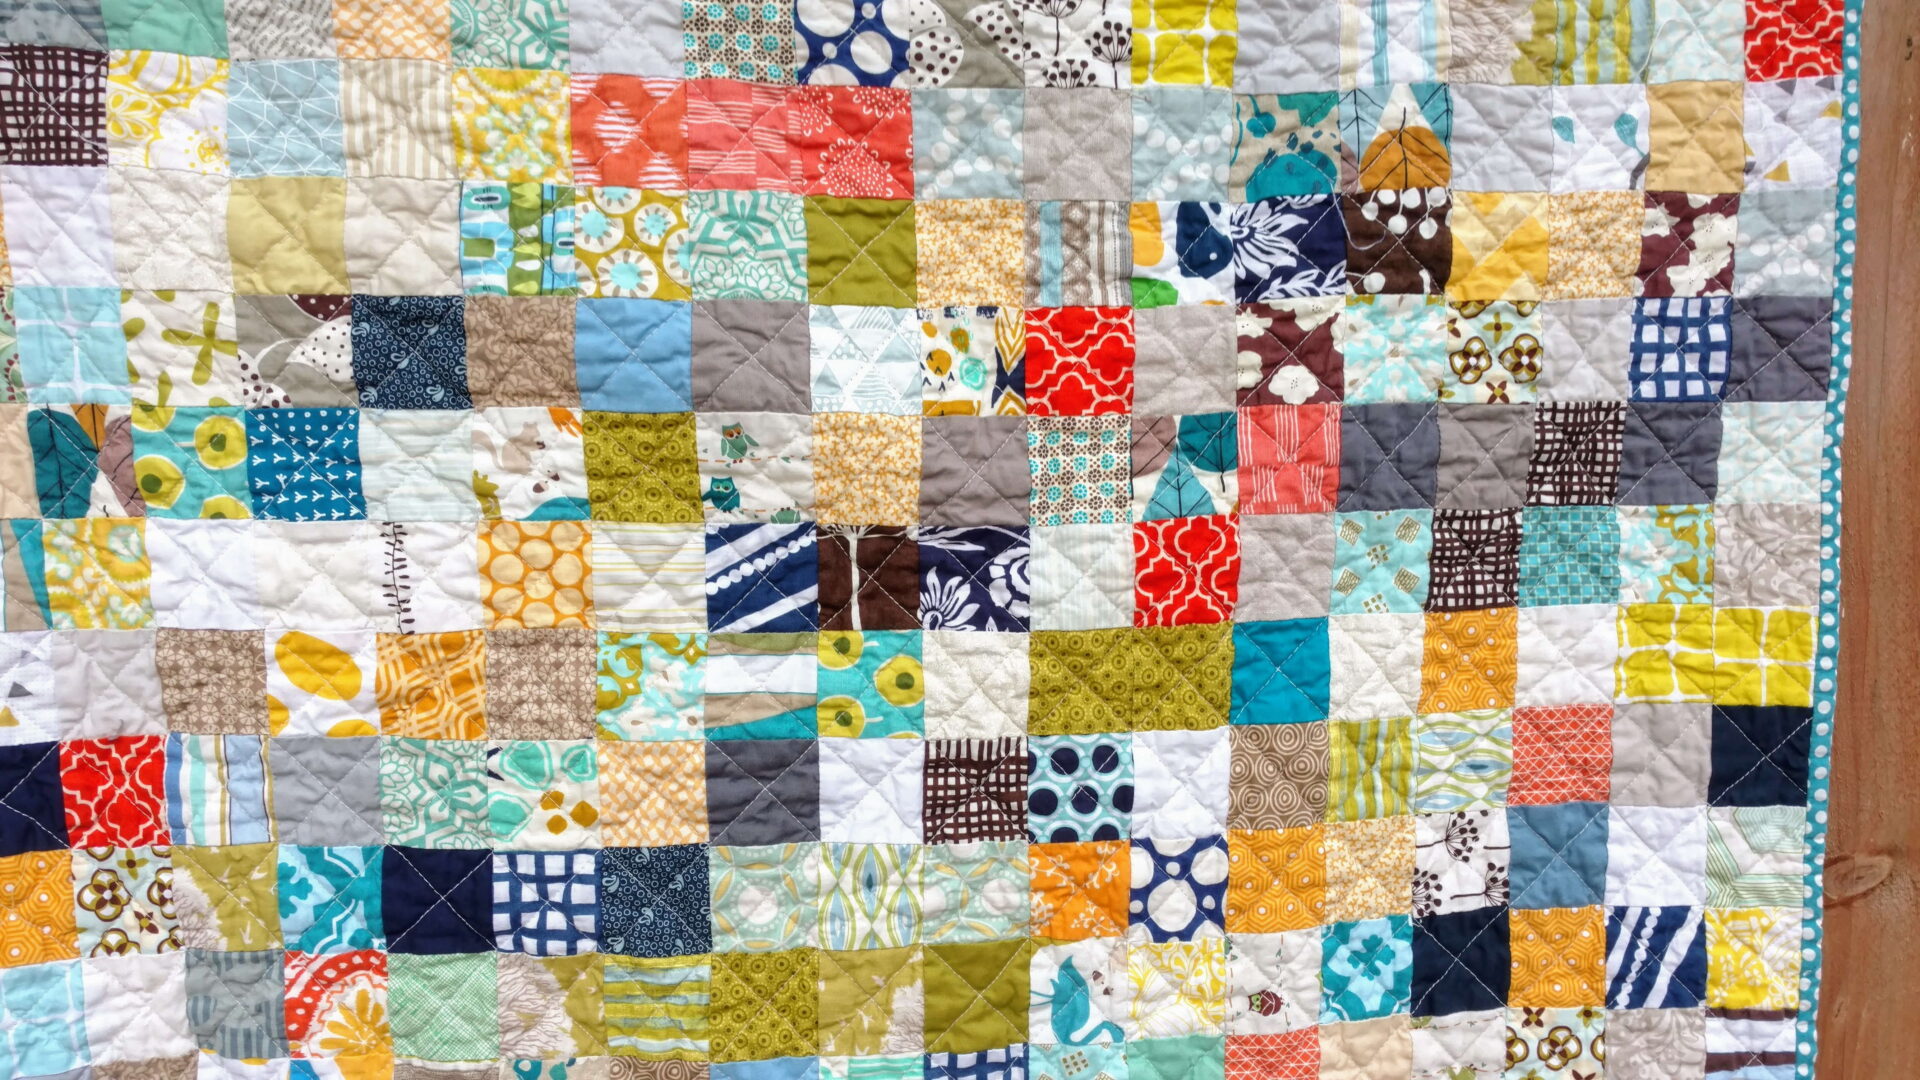
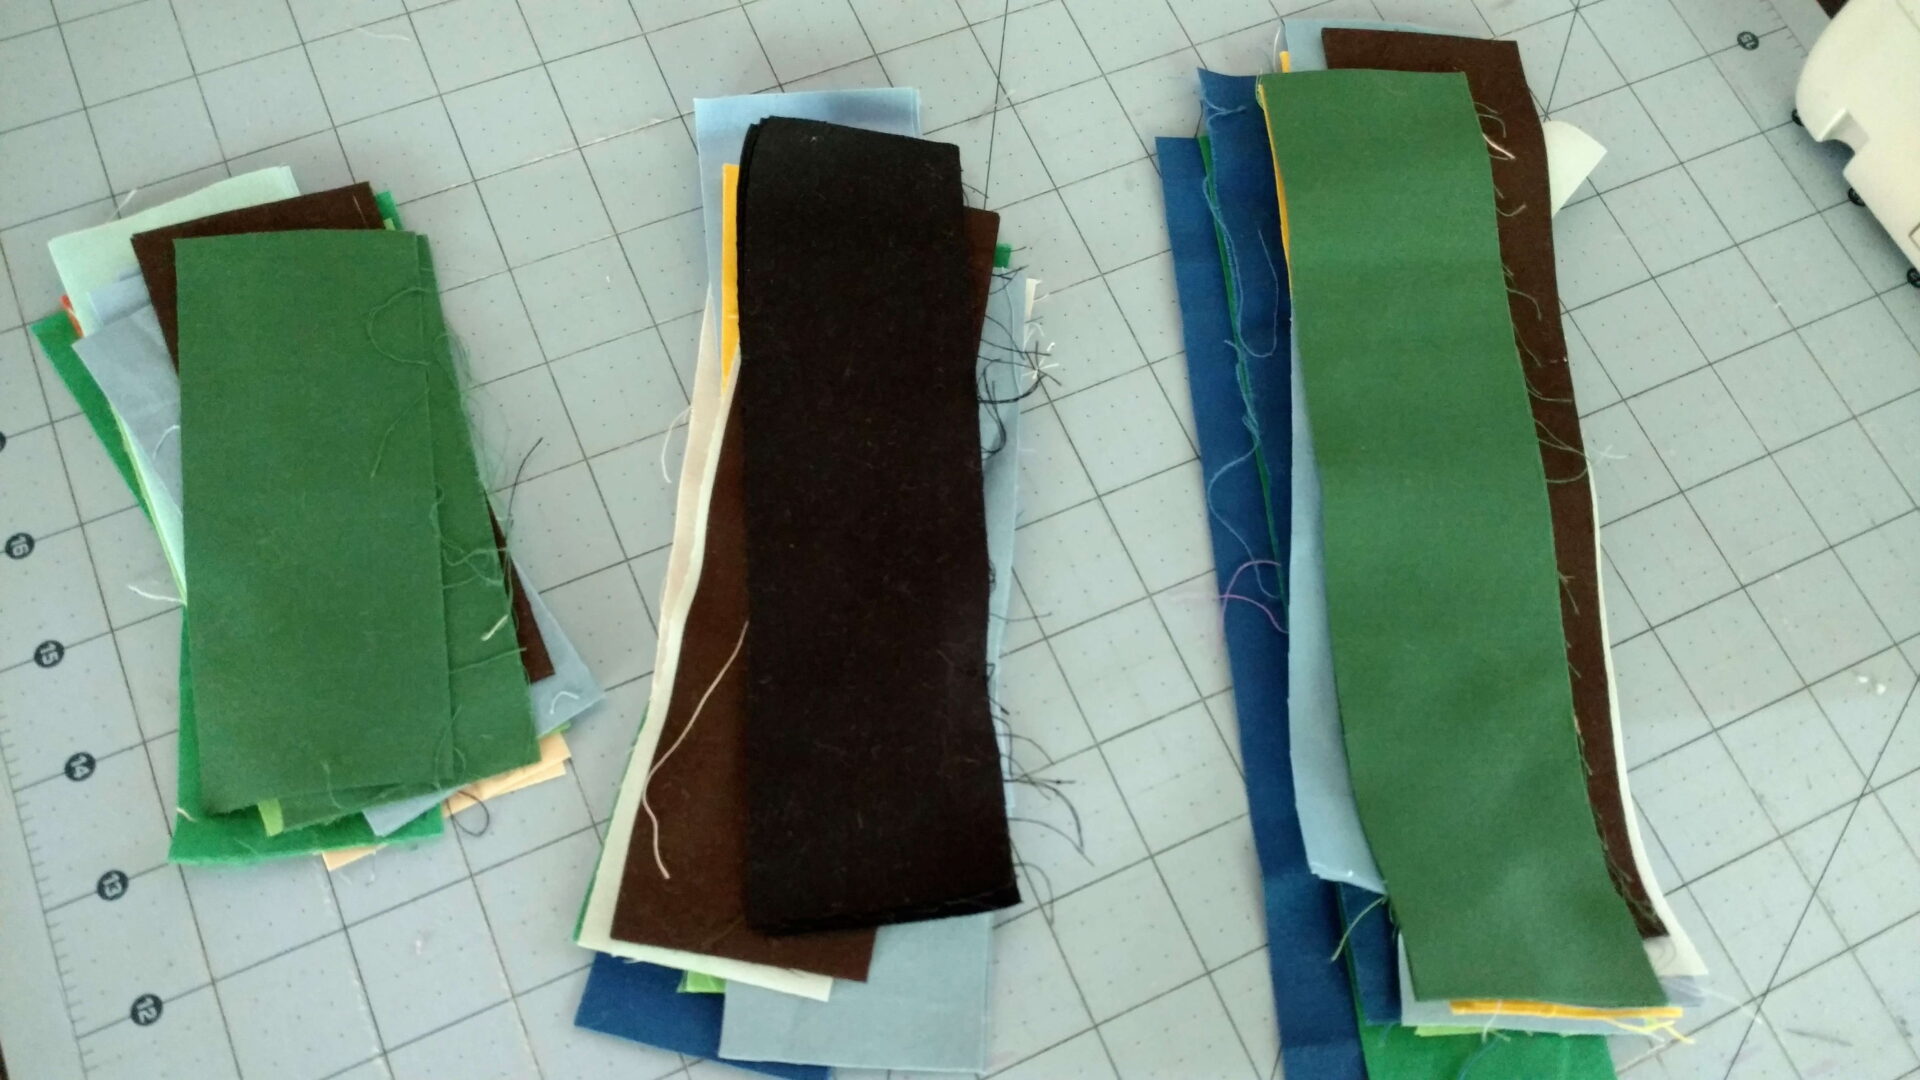
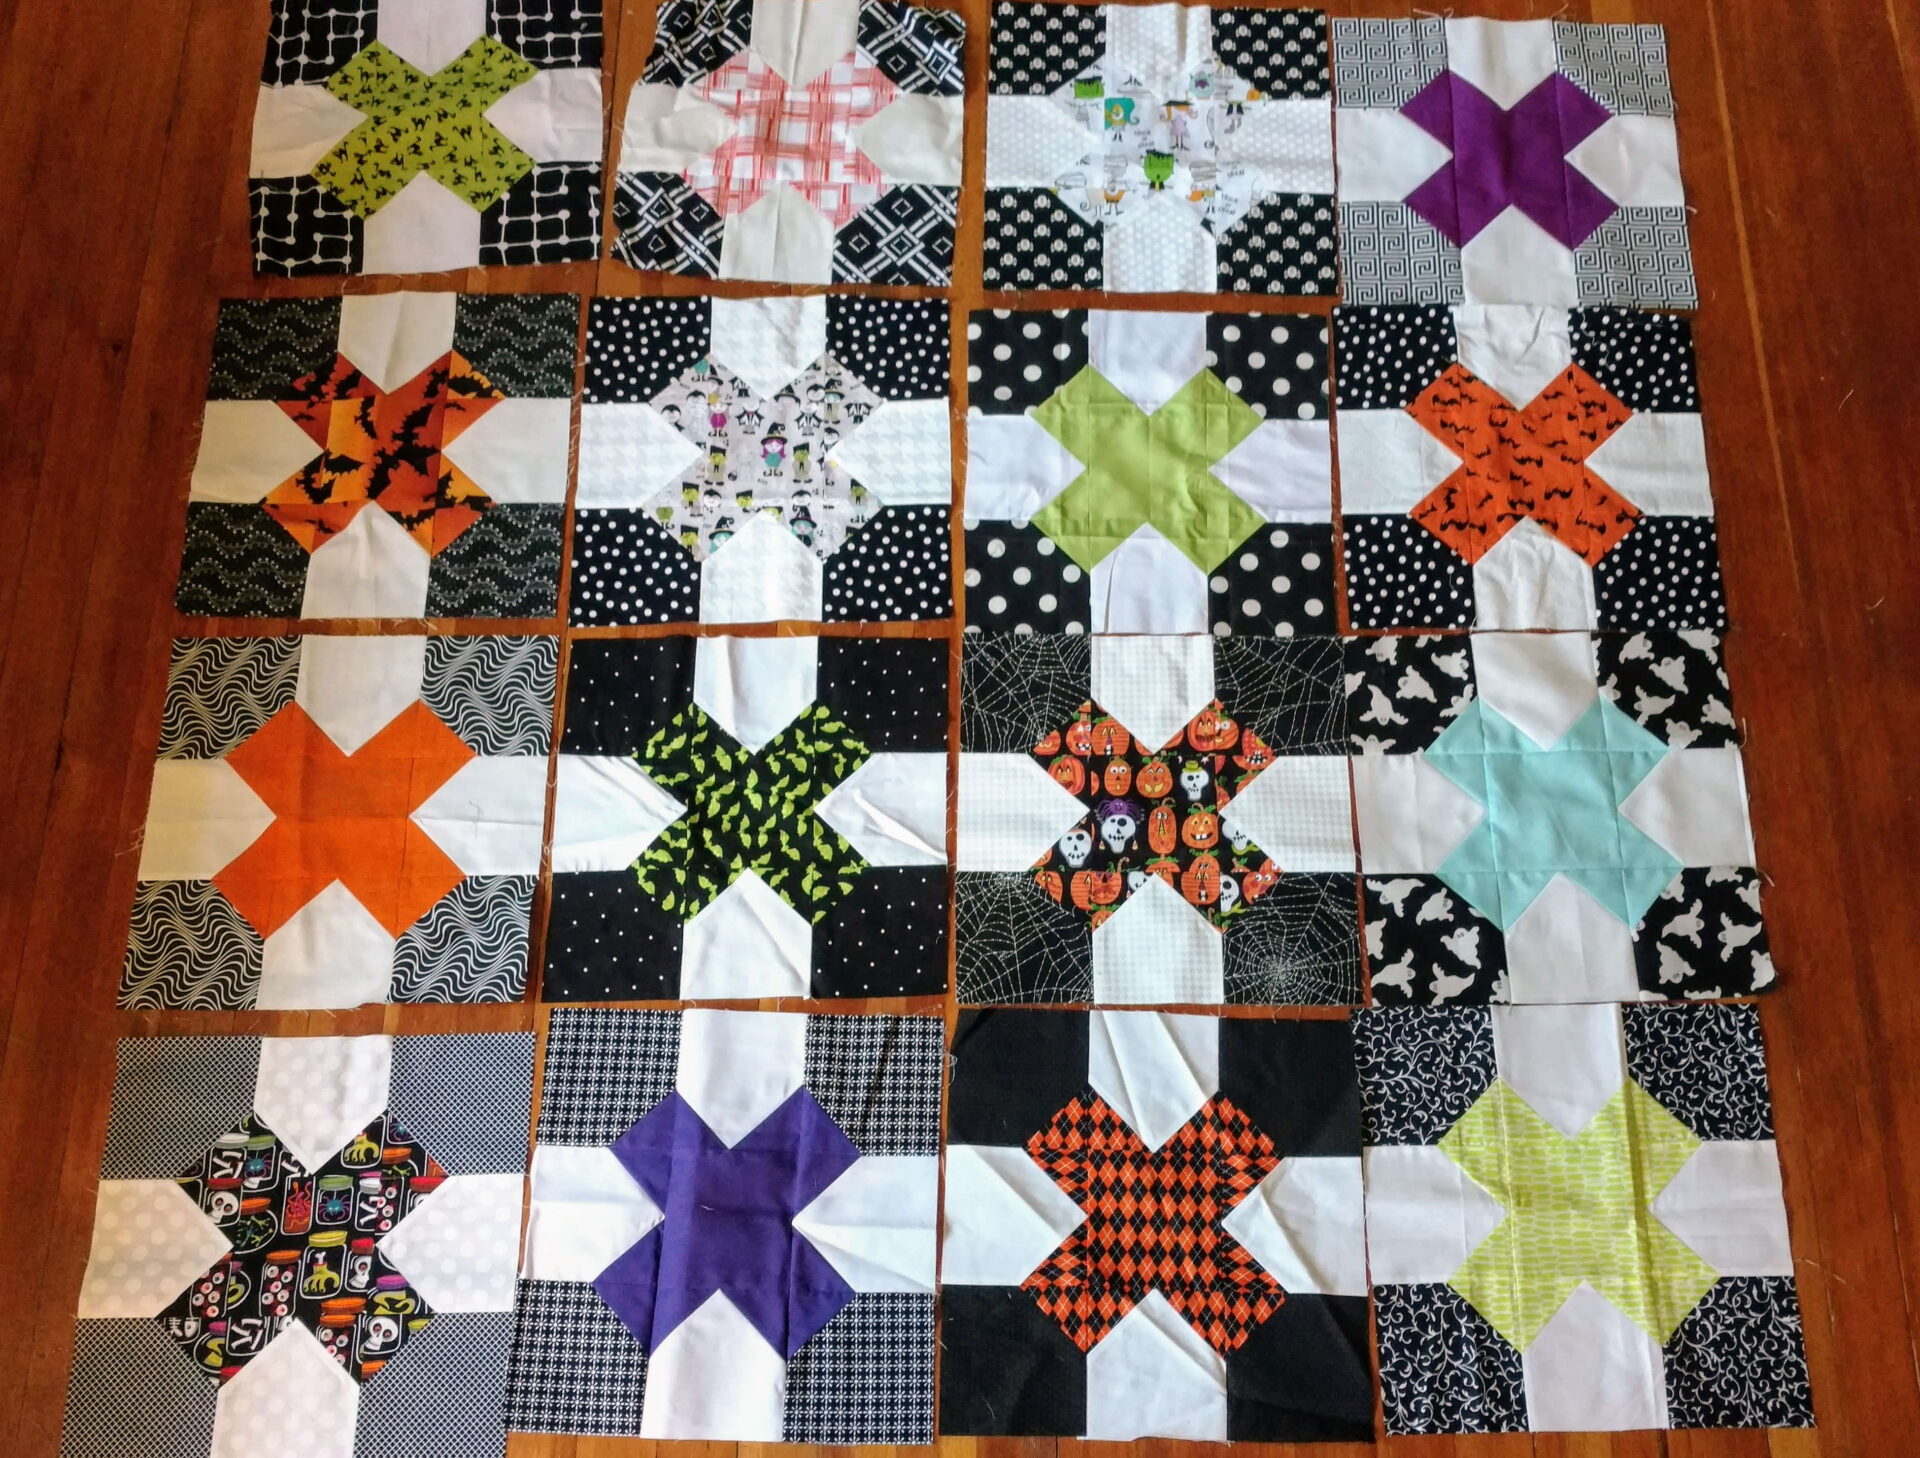
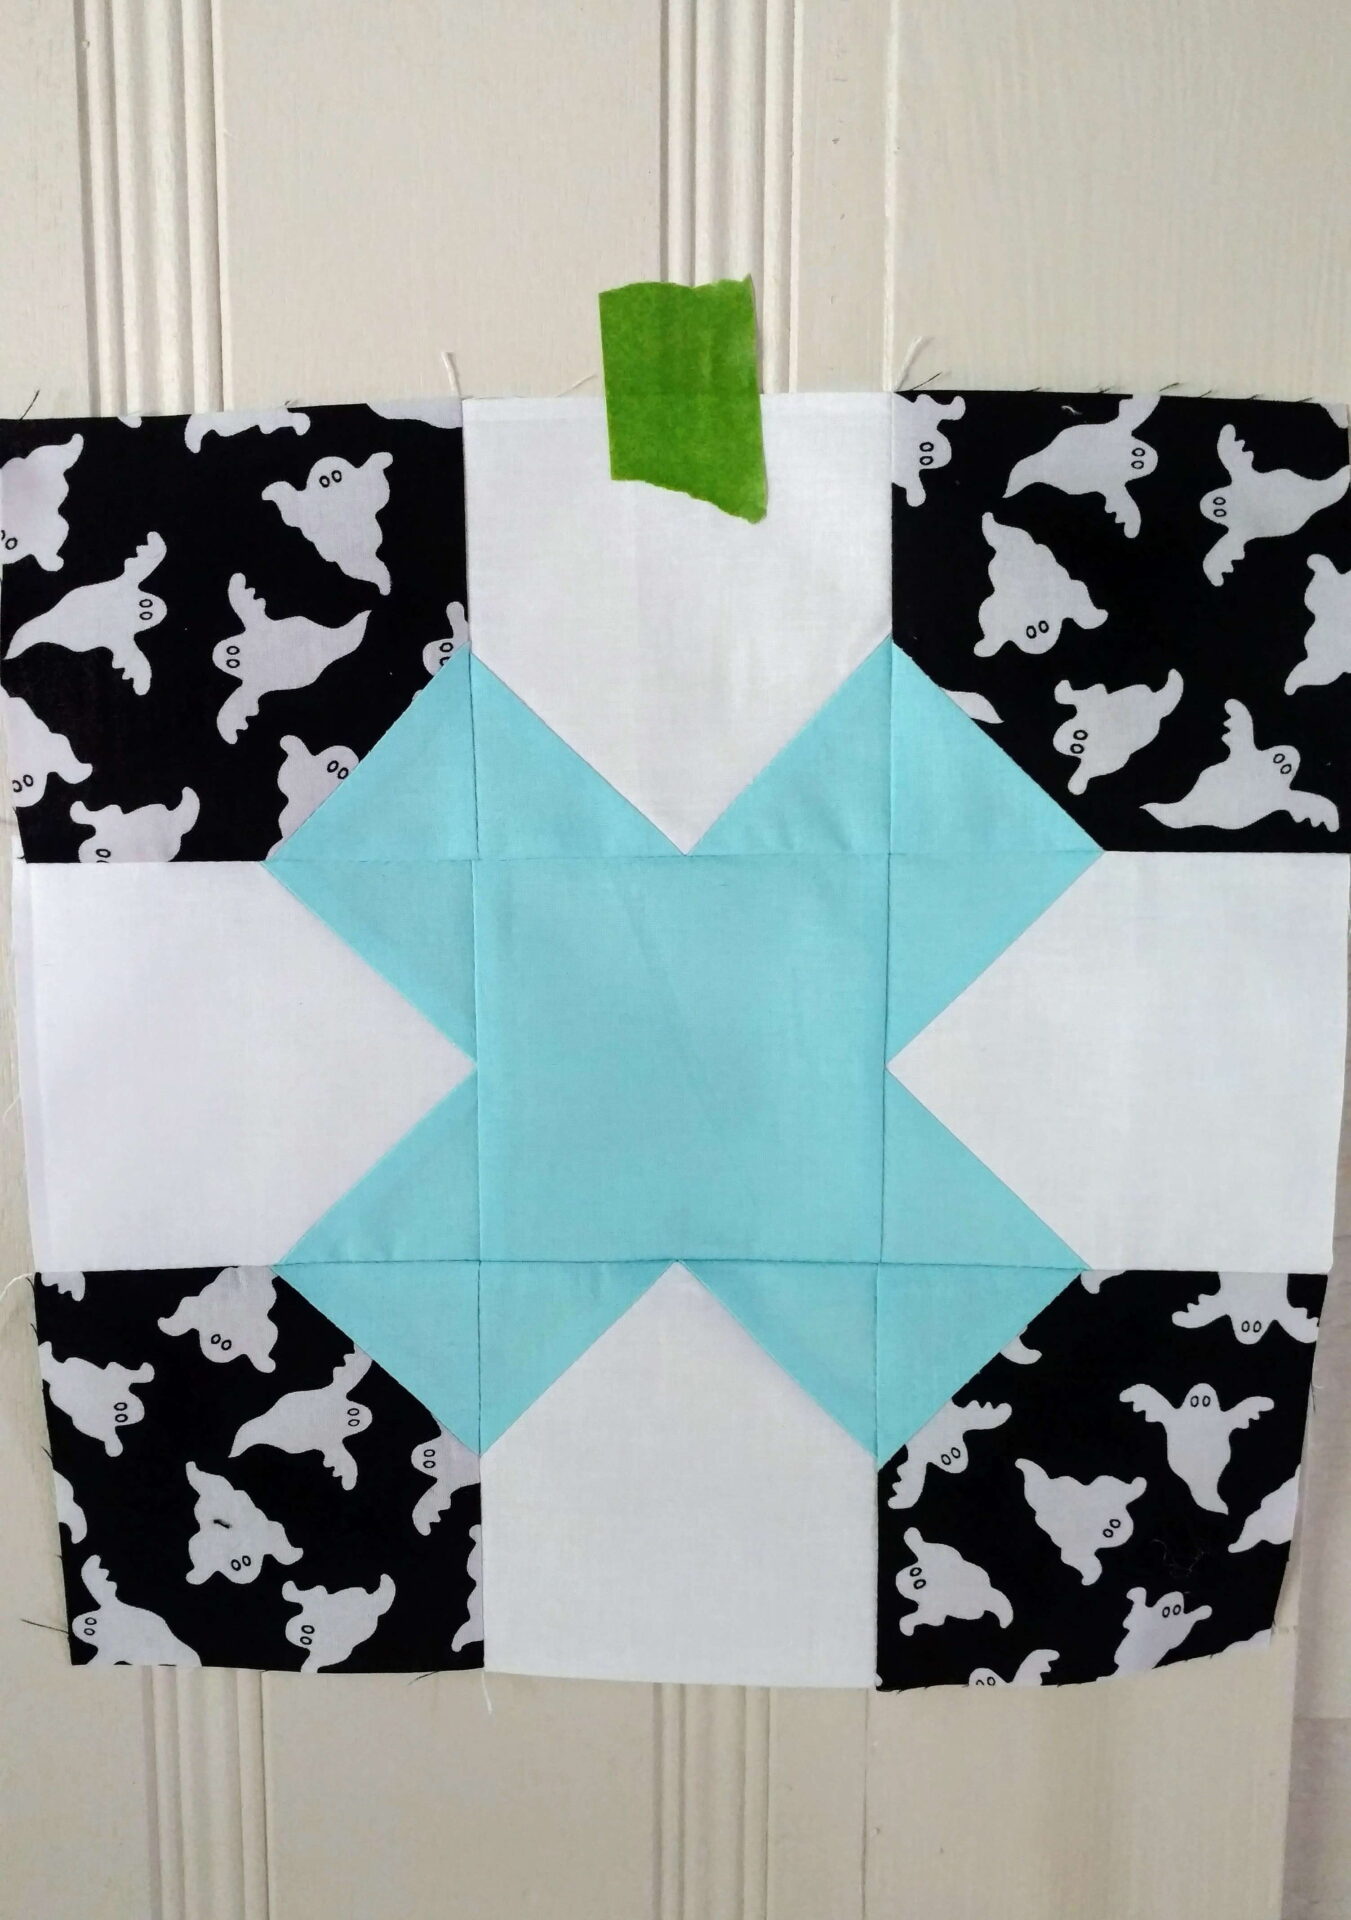
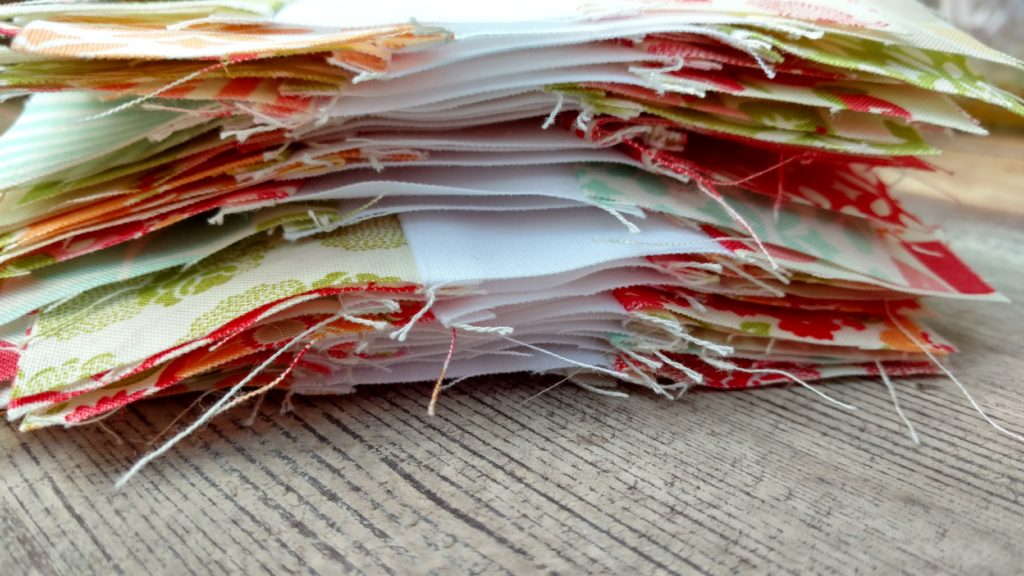
It was therapeutic to chain piece the blocks while binge watching something on Netflix.  It’s easy to get lost in a series when you blocks to piece.  This stack is lovely.

marmalade fabric, baby girl quilt, modern baby quilt, improv pieced quilt, twin quilt idea

If you haven’t made a scrappy Irish Chain quilt, add it to your list.  With 2″ scraps, your block finishes at 5″.  I tend to keep a stack of Kona White 5″ blocks around for just this situation.

marmalade fabric, baby girl quilt, modern baby quilt, improv pieced quilt, twin quilt idea

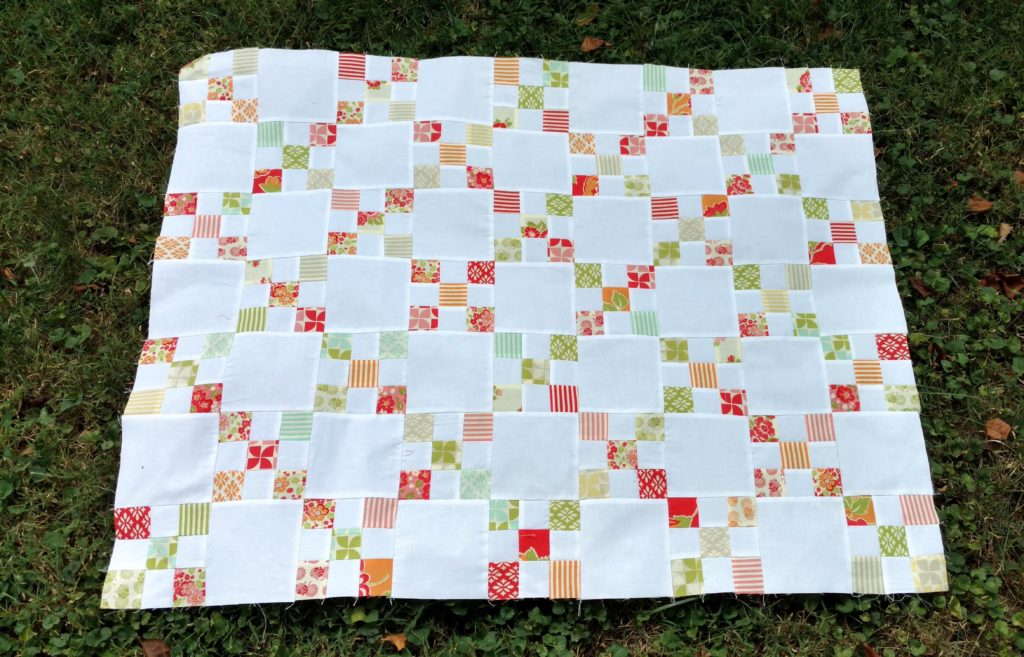
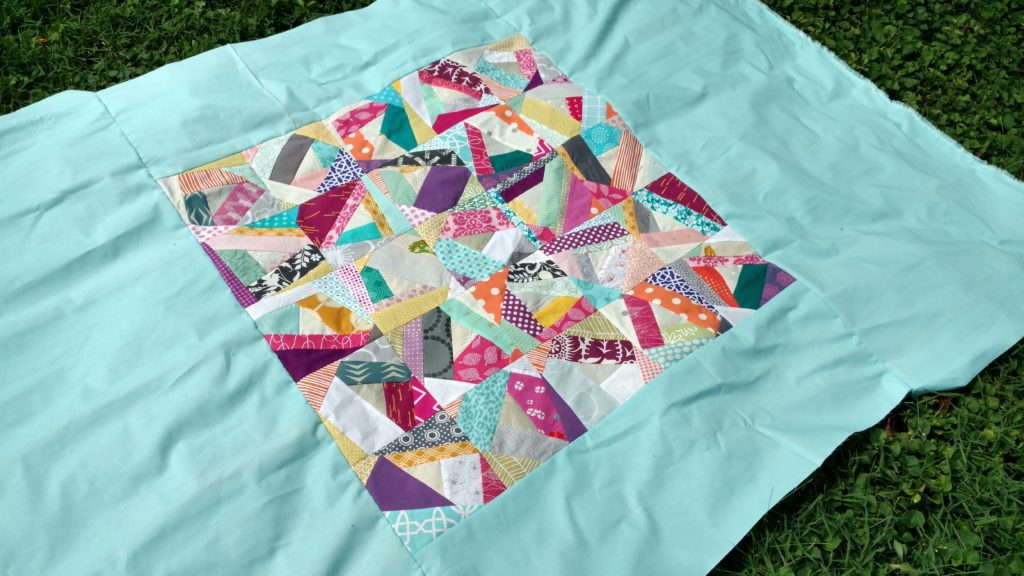
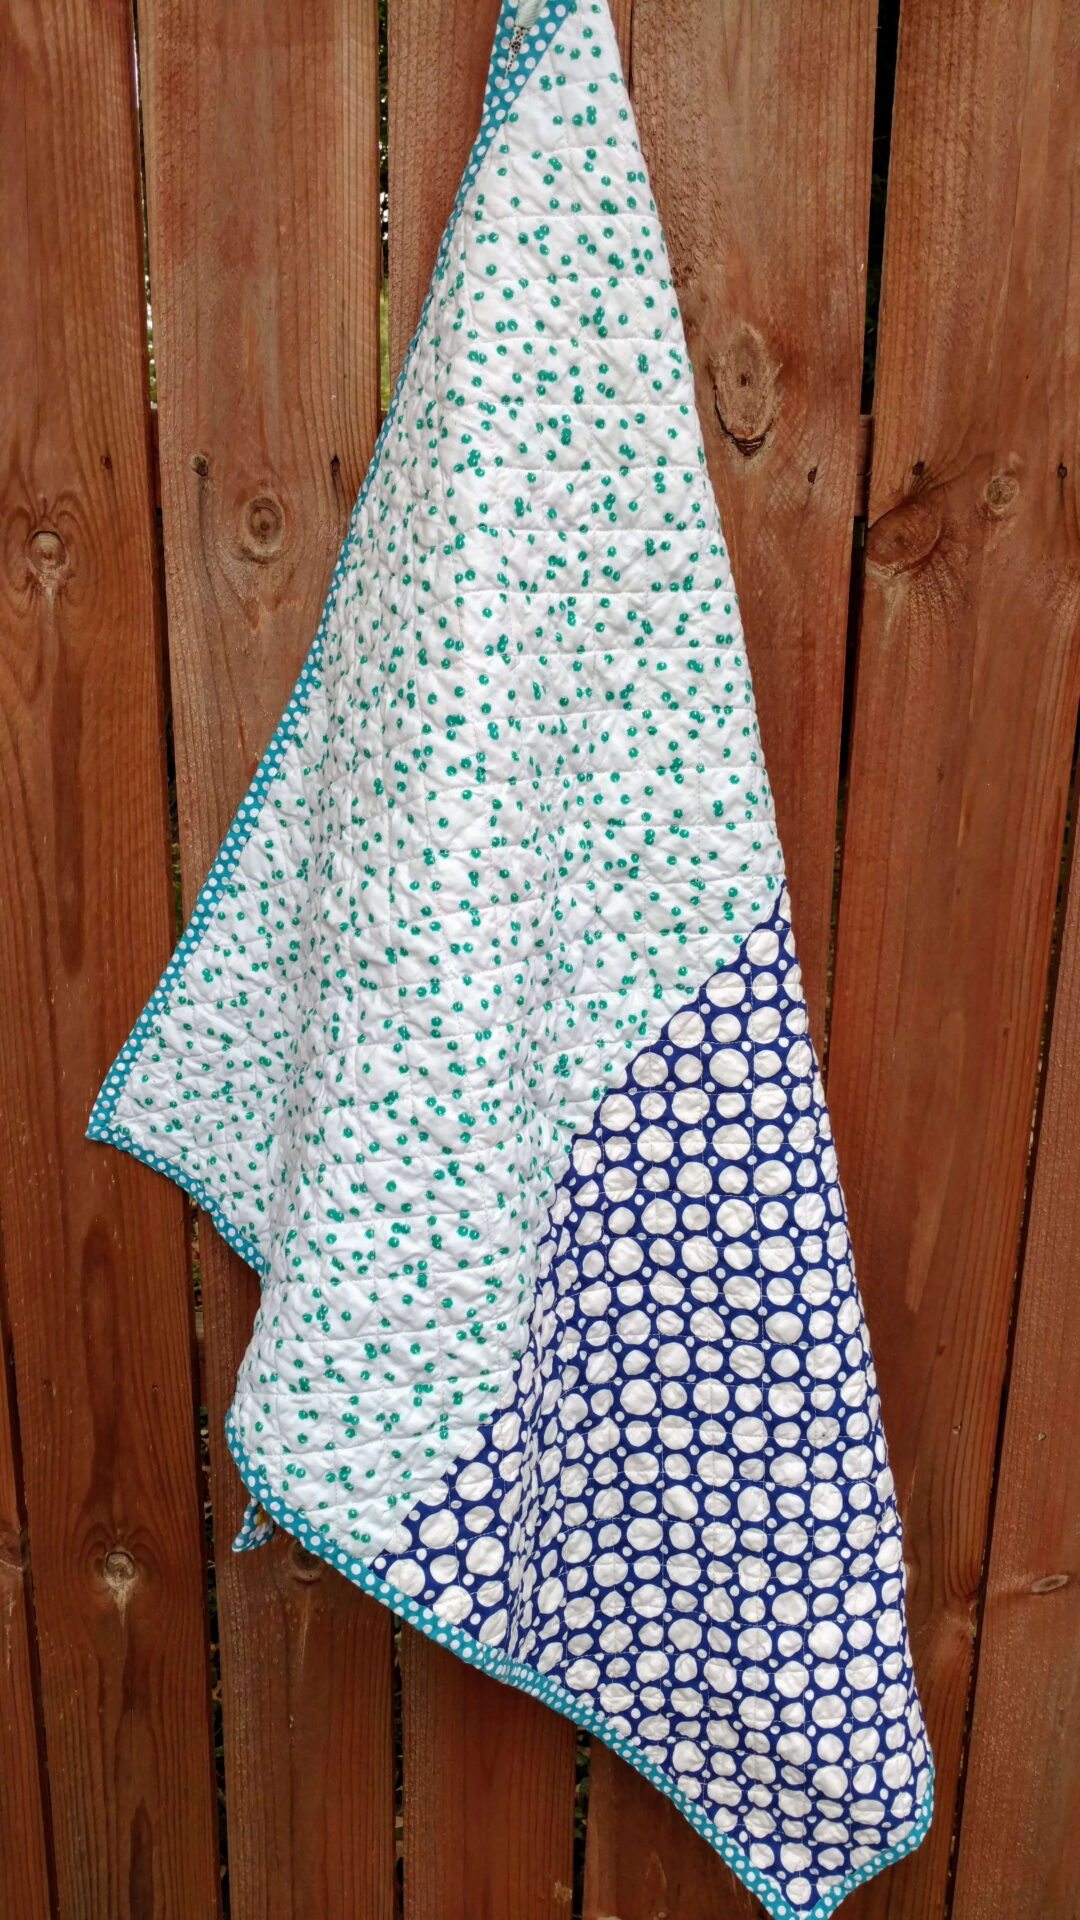
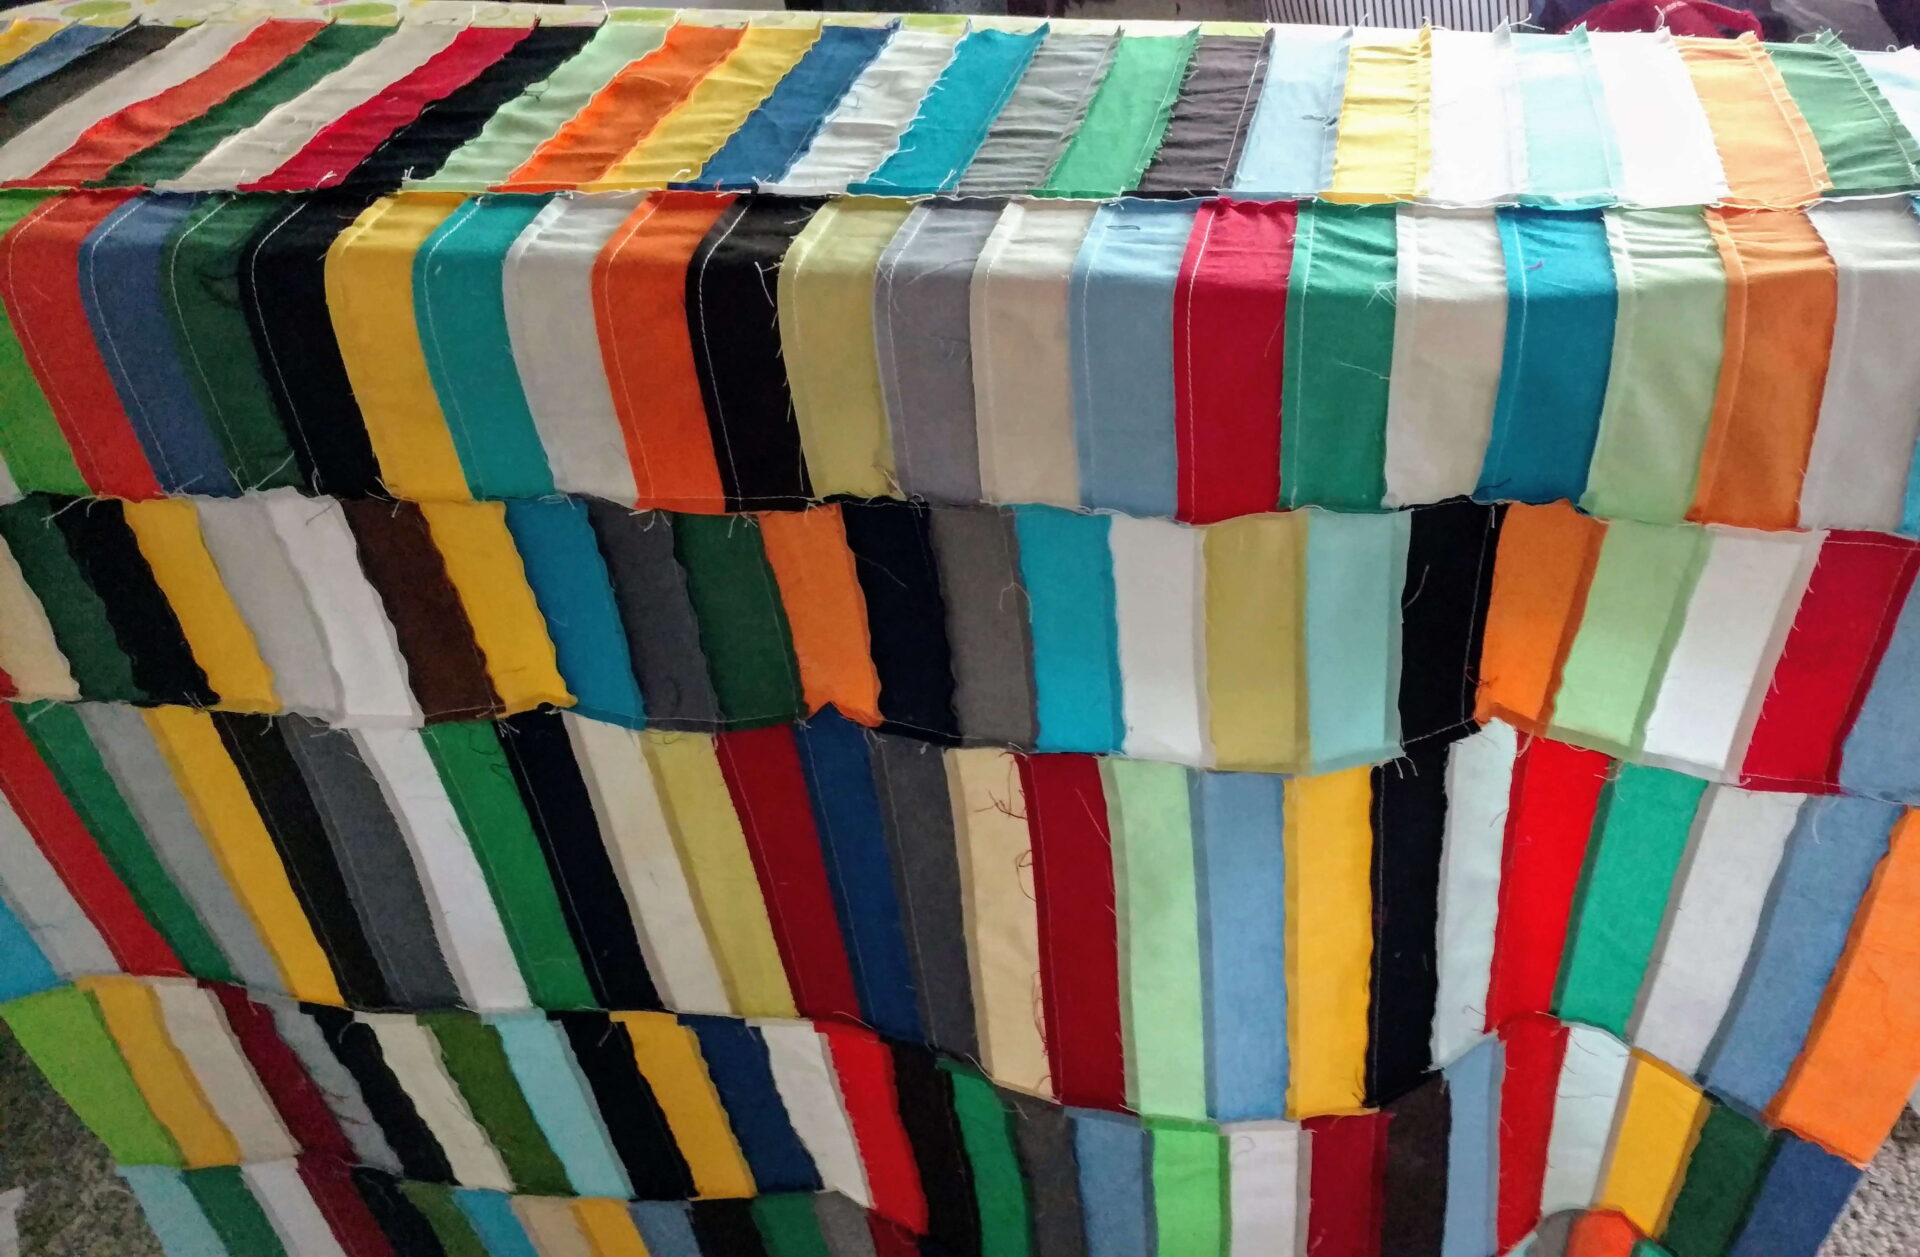
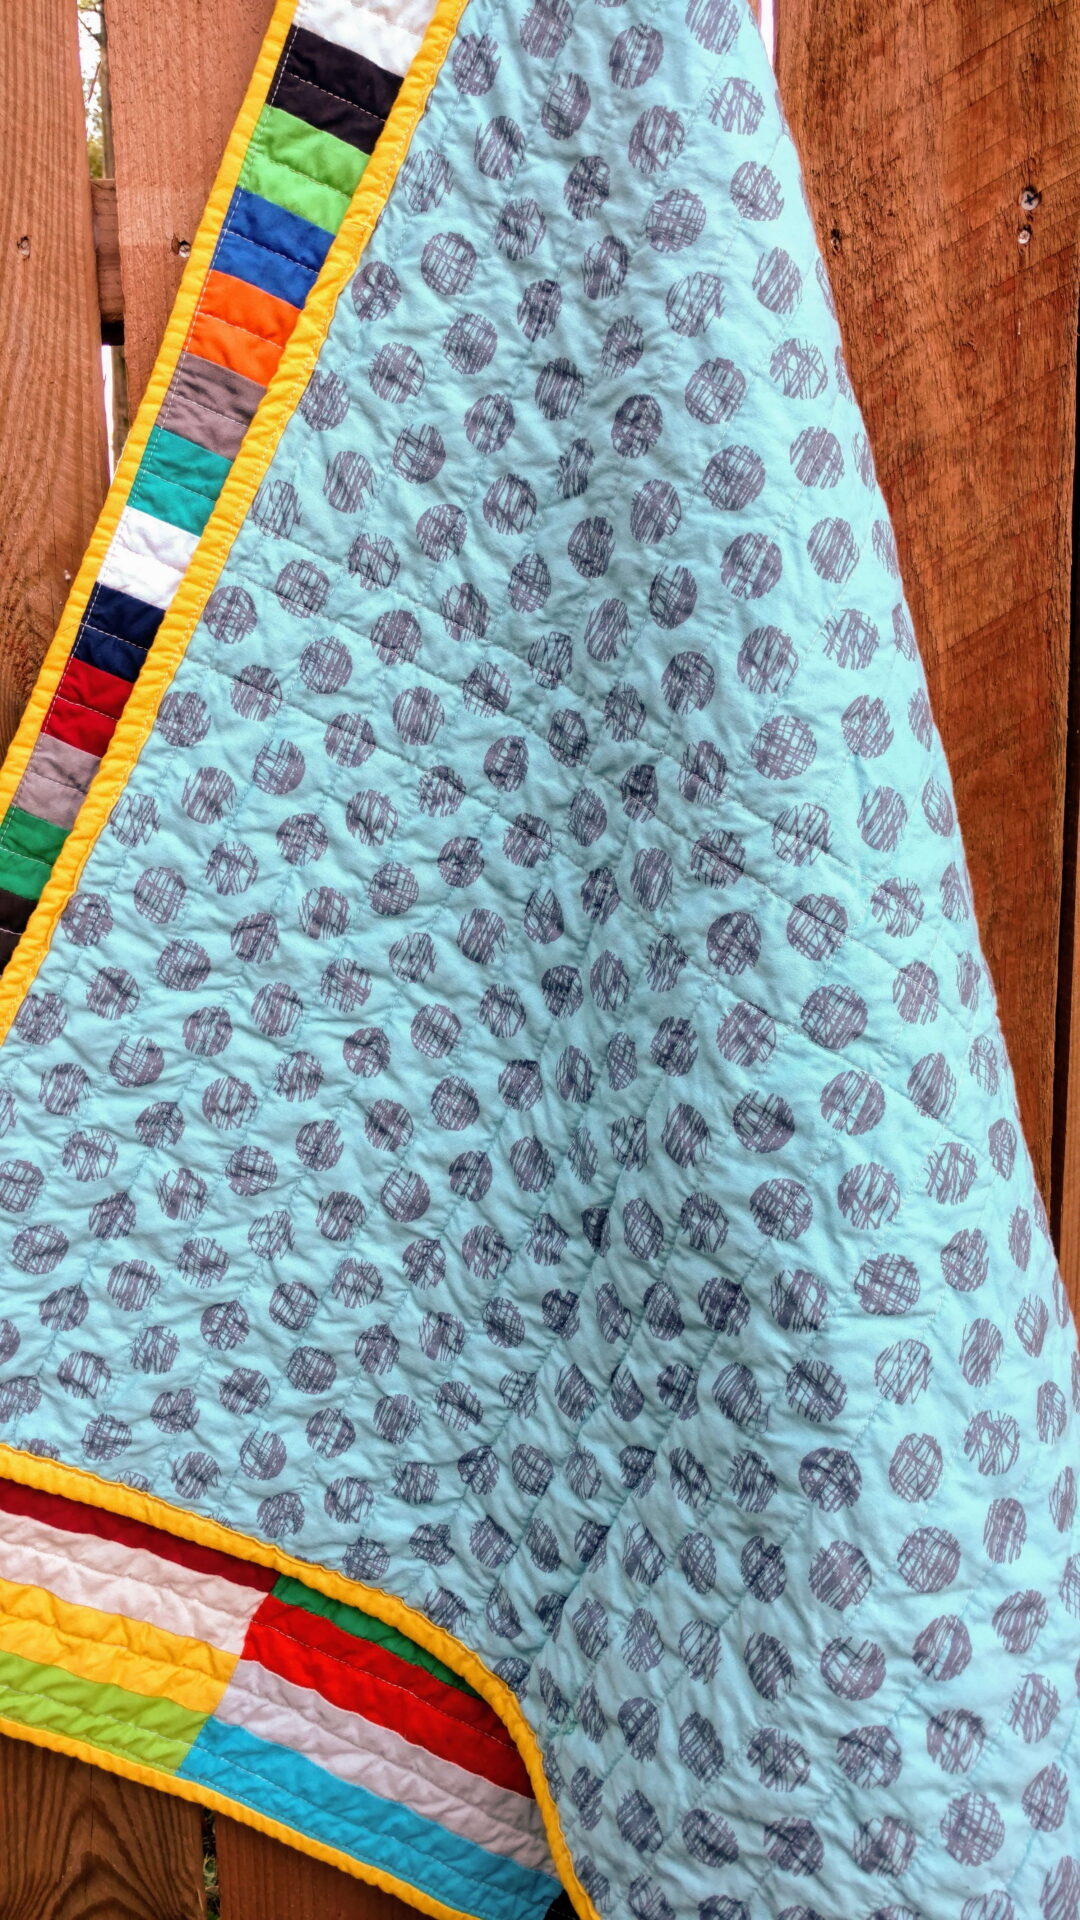
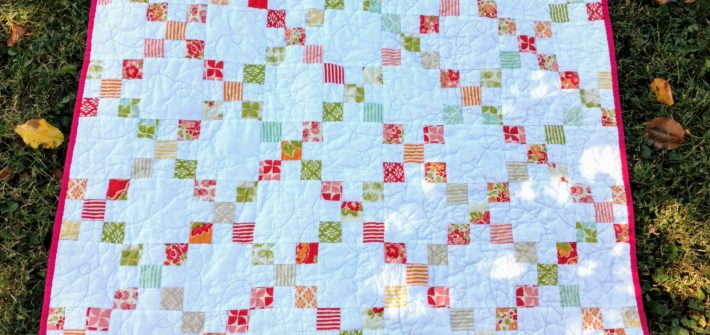
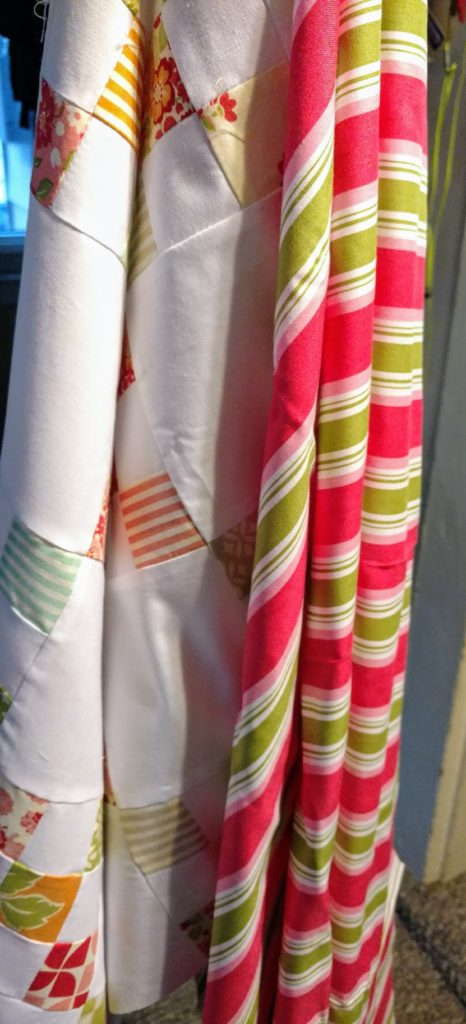
The quilt top came together easily.  I struggled to pick the right backing for this project.  As I started this quilt I envision using Kona Robin’s Egg blue on the back.  While digging around for another project’s scraps, I found a pink and green stripe that complimented the front.  What to do?  Thanks to Instagram and Facebook, my original idea won.

marmalade fabric, baby girl quilt, modern baby quilt, improv pieced quilt, twin quilt idea

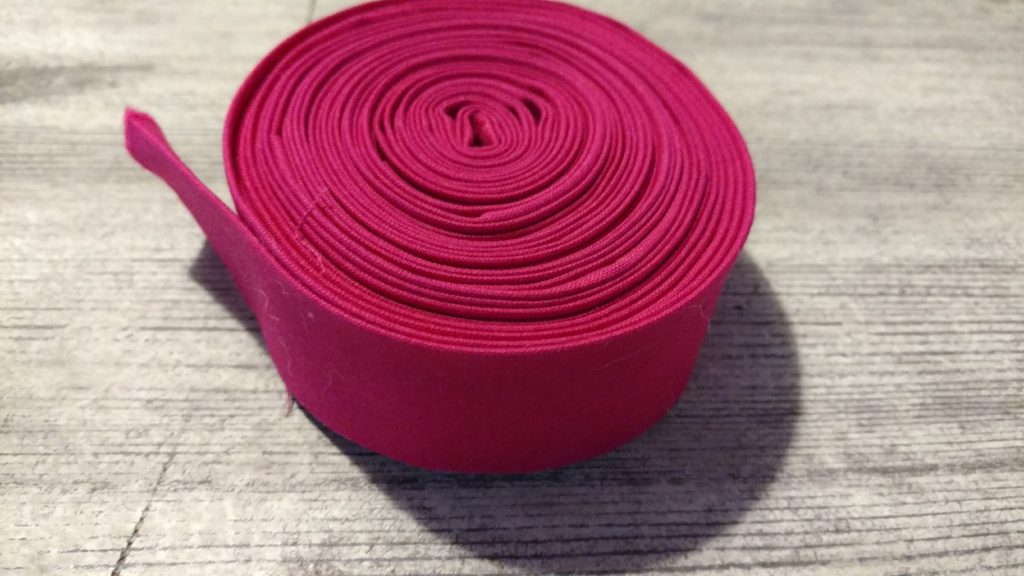
Kona Pomegranate was also found while digging around.  It was perfect dark pink to coordinate with all the other colors.

solid binding, kona solid

Let me ask again, “Why did I wait so long to try free motion quilting?”  Being able to quilt something in just a couple of hours is liberating.  It’s not perfect and that is okay.


marmalade fabric, baby girl quilt, modern baby quilt, improv pieced quilt, twin quilt idea

marmalade fabric, baby girl quilt, modern baby quilt, improv pieced quilt, twin quilt idea

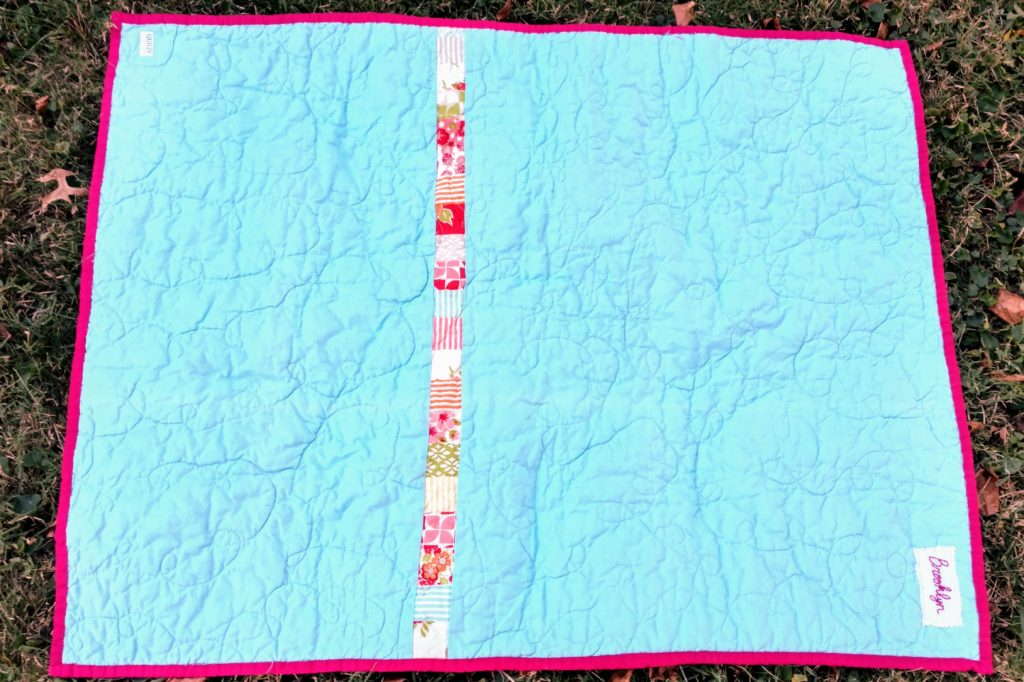
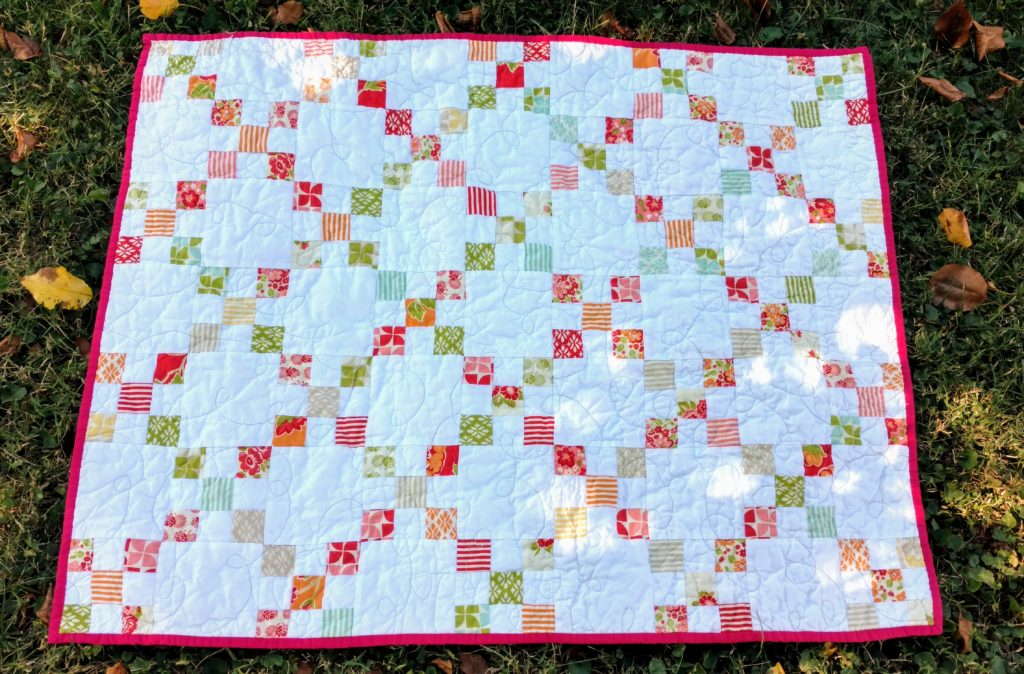
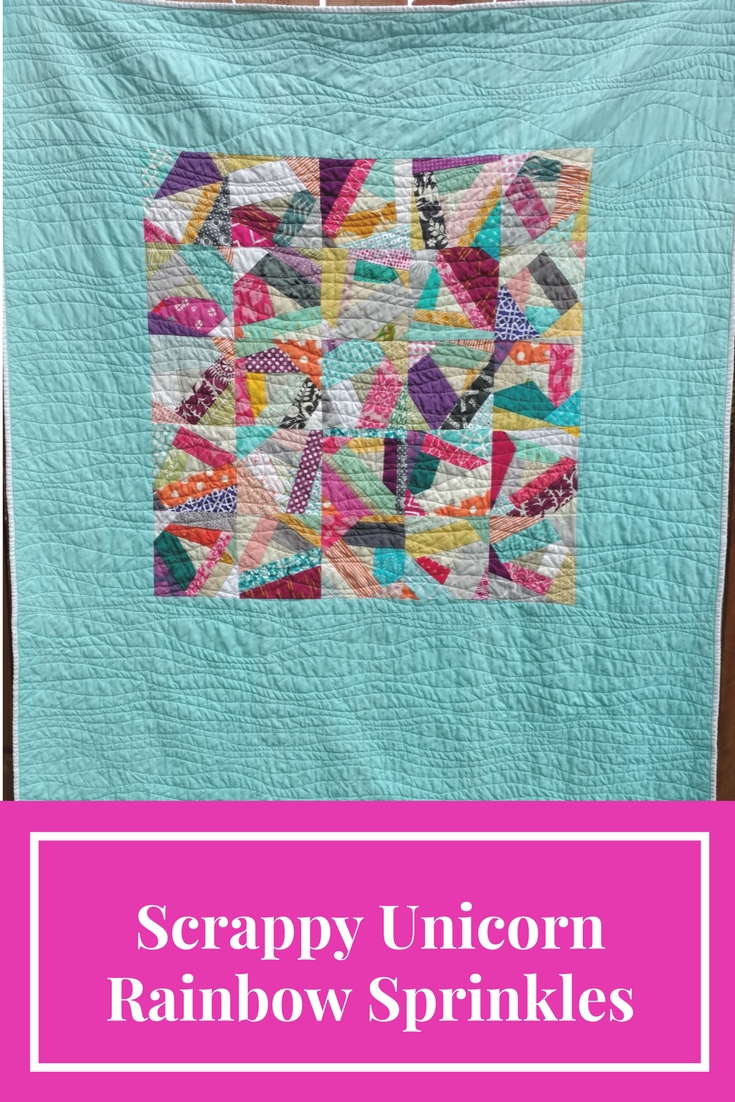
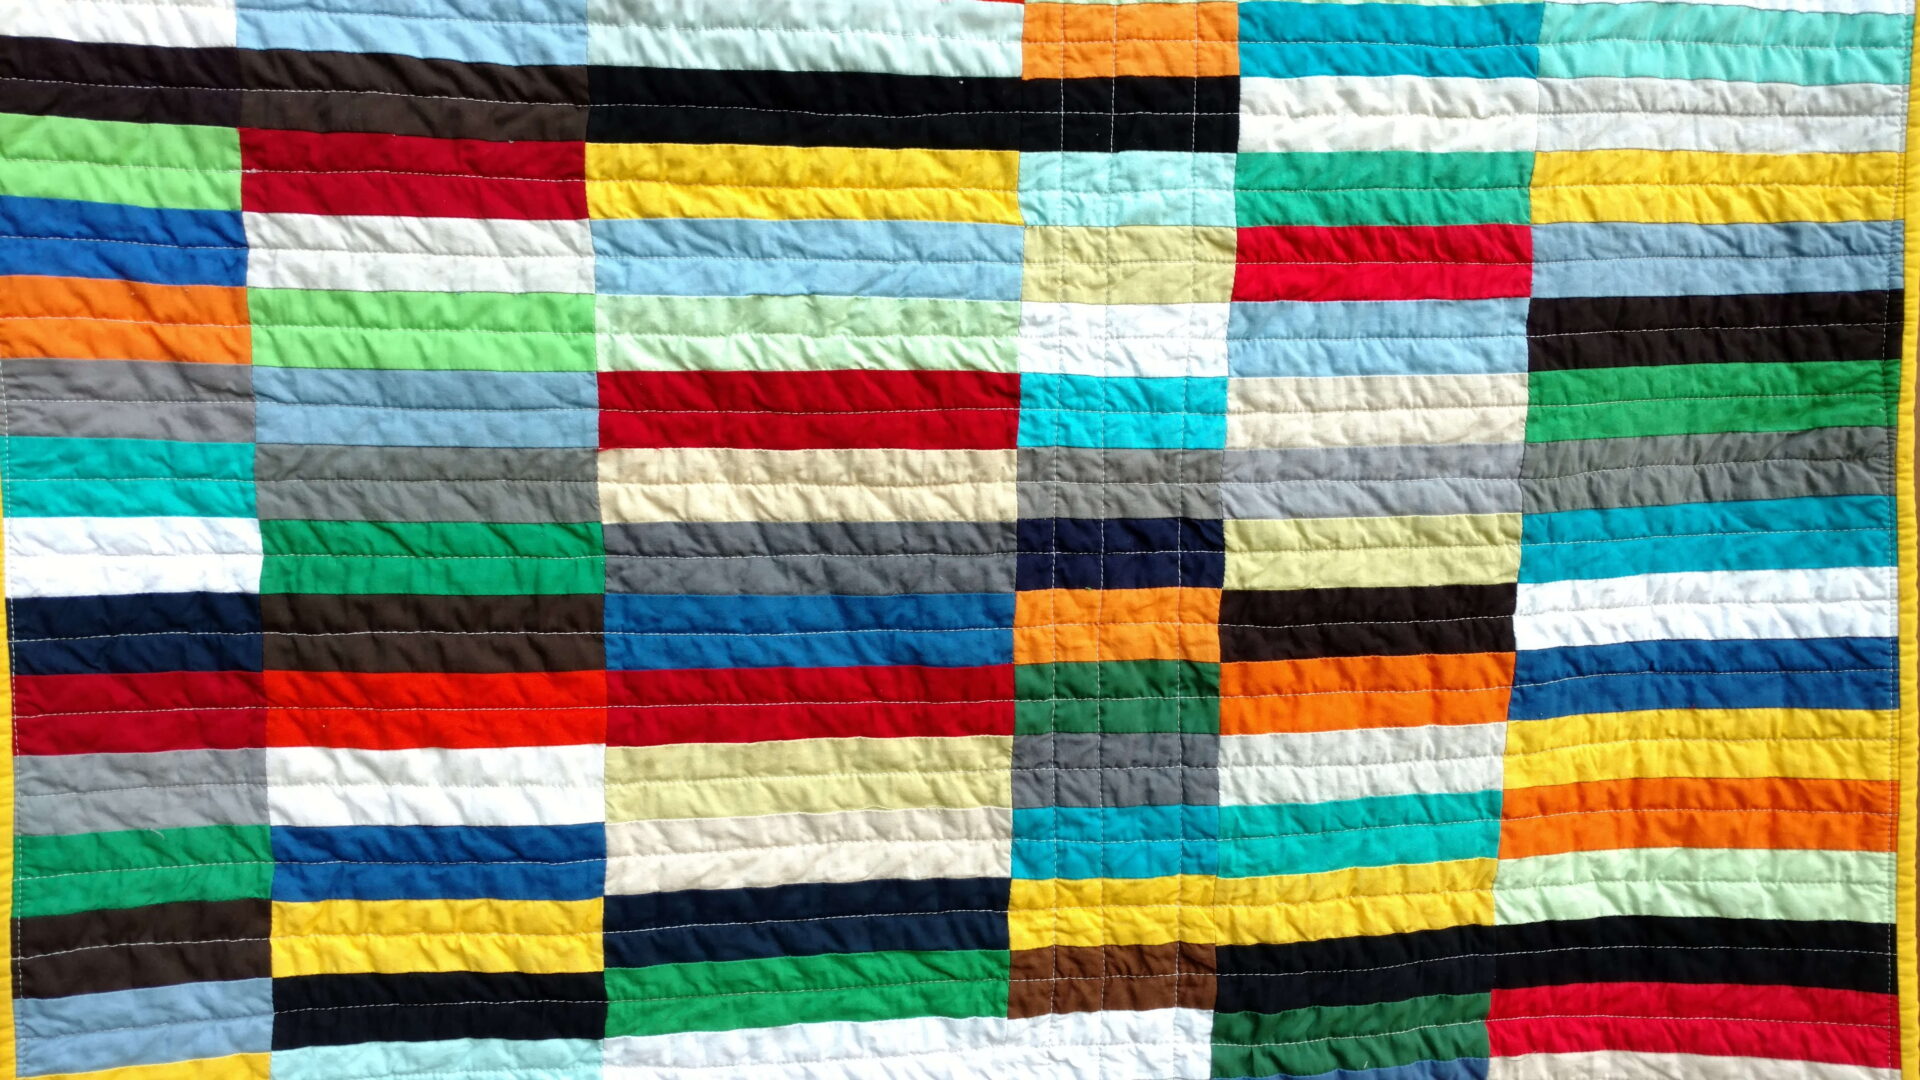
My original vision came together into this lovely quilt.  Girly, colorful, and scrappy.  There are now just tiny pieces left of Marmalade in my scrap tubs.


Links to other Marmalade quilts

Marmalade boy quilt 

Marmalade girl quilt


Link ups

Needle and Thread Thursday

Finish It Up Friday with Crazy Mom Quilts

Blogger’s Quilt Festival – Scrappy Rainbow Unicorn Sprinkles

Thanks for coming over to my blog from the Blogger’s Quilt Festival.  I’m Tisha of Quiltytherapy.  Sewing is my therapy and the only creative outlet I’m good at.  Unless stick figures can be a creative outlet, ha!  Making quilts from scraps and my stash is what I strive for.  Scrappy Unicorn Rainbow Sprinkles is a combination of scraps and pieces from my stash.

Scrappy unicorn rainbow sprinkles by quiltytherapy #scrapquilt #paperpiecing #modernquilt

It’s hard to truly have a favorite quilt, but this one is in the top 10 that I have created.  It is still for sale on Etsy here.

The center blocks are paper pieced using scraps from my guild members.  Center triangles are trimmings from Lindsay’s quilt she made during our Winter Retreat.  Erika and Lisa brought bins of scraps that they let us raid.  I had pulled some scraps together in this color palette before the retreat but their generousity rounded out my collection.

While I wanted to make the entire quilt out of the blocks, they started to look too similar.  In my stash was a bolt of Kona Robin’s Egg blue that really brought it all together.


Look for a tutorial on paper piecing these scrappy blocks to make your own version.

This was the second time I ever quilted the organic wavy lines.  It created so much crinkle once it was washed.  The purple polka dot binding is perfection.  As I noted in my original post about this quilt, I hope it leaves behind a trail of rainbow sprinkles wherever this quilt goes.

Scrappy unicorn rainbow sprinkles by quiltytherapy #scrapquilt #paperpiecing #modernquilt


Read more about creative process with Scrappy Unicorn Rainbow Sprinkles here and here.


Scrappy Postage Stamp Baby Boy Quilt

Scrappy Postage Stamp quilt #scrapquilt #postagestampquilt #babyquilt #quiltytherapy #boyquilt #modern #quilt

Are you looking for an easy scrap quilt?  Don’t hesitate to look at a postage stamp quilt as an option.  Since I keep my scraps cut into squares, making a postage stamp quilt is quick and easy.  Let’s jump into how I make a scrappy baby postage stamp quilt.

Sorting Scraps

Creating a color palette that works together with a good amount of variety is my first priority.

From my 2.5″ scrap bin I grabbed yellow, neutrals, green, aqua, navy, brown, orange, and gray.  Mixing in prints, novelty, and solids.  If I think they coordinate, they make the piles.  As the colors and prints are spread out you may not notice that one that didn’t fit.

Chain Piecing

When working on a postage stamp quilt, I find that chain piecing is the best way to go.  I’m striving for a random layout on the quilt top.  Grab from yellow and gray, then brown and green, and just keep going around.  Once I have 10 sets (20 squares) pieced I begin pairing them up yet again.  Ultimately I’m just sewing one long strip of 20 squares.  Repeat that 18-24 times for the top.  18 rows is a smaller baby quilt and 24 rows is a better size.

Pressing and Sewing Rows Together

I grab the starch and spray each row.  Next I press all my seams the same direction and then flip one row to create nesting seams. Sew the nested rows together and repeat 3-4 times.  From there begin flipping and turning rows to nest together and get to the desired length.  Some colors and prints may line up next to each other over the rows and I think that is okay.

Finished Top

Once all the rows are sewn together, head back to the ironing board.  Spray starch the entire top.  At this step I like to press all my sewn rows the same direction on the back of the quilt top.  Then, I turn it over and press again on the top.  This helps to flatten the top and smooth things out.

Thank you for the comments when I posted the top.  A comment was made about the concentration of brights in the middle.  That’s what happens sometimes when I got for random.  I didn’t really see it but I do now that it was mentioned.

Backing and Binding

Polka dot explosion?

Within my stash I found a green and blue variations on polka dots.  Maybe they are circles, but does it really matter?  They coordinated well and used some pieces I had leftover from other projects.  The binding is a blue polka dot I have had stashed away.  You’re going to see it again on an upcoming quilt.  I thought why not just make up some binding with this.  Done!

Quilting

I prefer straight lines in a coordinating thread on the diagonal of each square.  With this method I can keep quilting as I get to the end of a line, just flip around and start a new line all the way to back to the edge.  Quilting takes no time, unless I run out of bobbin thread.

QAL interest??

Since I love creating scrappy postage stamp quilts, I’m mulling the idea of hosting a QAL later this fall.  Would you be interested?  Let me know in the comments.


Link ups

Crazy Mom Quilts – Finish It Up Friday

Needle and Thread Thursday

Needle and Thread Thursday


Easy Baby Quilt with Solid Strips

Need an easy baby quilt?  Dig into your scraps and let’s get started.

Easy Scrap Strip Baby Quilt by quiltytherapy #scrapquilt #stripquilt #babyquilt #scrapbusterquilt

If you have been a reader for a while, you may know that I keep my scraps in tubs until it’s time to sort them.  Well, my solids are kept separate and they were getting out of hand.  The drawer could no longer even be stuffed close.  It was time to make something again.

Inspiration

Nothing was really speaking to me, so I headed to my Modern Quilting Inspiration Pinterest board for ideas.

https://www.pinterest.com/quiltytherapy/modern-quilting-inspiration/

An older quilt from Red Pepper Quilts caught my attention.  Rita’s version can be found here.  This is a step by step guide on how to create my version.


Design

Tip:  Without different hues and saturation, the quilt could run together.

Off to the scrap bin I went to start gathering strips to make my version.  I was able to collect many strips and have the variety of colors/saturations I desired.  However, I didn’t have many long strips like the inspiration quilt.

Based on my scraps I could create strips in 2 inch width to get the most from my pull of fabrics.  The lengths would be 5, 7, and 9 inches.  Feel free to create based on what you have in your scraps.

Each size stack was sorted yet again by color.  Orange, yellow, blue, green, brown, black, neutrals, and gray.  Sorting will help when piecing.  I wanted to avoid having too may of the same color right by each other.

Piecing

Grab randomly from each pile and begin piecing two strips together of the same size.  Rows include 28 strips, or 14 pairs, to make a baby quilt size.  Piece all 5 inch strips first.  Starch and press the seams all going one direction.  Next the 7 inch strips.  Starch and press the seams all going the same direction.  Finally, the 9 inch strip set.   Sew and press in the same manner.   Nestle the seams of the 5 inch row and 7 inch row together, pin if needed.  Sew the rows together.  The outcome is randomly placed colors without overthinking the process.

My version goes in this order:  5 inch, 7 inch, 9 inch, 5 inch, 7 inch, and 9 inch.  If you wanted a little larger baby quilt, you could throw another 5 inch row after the last 9 inch row.

I starched the top and pressed my row seams open.  The backing is a blue print I picked up a few months ago when a local quilt shop was closing out their inventory.  With this size quilt, I only needed a yard of the fabric.

Quilting and Binding

The quilt is randomly pieced, but I knew for the quilting exactly what I wanted.  Straight lines in a light gray horizontally in the middle of each row.  A few lines in the middle 5 inch strip vertically.  In your version quilt as desired.

The secondary shapes created with colors being close together was an unintended effect.  They could have been moved, but then the random process is lost.  That was more important to me as I just wanted to create.

Finally, I grabbed Corn Yellow Kona Solid I have had forever to create the binding.  The binding was 2.5 inch double fold and completely machine bound.

Final Thoughts

Love all the crinkles in this quilt after it was washed.  Wonder what the rows would look like in an ombre?

This quilt is currently on the way to a new home.  Check out my other quilts using just solids below.  The solids scrap bin is still too full.


Linking up with Oh Scrap! and Finish it Up Friday

Quilting is more fun than Housework


Holiday Fabric Stashing

The fabric budget experiment and focusing on my stash has encouraged me to avoid sale posts.  However, StitchStashDiva posted about a Halloween Fat Quarter bundle sale.  I couldn’t resist, P loves Halloween.

She has a great selection, if you are still looking for something spooky for your Halloween crafting.  I chose this bundle since the fabrics fit my living room a bit better.  I plan to make a couple of pillow covers using the fat quarters, then who knows what else.  Plus, I loved the spider web prints.

Well, if I’m going to make pillows for Halloween, I might as make them for a couple of other holidays.  I checked out Valentine’s Day first.  Lots of good options, but these won out.  Not overly Valentine’s Day, but just a touch.

What about a winter and/or Christmas option?  My fabric stash is lacking in this theme.  Plus, helped get me to free shipping.  Pay for shipping or fabric?  Fabric is gonna win.

Red and gray for winter and/or Christmas is a go to for me.  Since it doesn’t scream Christmas I can keep the pillows out longer.

Now let’s add holiday themed pillow covers to my list of things to make.  I picked the pillow forms up a while ago at JoAnn’s for something else.  Do you make anything in Holiday fabrics?


Linking up with Molli Sparkles for Sunday Stashing

“Sunday-Stash-with-Molli


Halloween: Spooky Ghost Pumpkin Quilt

It is time to start planning my Halloween decorations.  Halloween may trump Christmas in my house as a favorite holiday.  Seriously, the kid is wearing a Halloween shirt and pirate pants in July.

Since P is still little, we prefer spooky over scary.  As we acquire new decorations, I let him set the boundaries on what he’s comfortable with.  He has created an idea of a Spooky Ghost Pumpkin.  We have no idea what that is, but try to run with that.  If you have any ideas, please share.

With decor in mind, I turn to Pinterest.  Maybe I should add more ideas to my Halloween board?  Do you have any family fun activities you like for Halloween?

https://www.pinterest.com/quiltytherapy/halloween-creations/

This year I will be adding a quilt to the decorations.  My wonderful bee mates of the Blossom Heart Bees made blocks for this quilt last year, using the Tic Tac Toe block.  My theme was Halloween in orange, lime green, purple, and teal for the X’s.  Also black with white prints for the corners.  The blocks turned out great and better than I would have imagined.  My bee mates had some good prints in their stashes.  P loved getting them in the mail.

A few more are needed to finish the top.  From my stash I pulled more green, purple, and teal to balance out the top.  Even a fun zombie print.


There are a couple more blocks in the works then I can layout the top as I want.  It’s going to need some balance from all the orange.


P was excited each time a new block arrived.  He realized they were for him and gasped with excitement.  Hopefully he’s still as excited about the quilt as I finish it.  Maybe we can watch scary movies and snuggle on the couch under it?


Links

The rocket above is from Amazon, best money we have spent on a toy.  He loves it and exploring how to make the rocket go faster, higher and aiming at things.  Great gift for a four year old.

Check out #tictactoeblock on Instagram for other versions.

Confessions Of A Fabric Addict