Gorgeous Granny Squares – Finished

Granny square quilt, modern baby quilt, modern design, modern nursery decor, scrap quilt, jewel tone colors

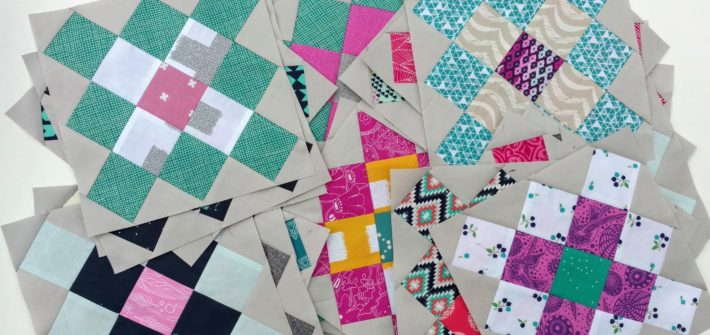
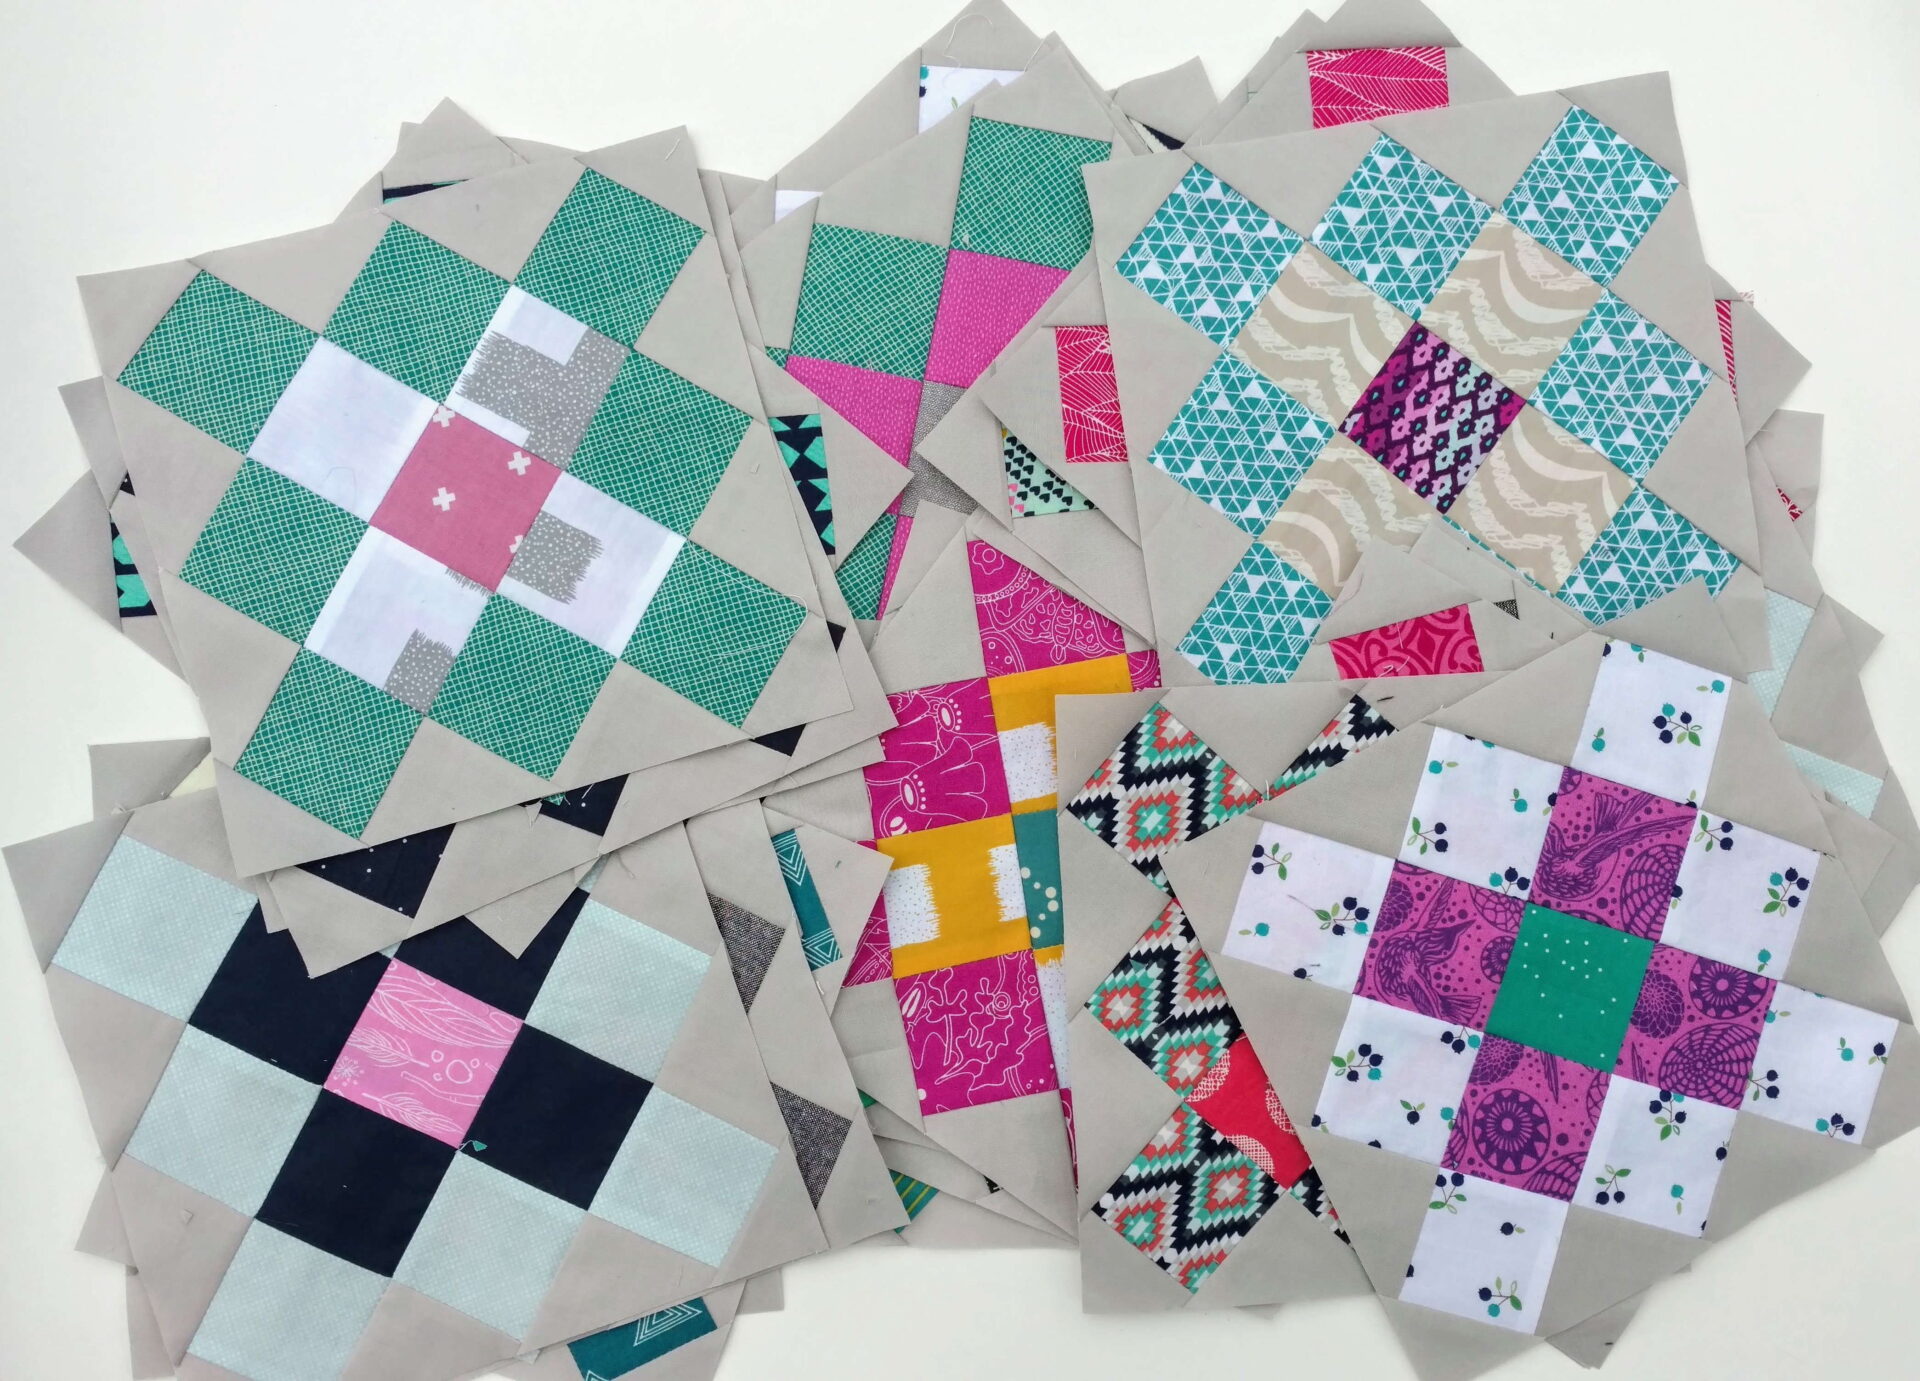
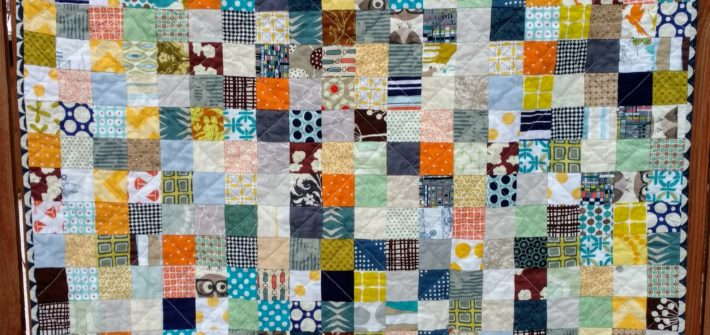
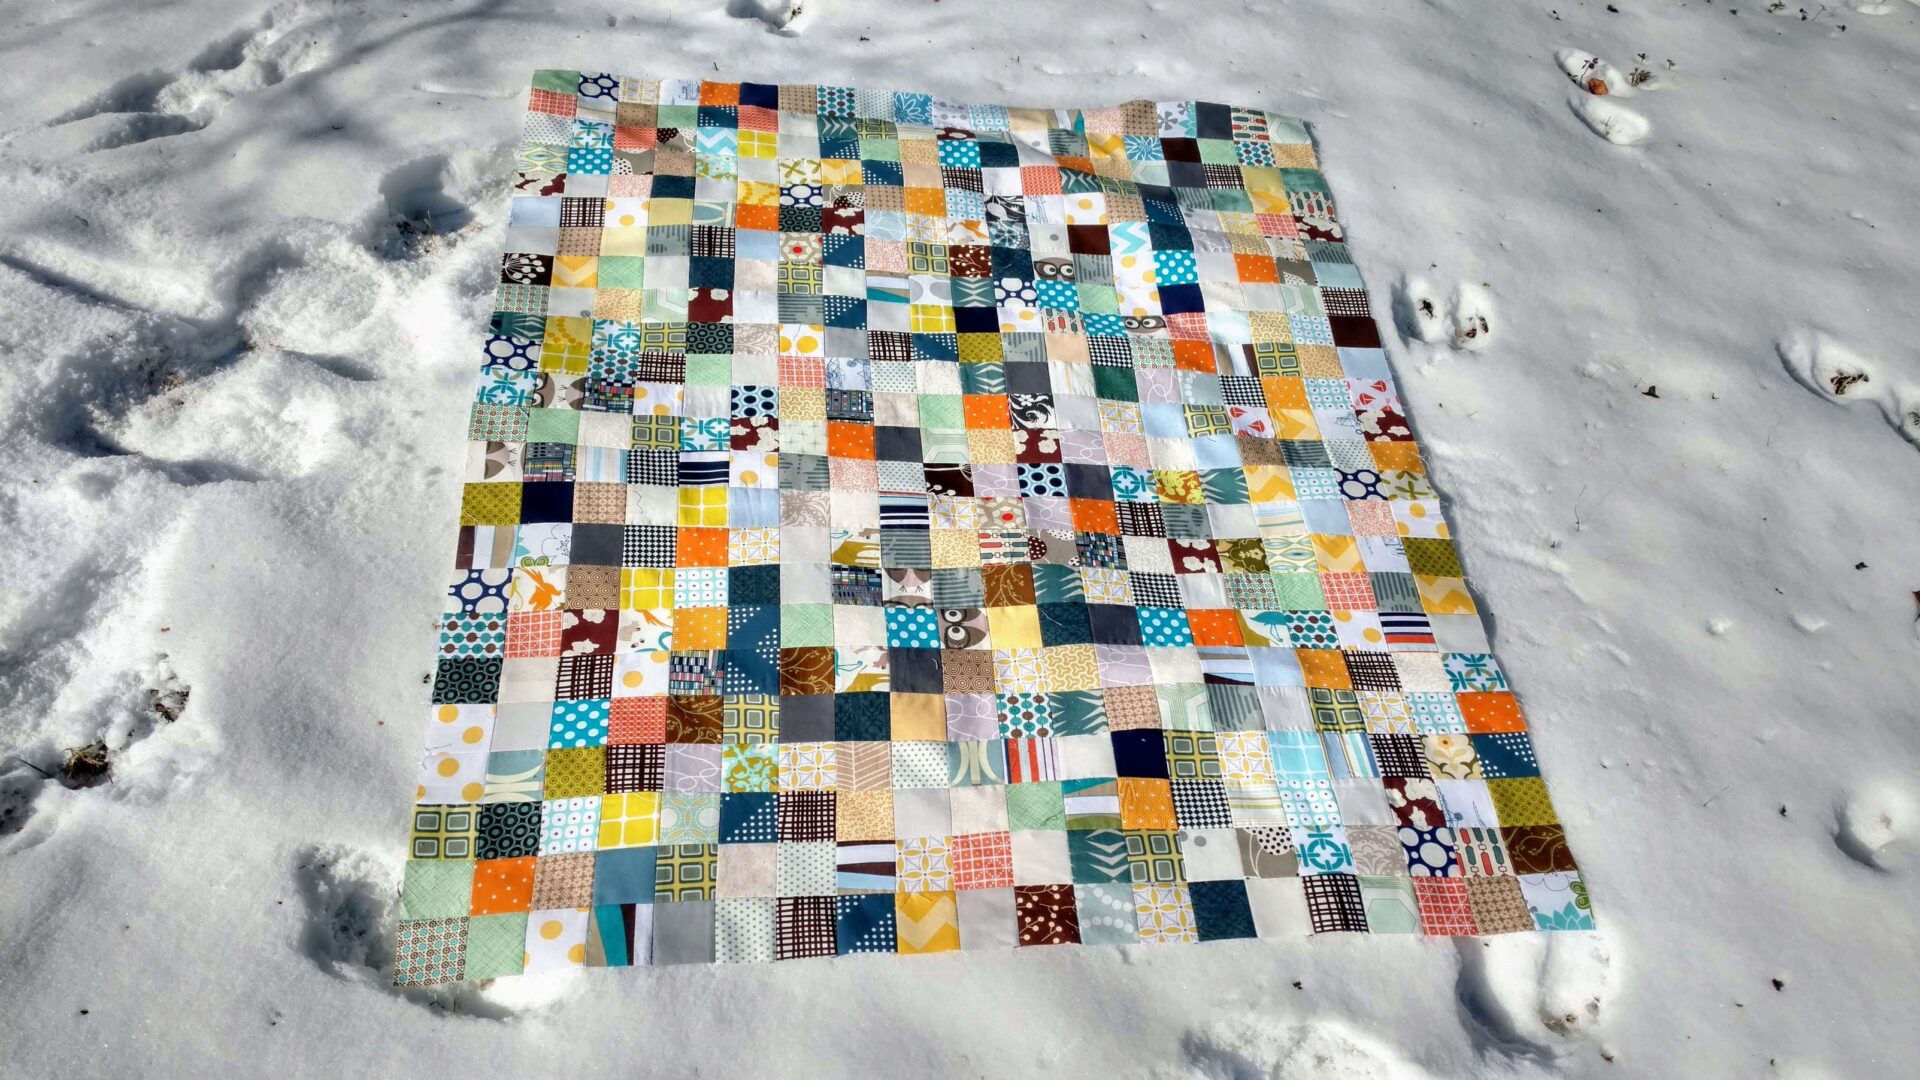
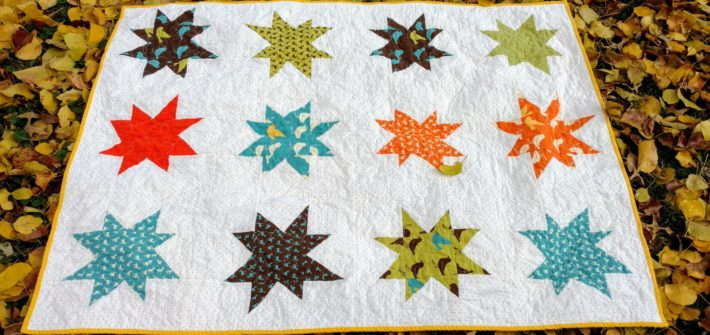
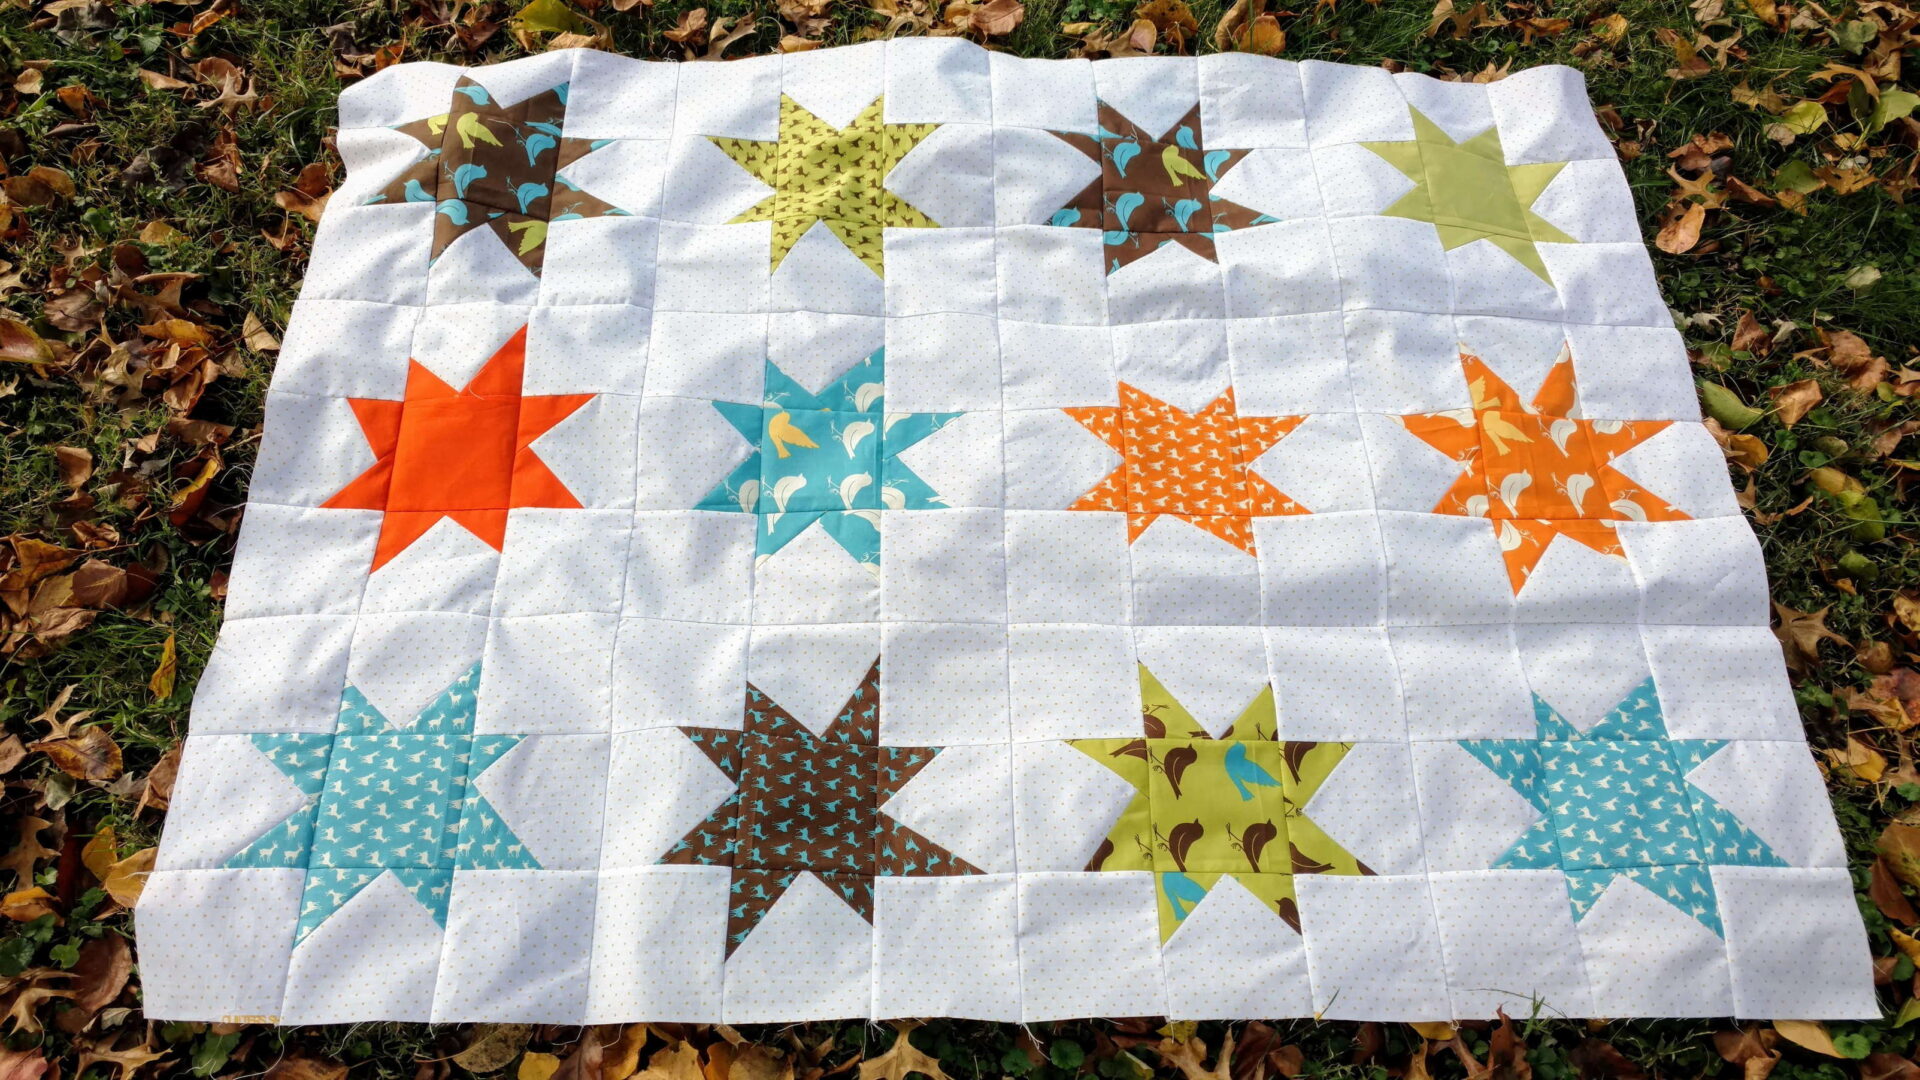
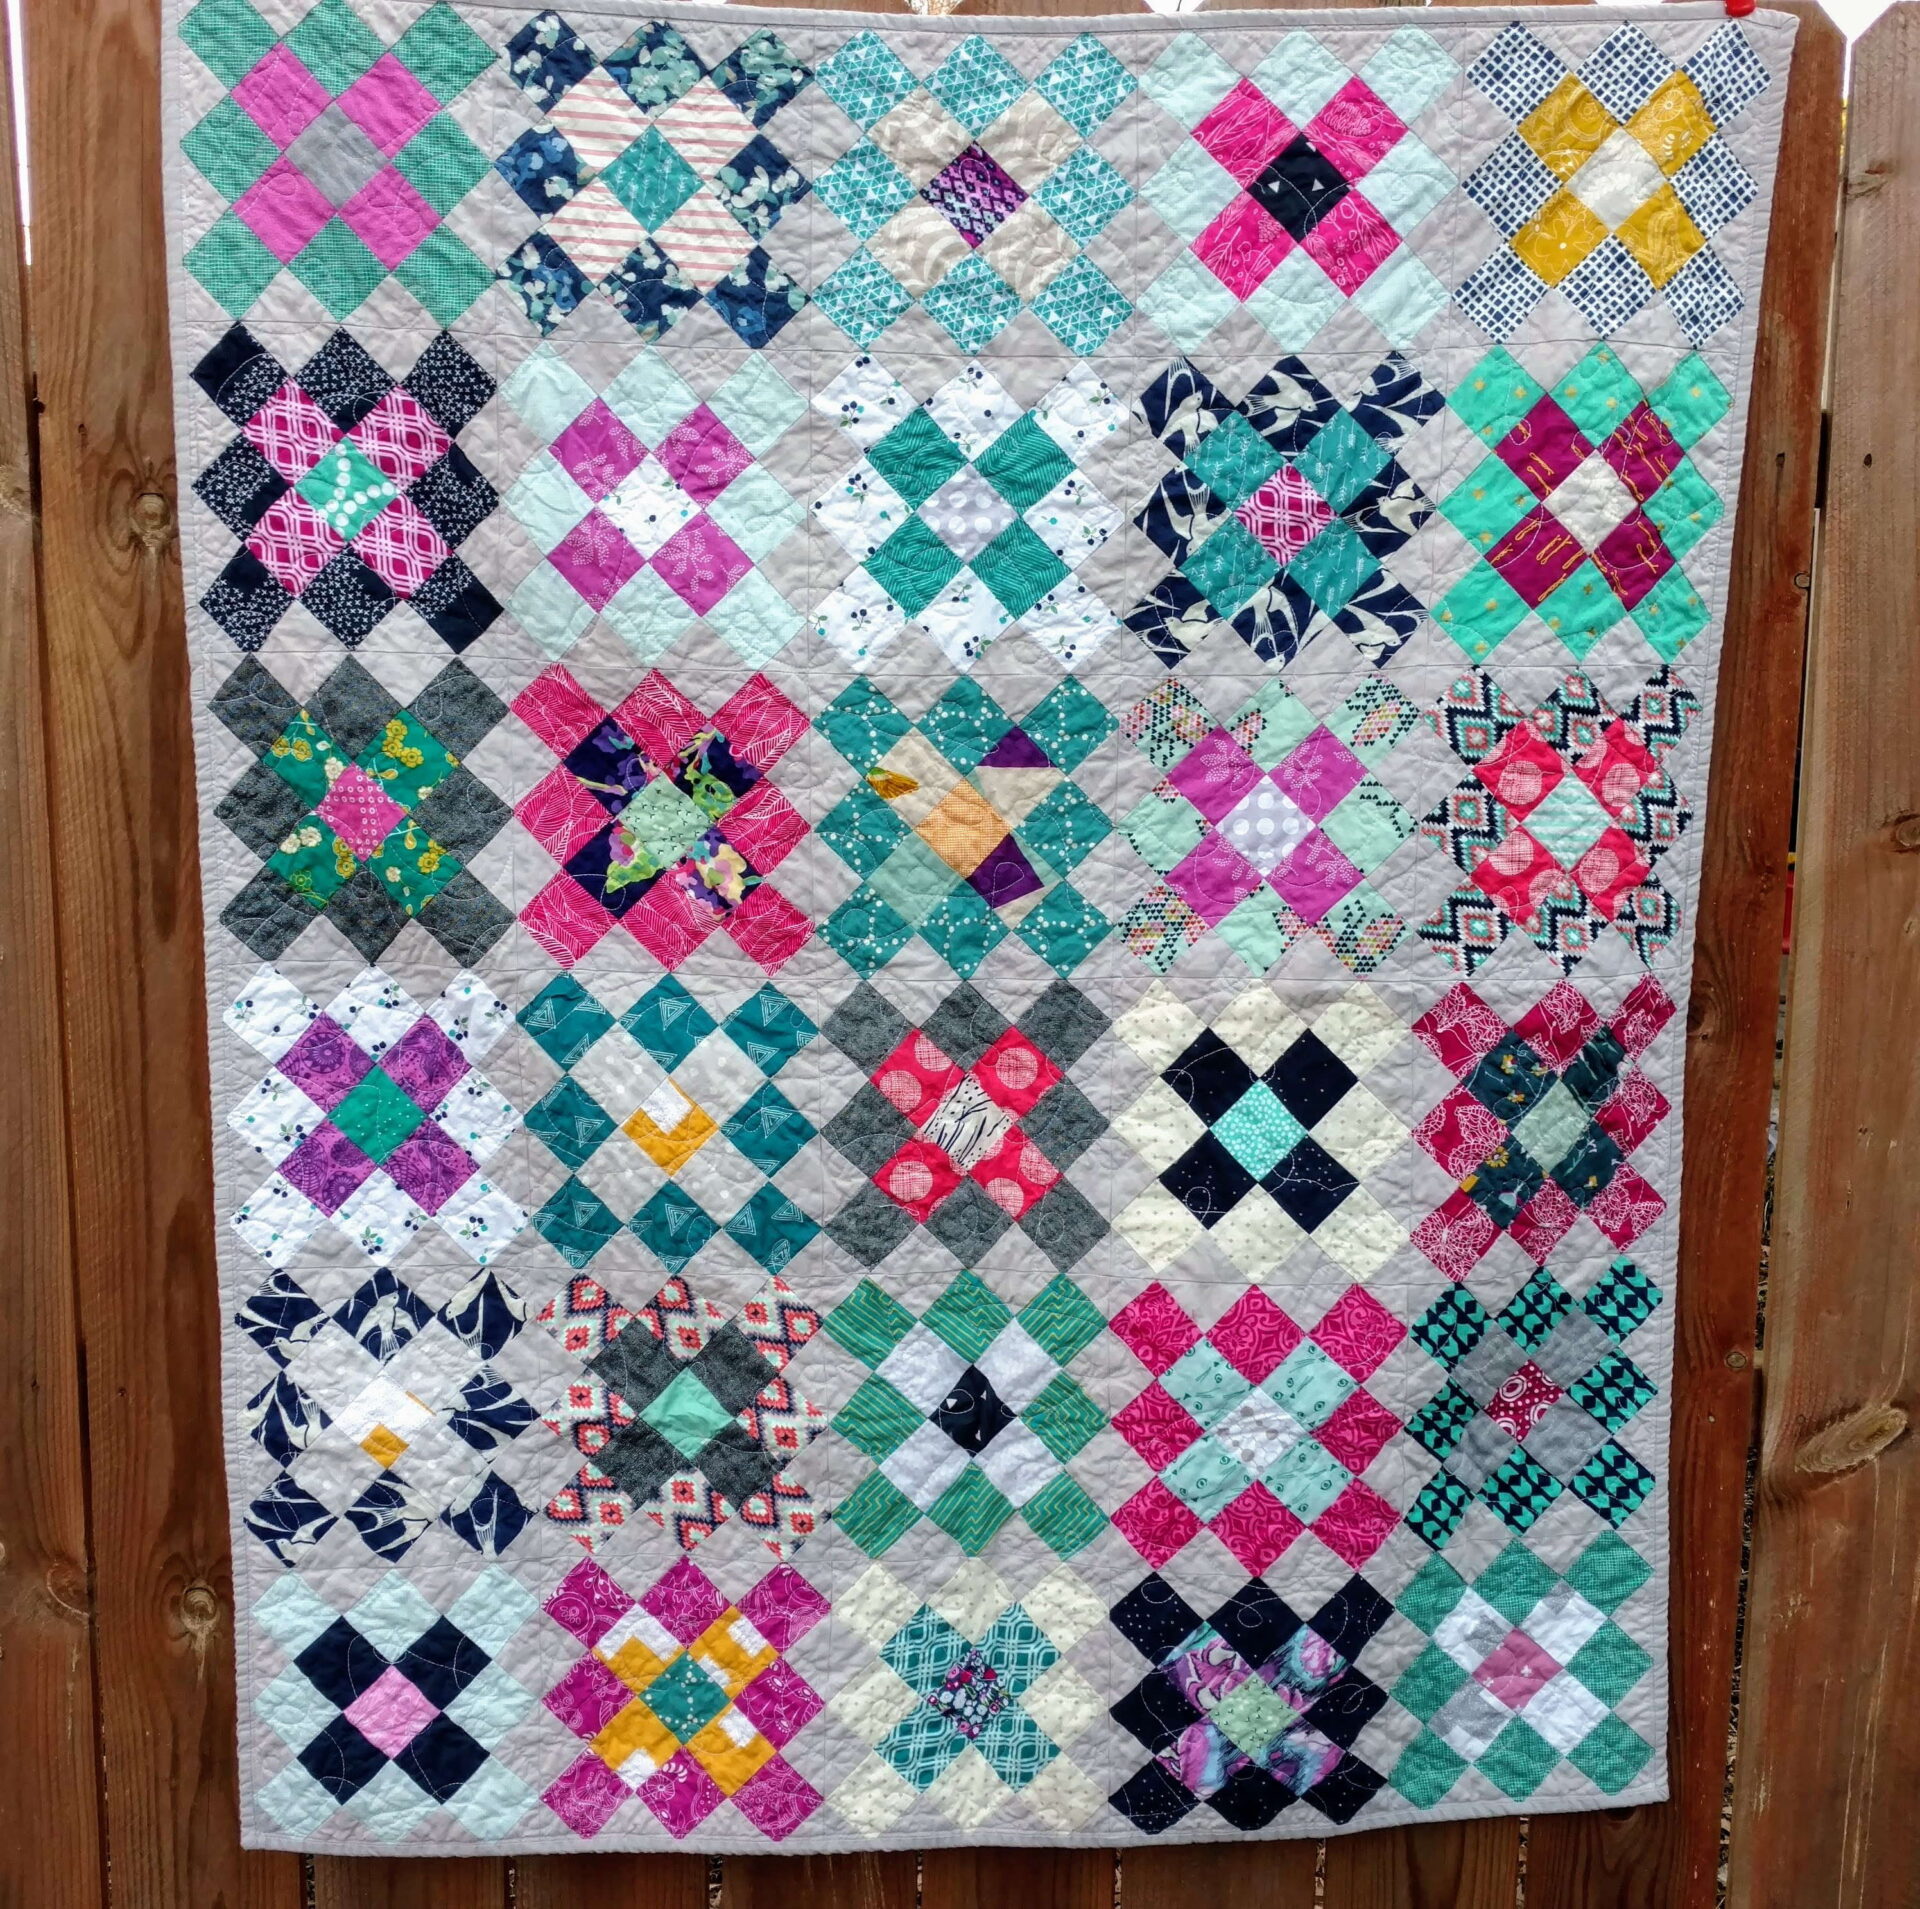
Welcome back readers.  Thank you for your kind words on the quilt top post.  These Granny Squares are just GORGEOUS!  Am I right?  Blanche Devereaux, well this version, is ready for her introduction to the world.

Granny square quilt, modern baby quilt, modern design, modern nursery decor, scrap quilt, jewel tone colors

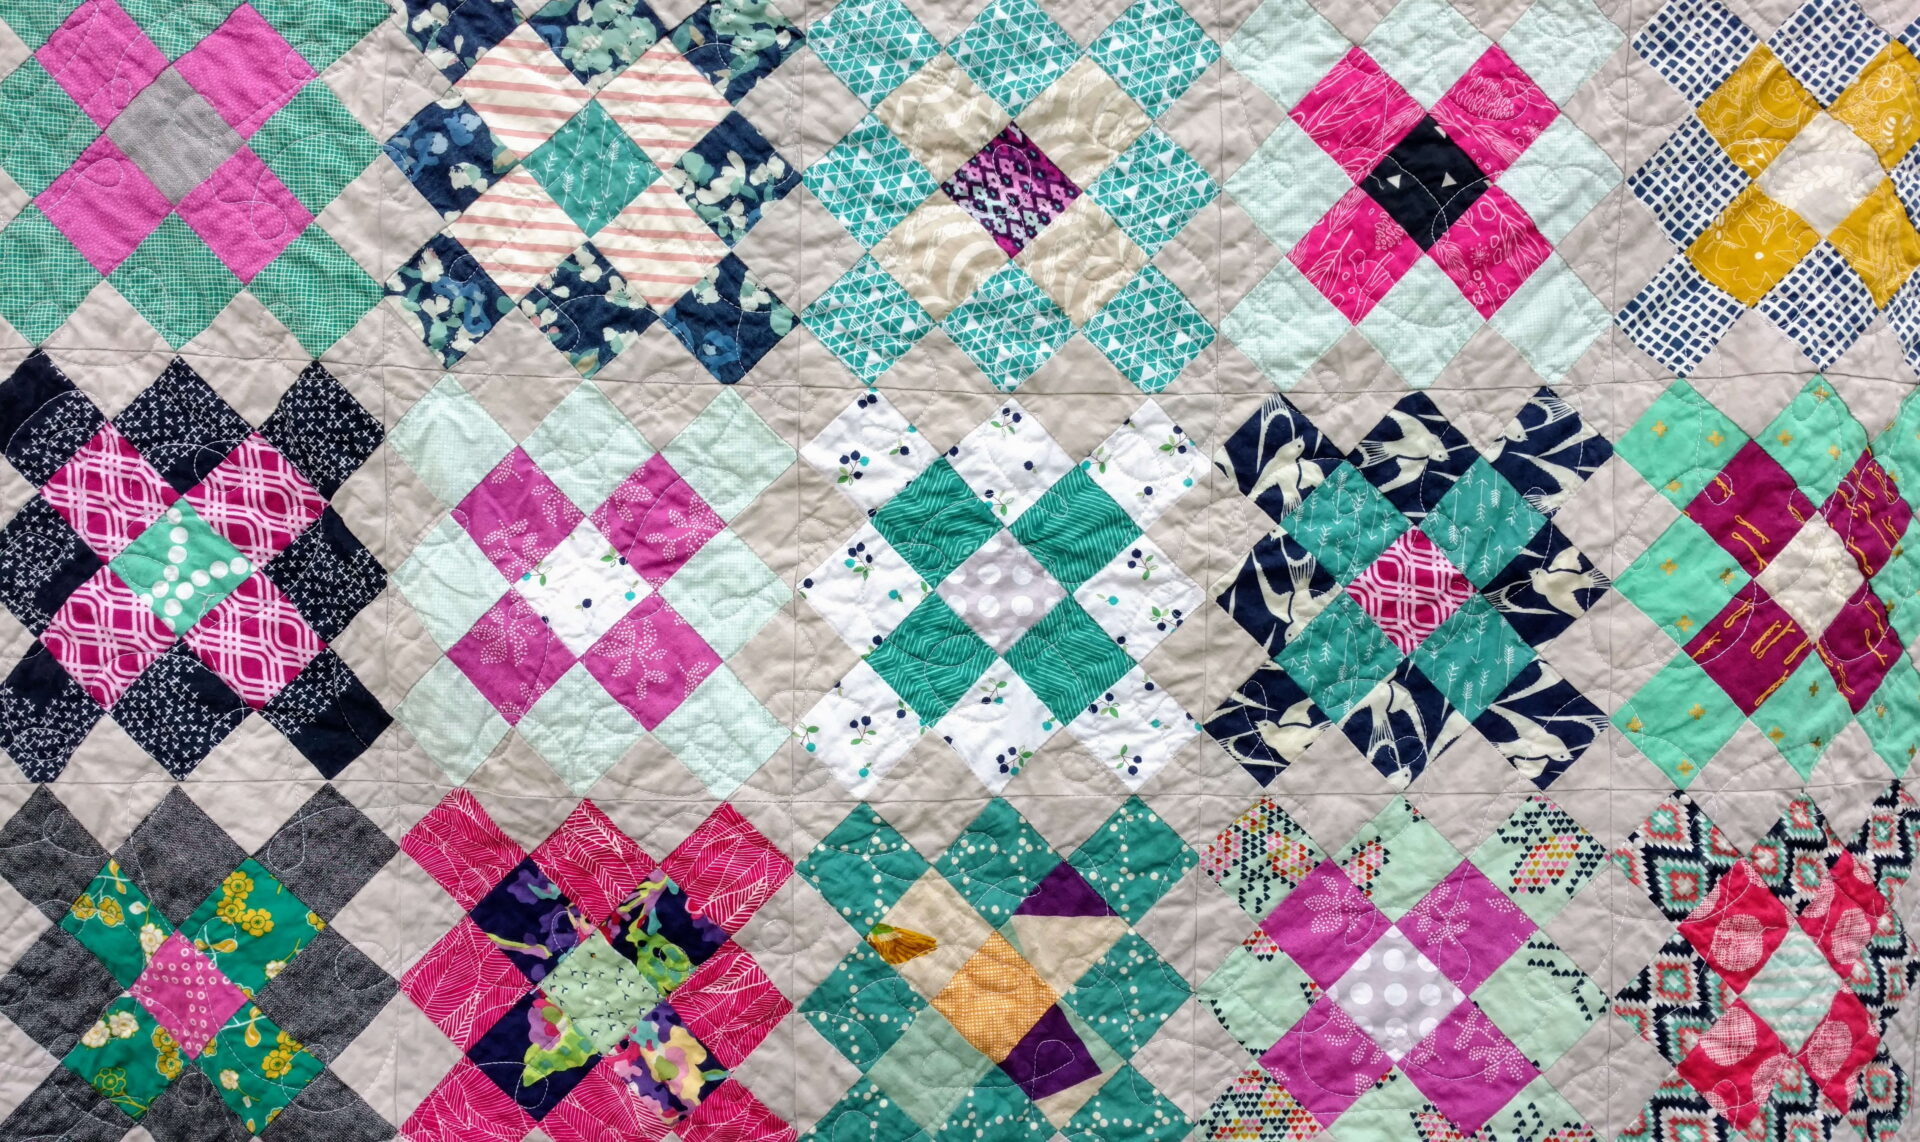
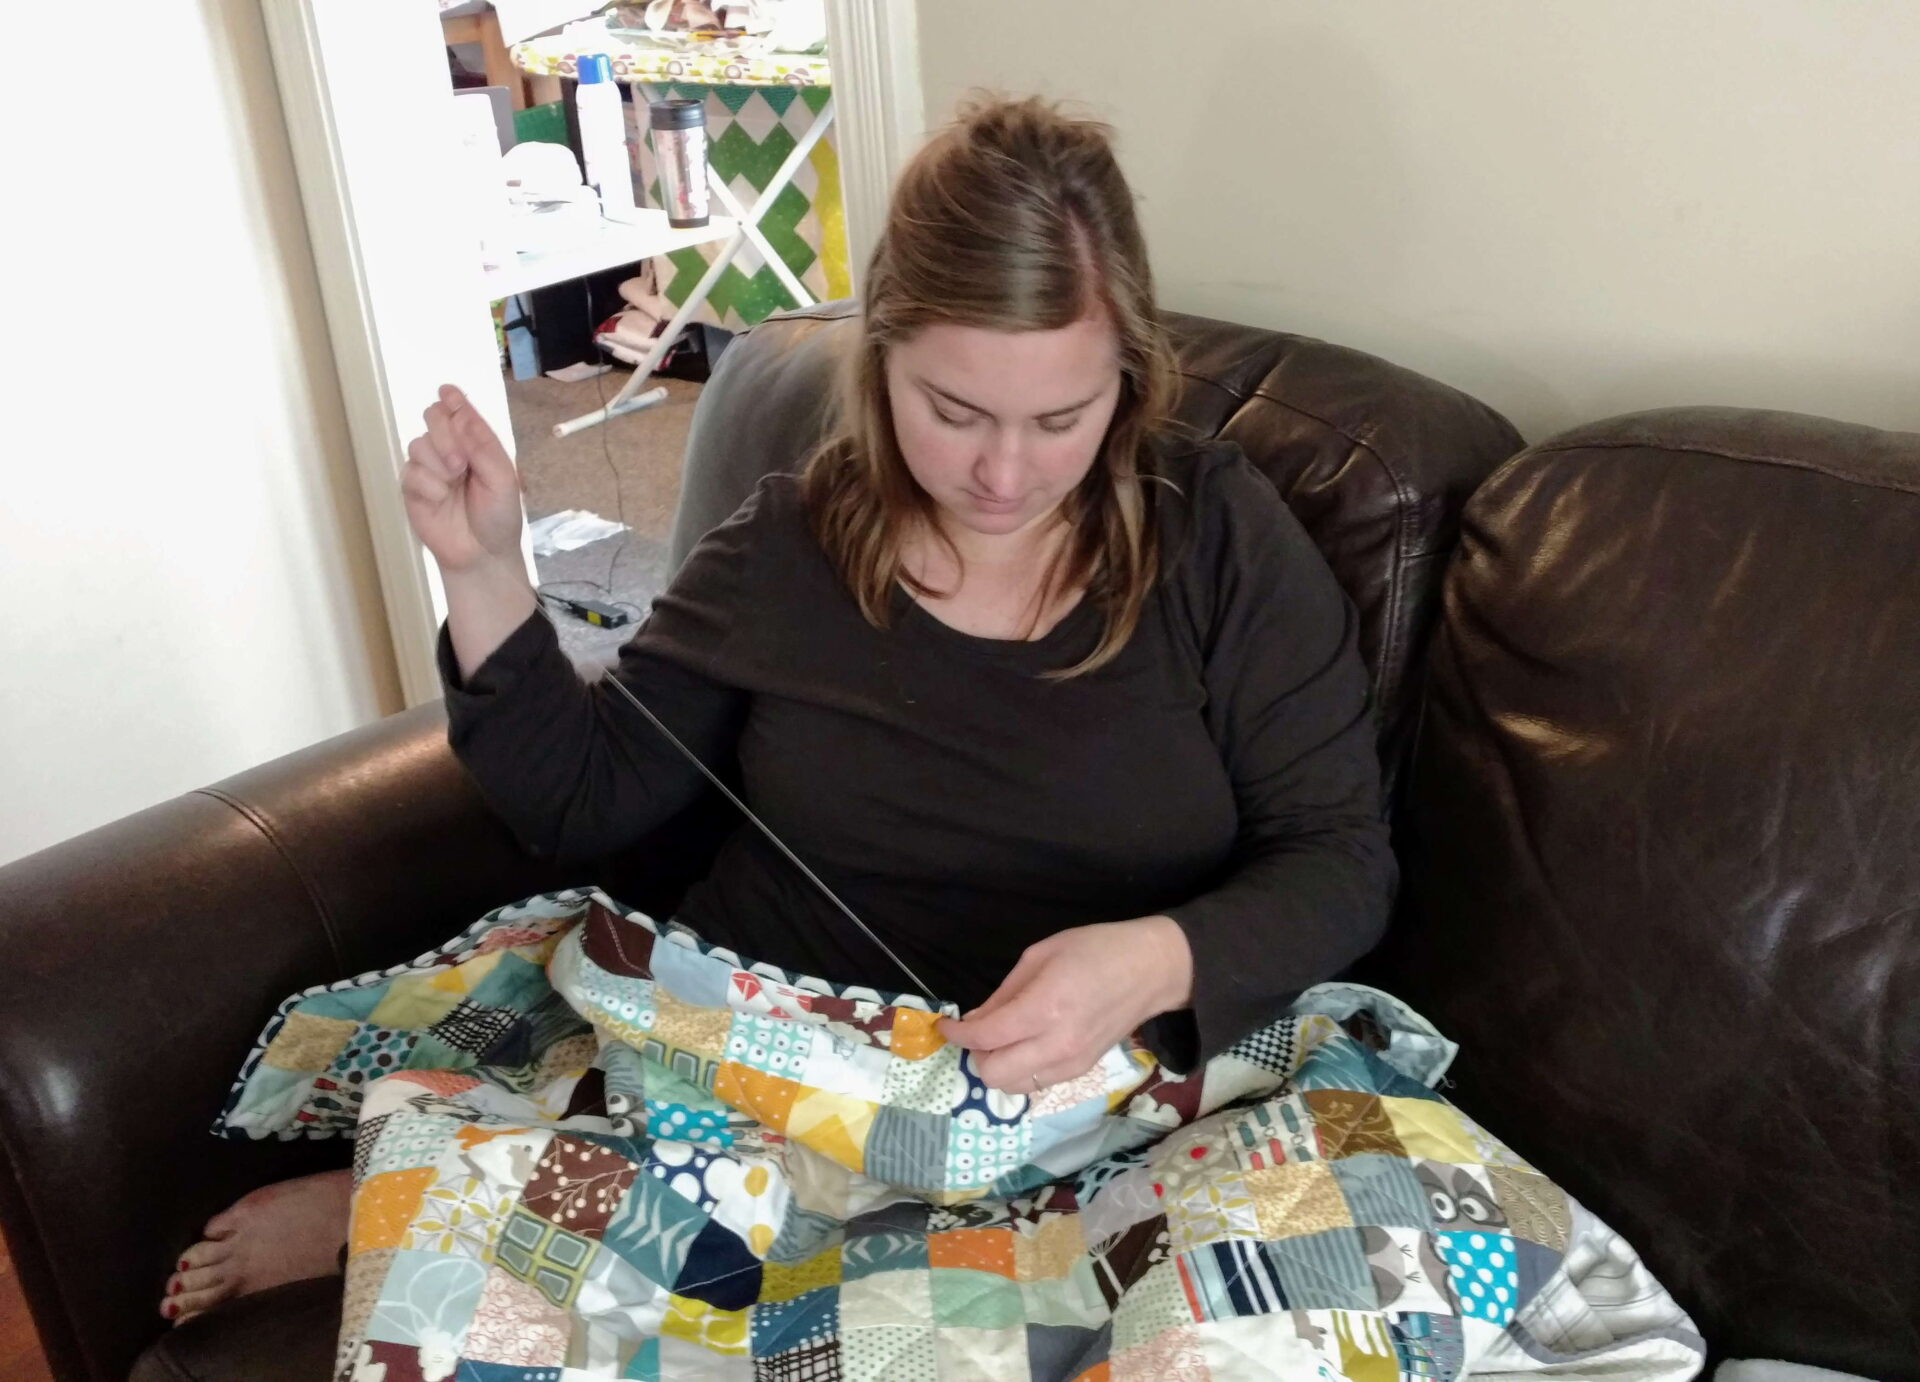
Let me tell you a little about finishing this quilt.  I rushed to quilt this one and paid the price.  TWICE! I started quilting the first time and my tension was off.  It appears little hands may have turned a knob on my machine and I didn’t realize it.  I turned my tension down and then down some more.  Then when I thought I had it right, I ripped out all the stitching to start fresh.

Then the tension still wasn’t right.  A second pass a quilting and it was off.  After getting pissed off, I walked away from this project for a couple of days.  I put it in time out.

I came back and the quilting went smoothly.  Thank goodness as I really didn’t want to straight line quilt this one.  This quilt gave me a bit of sass, much like Blanche.

Have you seen this fun quiz on Buzzfeed?  Take it and tell me in the comments which character you got.  I will tell you mine below.
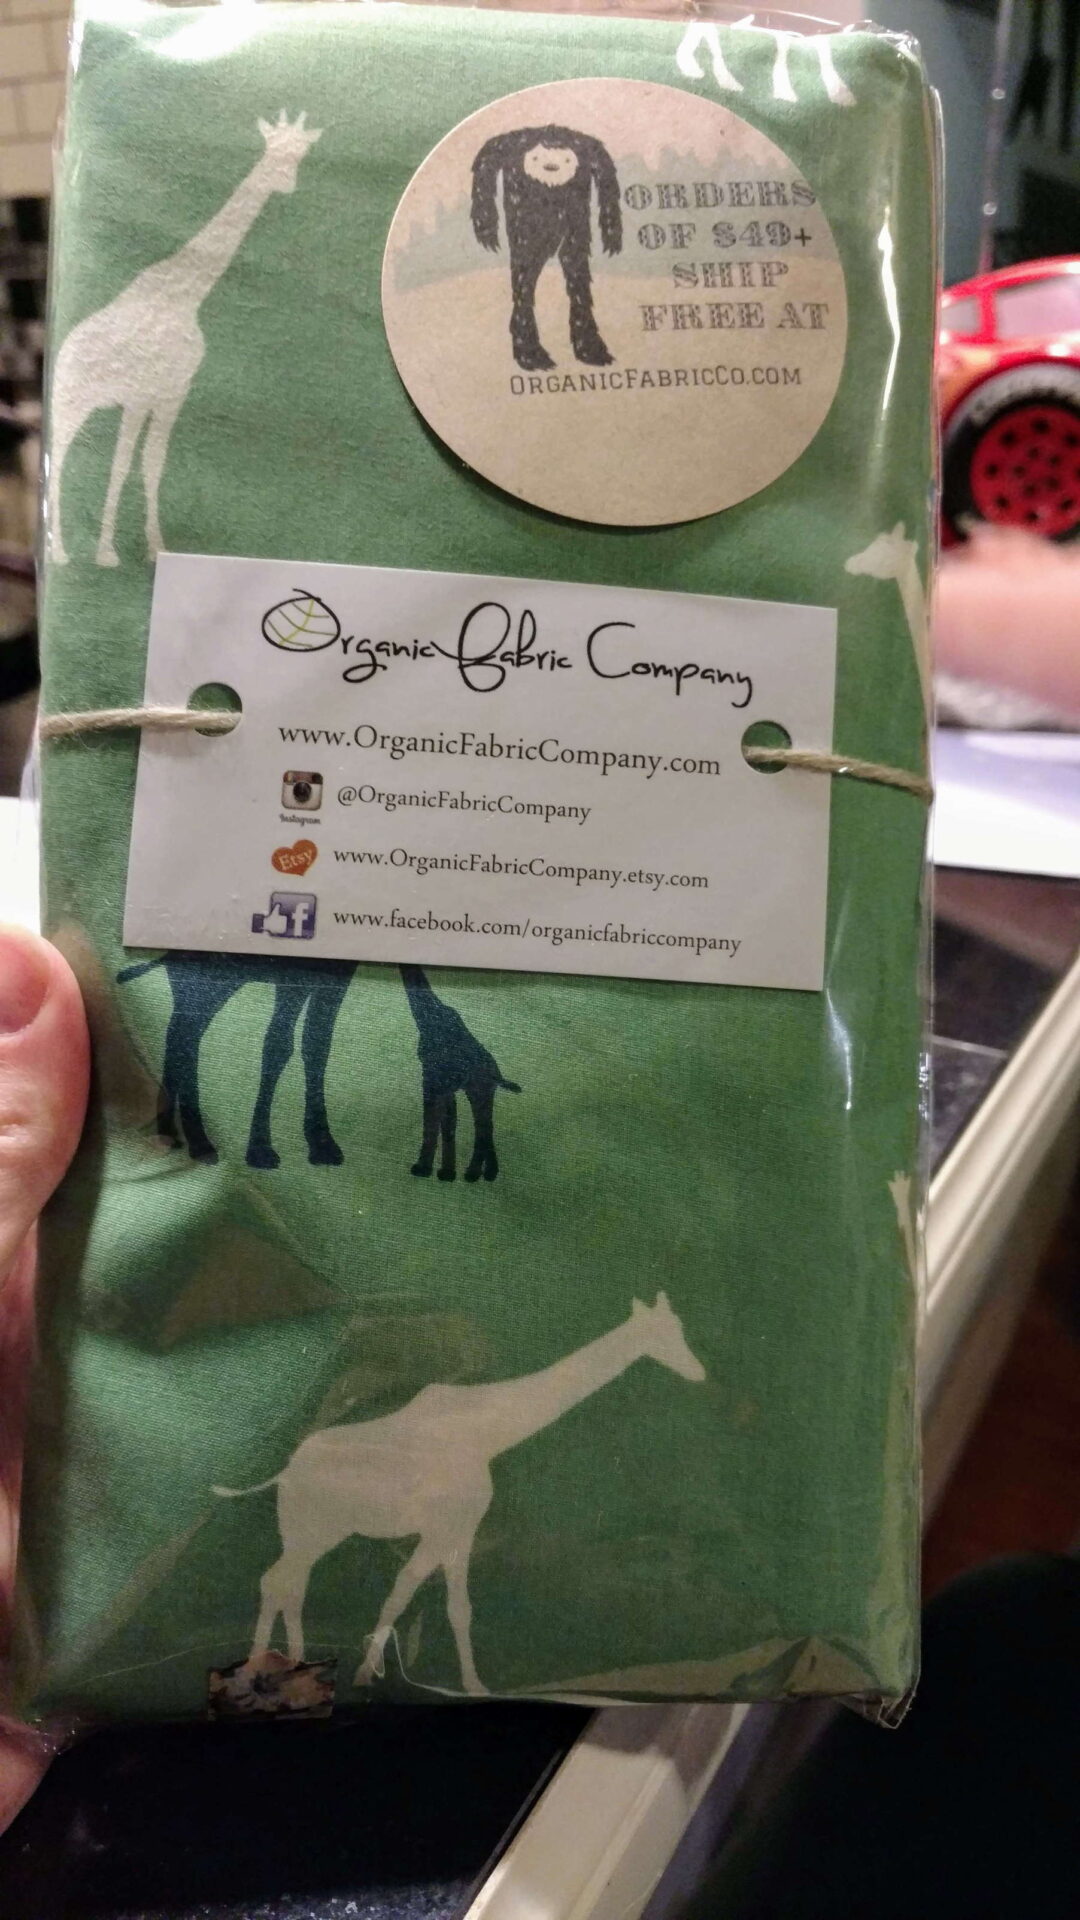
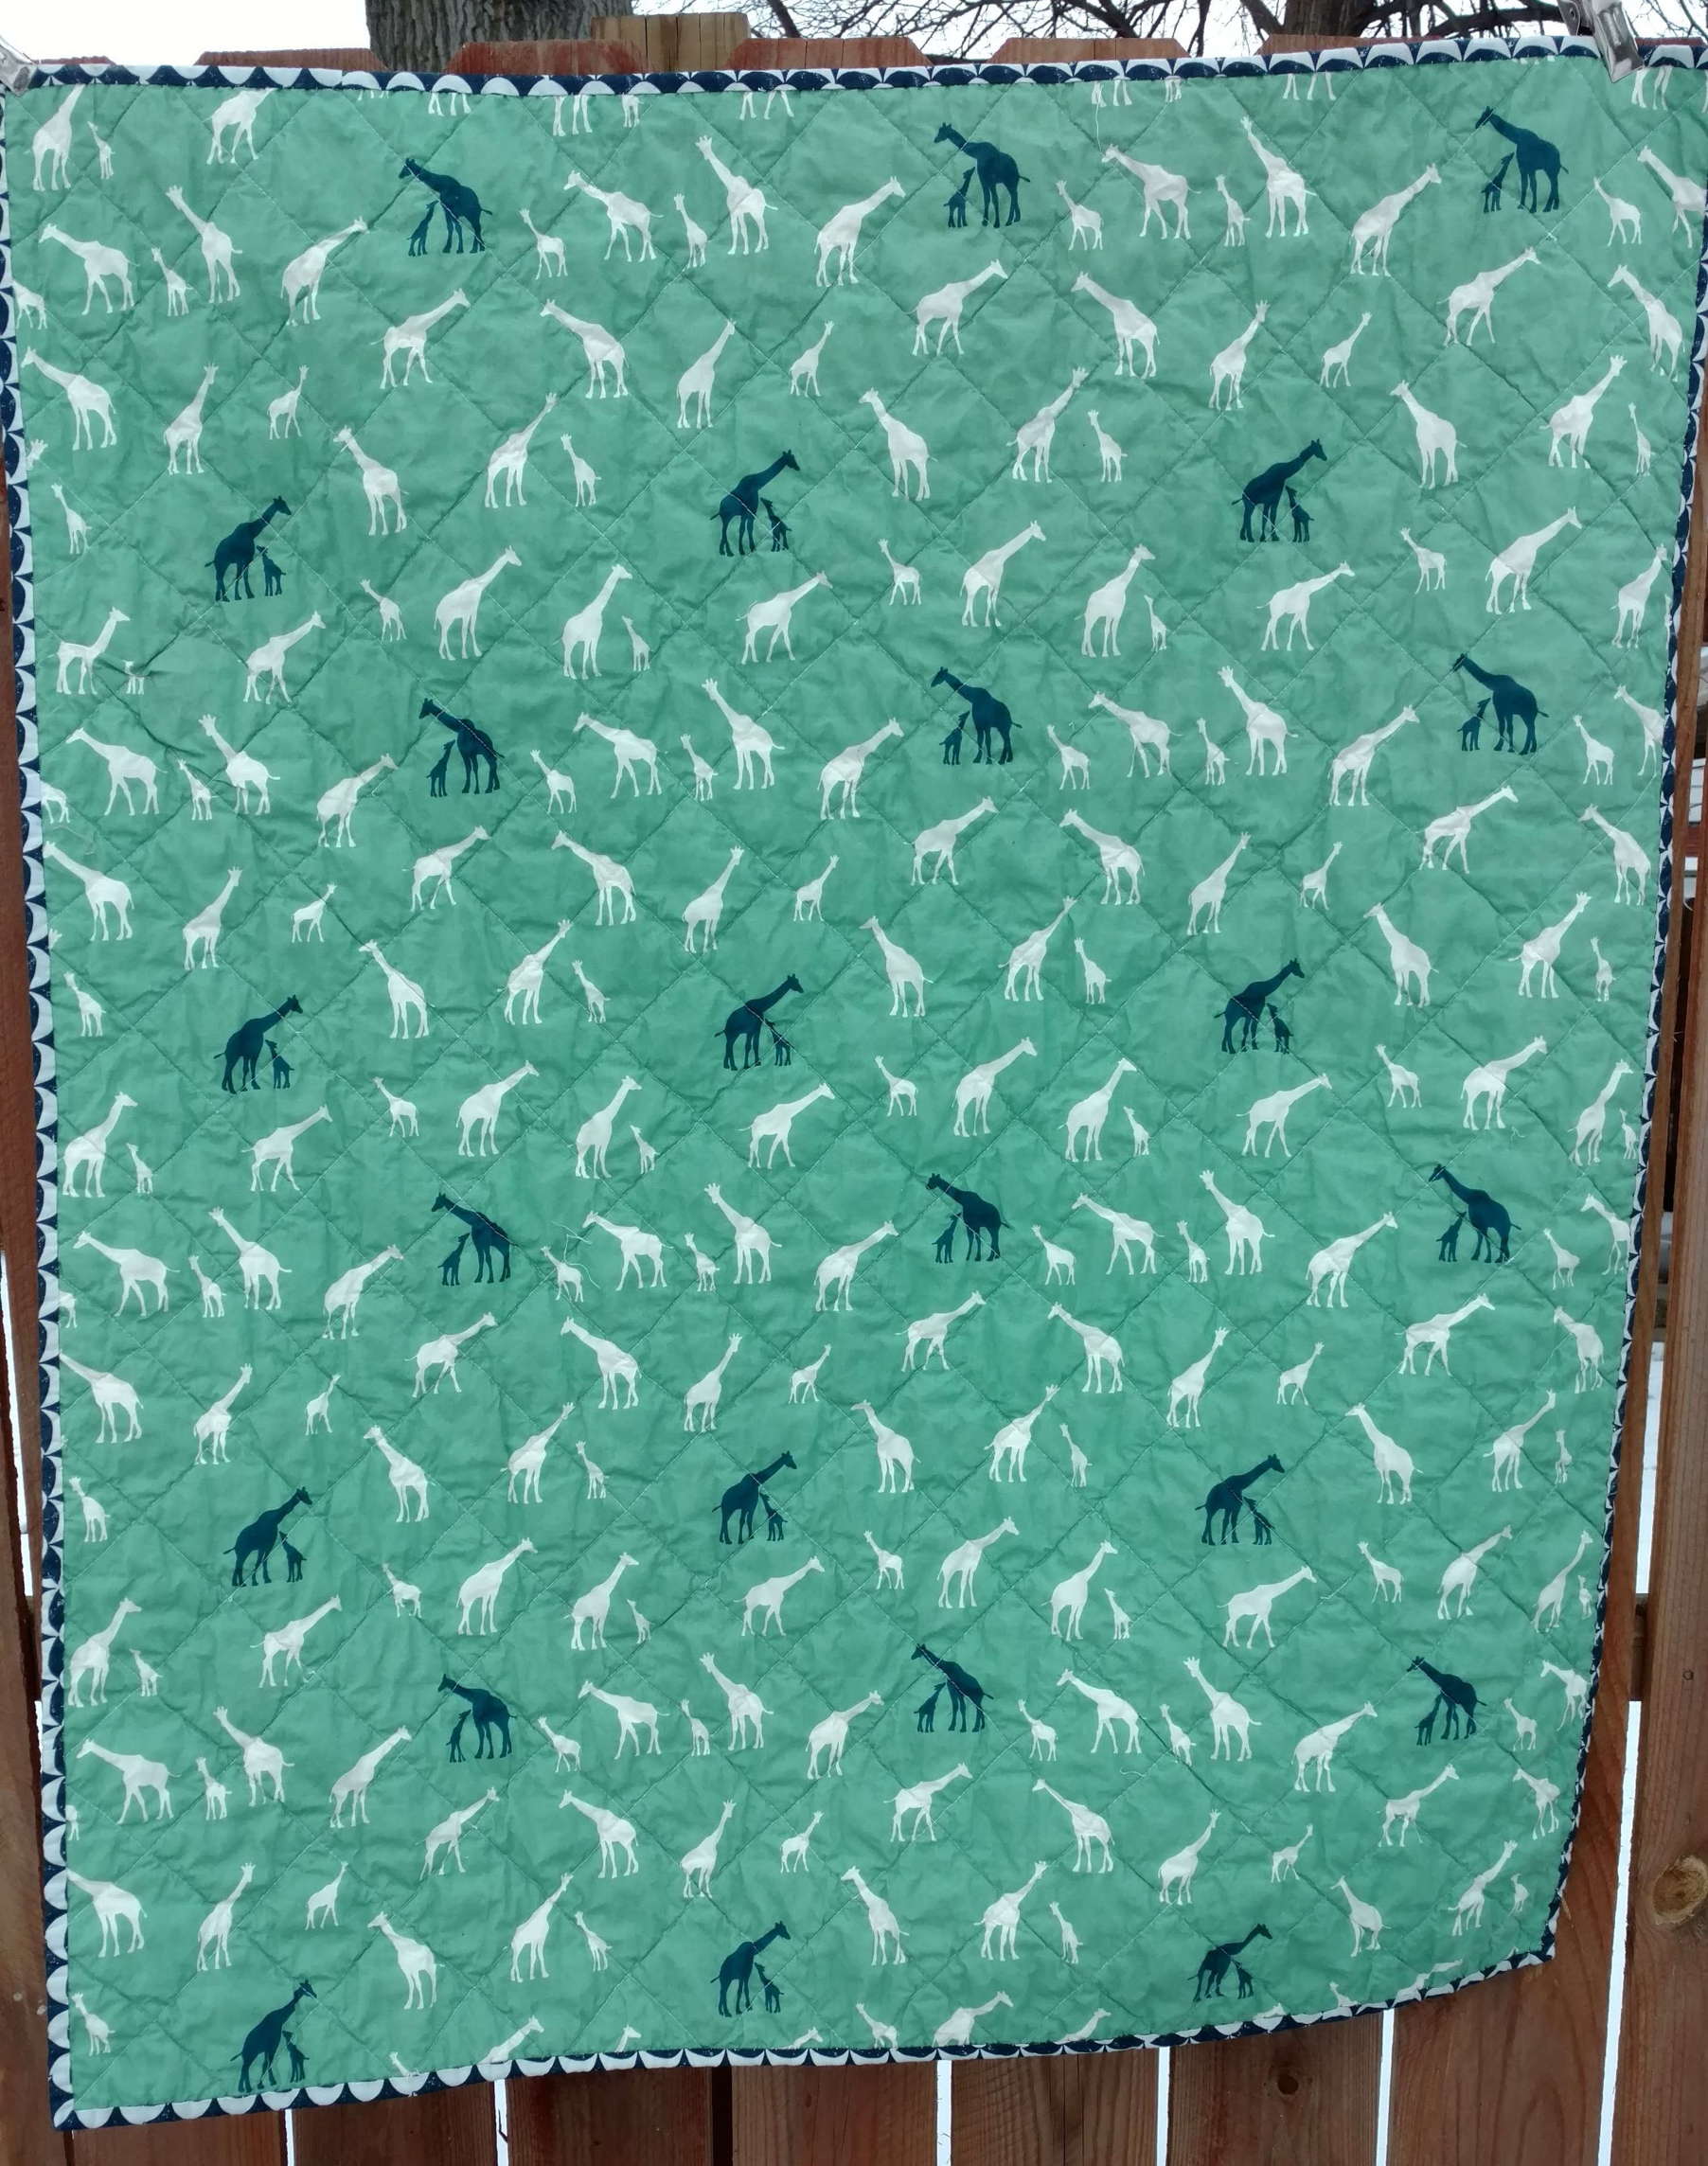
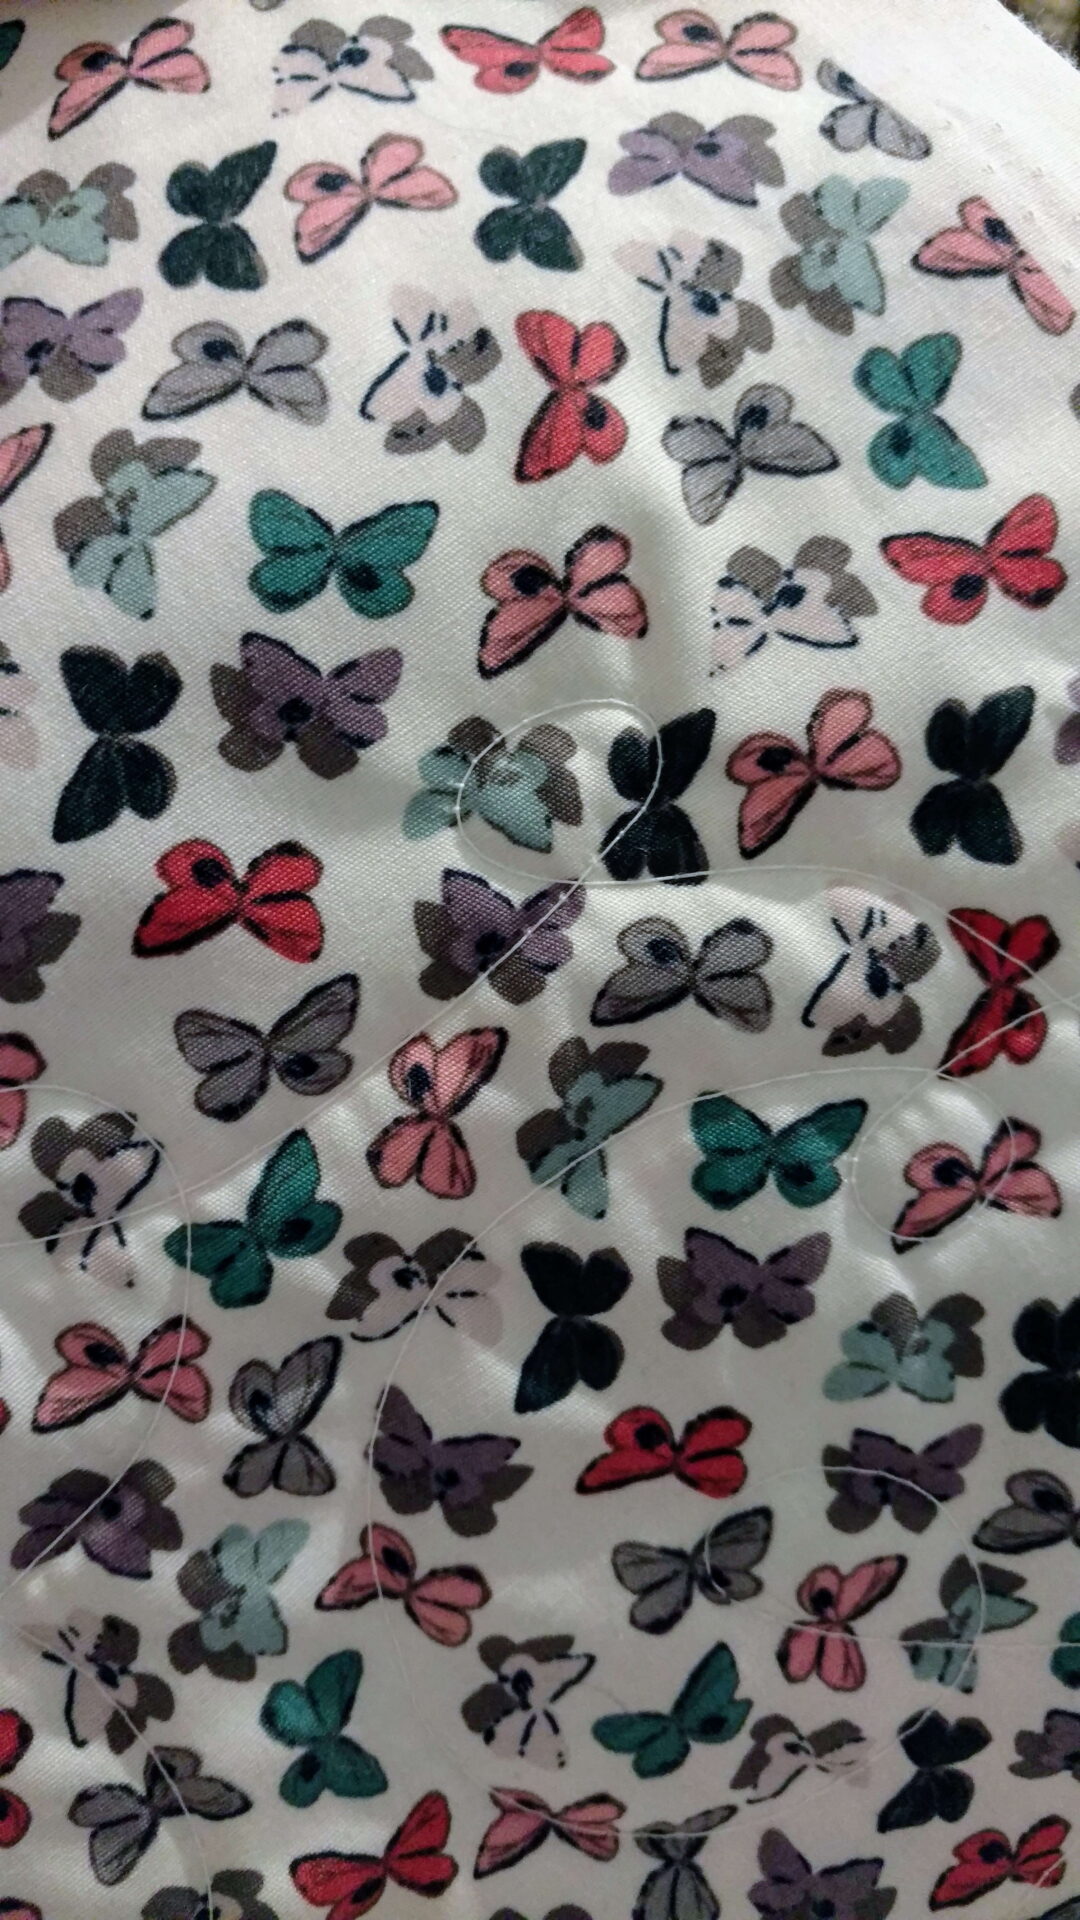
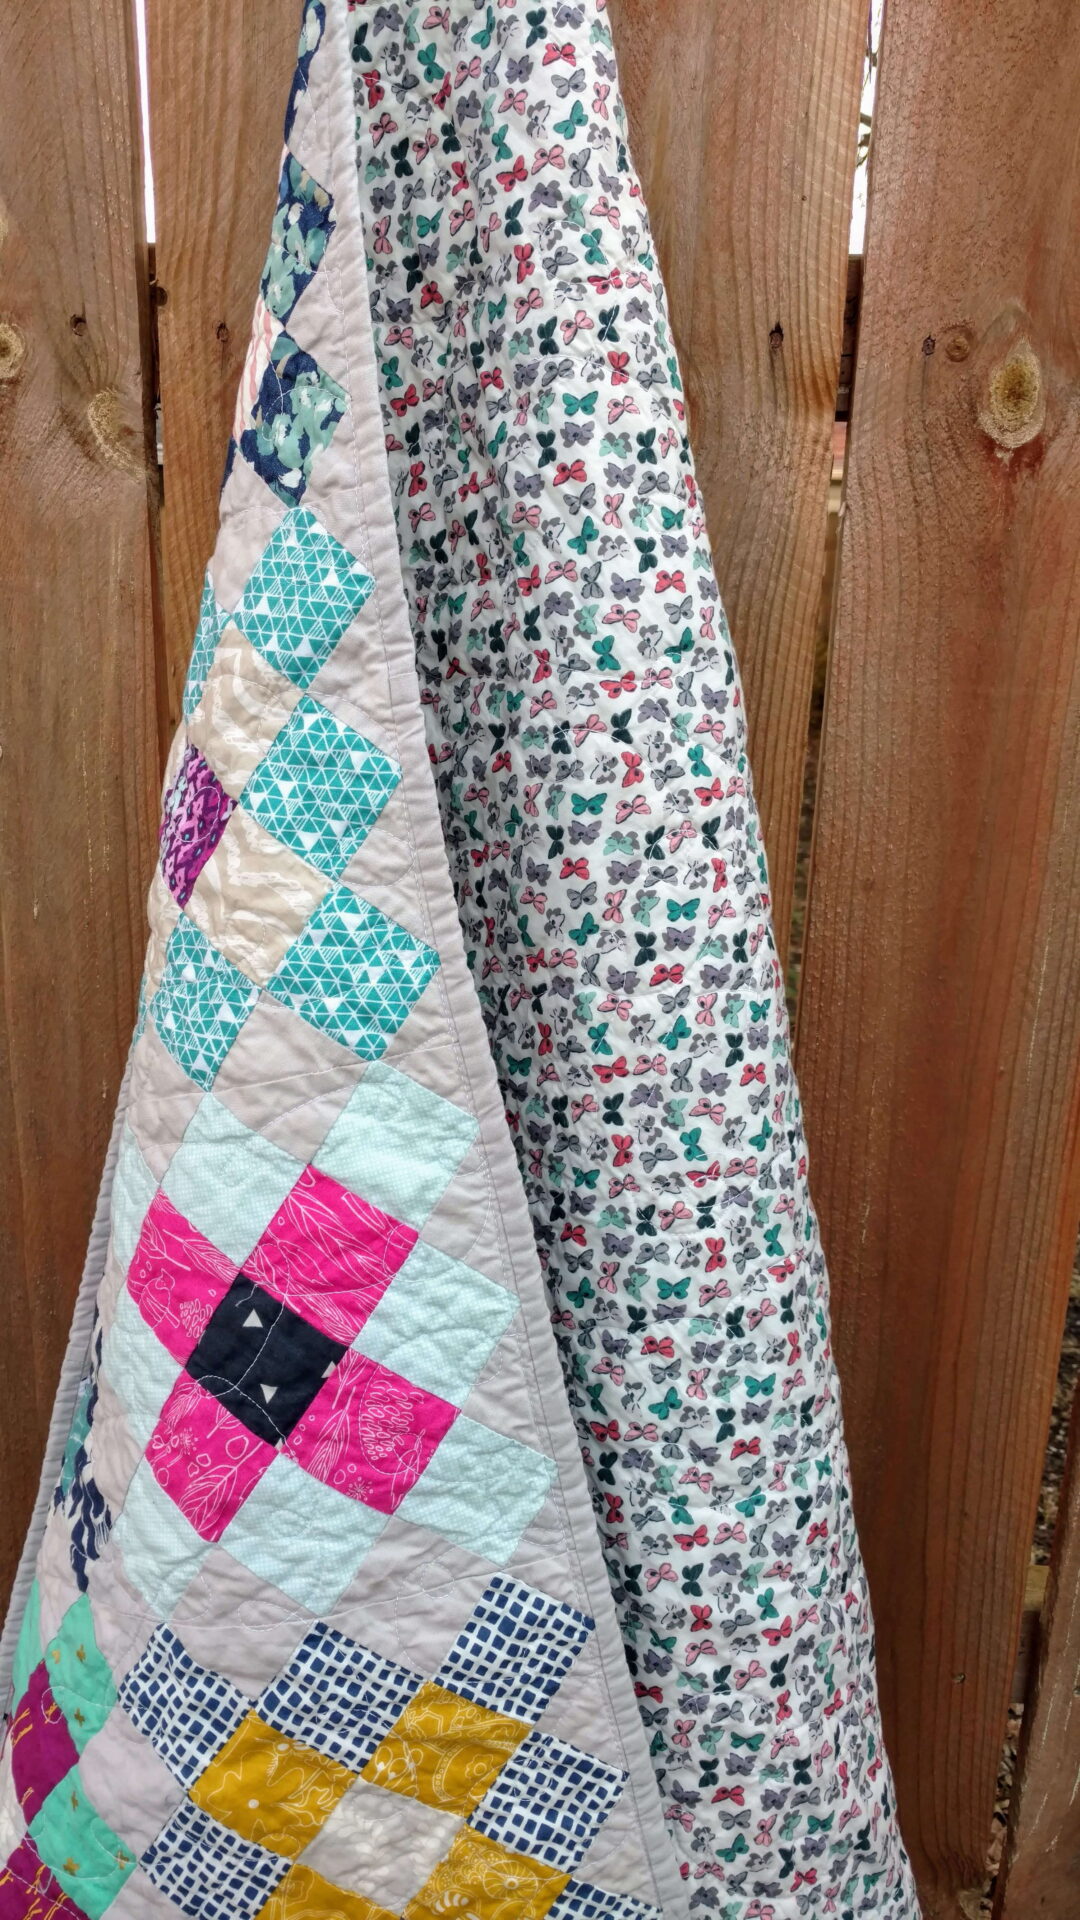
Granny square quilt, modern baby quilt, modern design, modern nursery decor, scrap quilt, jewel tone colors

Backing

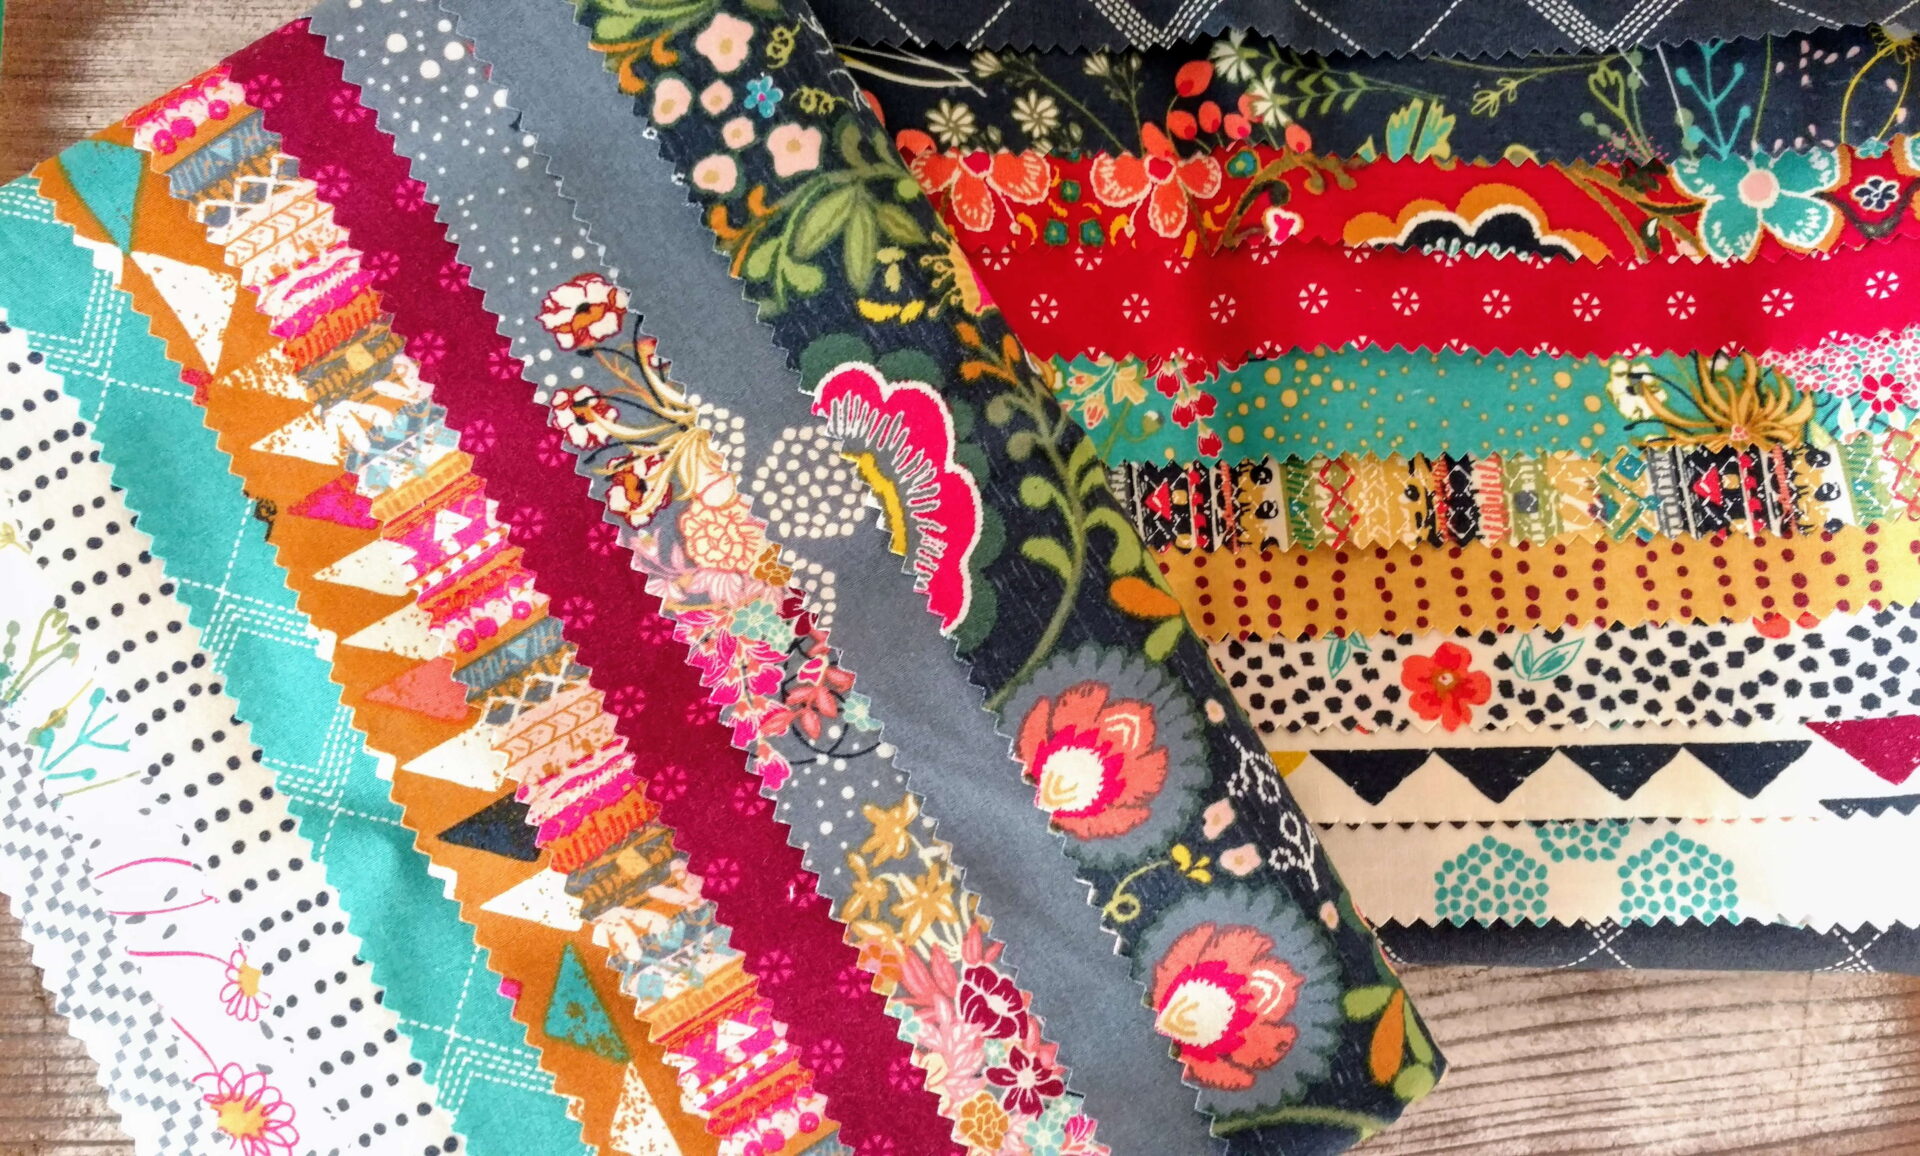
I bought around five yards of this Art Gallery print a few months ago.  I knew I had some girl quilts coming up that it could be perfect for.  Plus, it’s Art Gallery so it’s buttery soft.


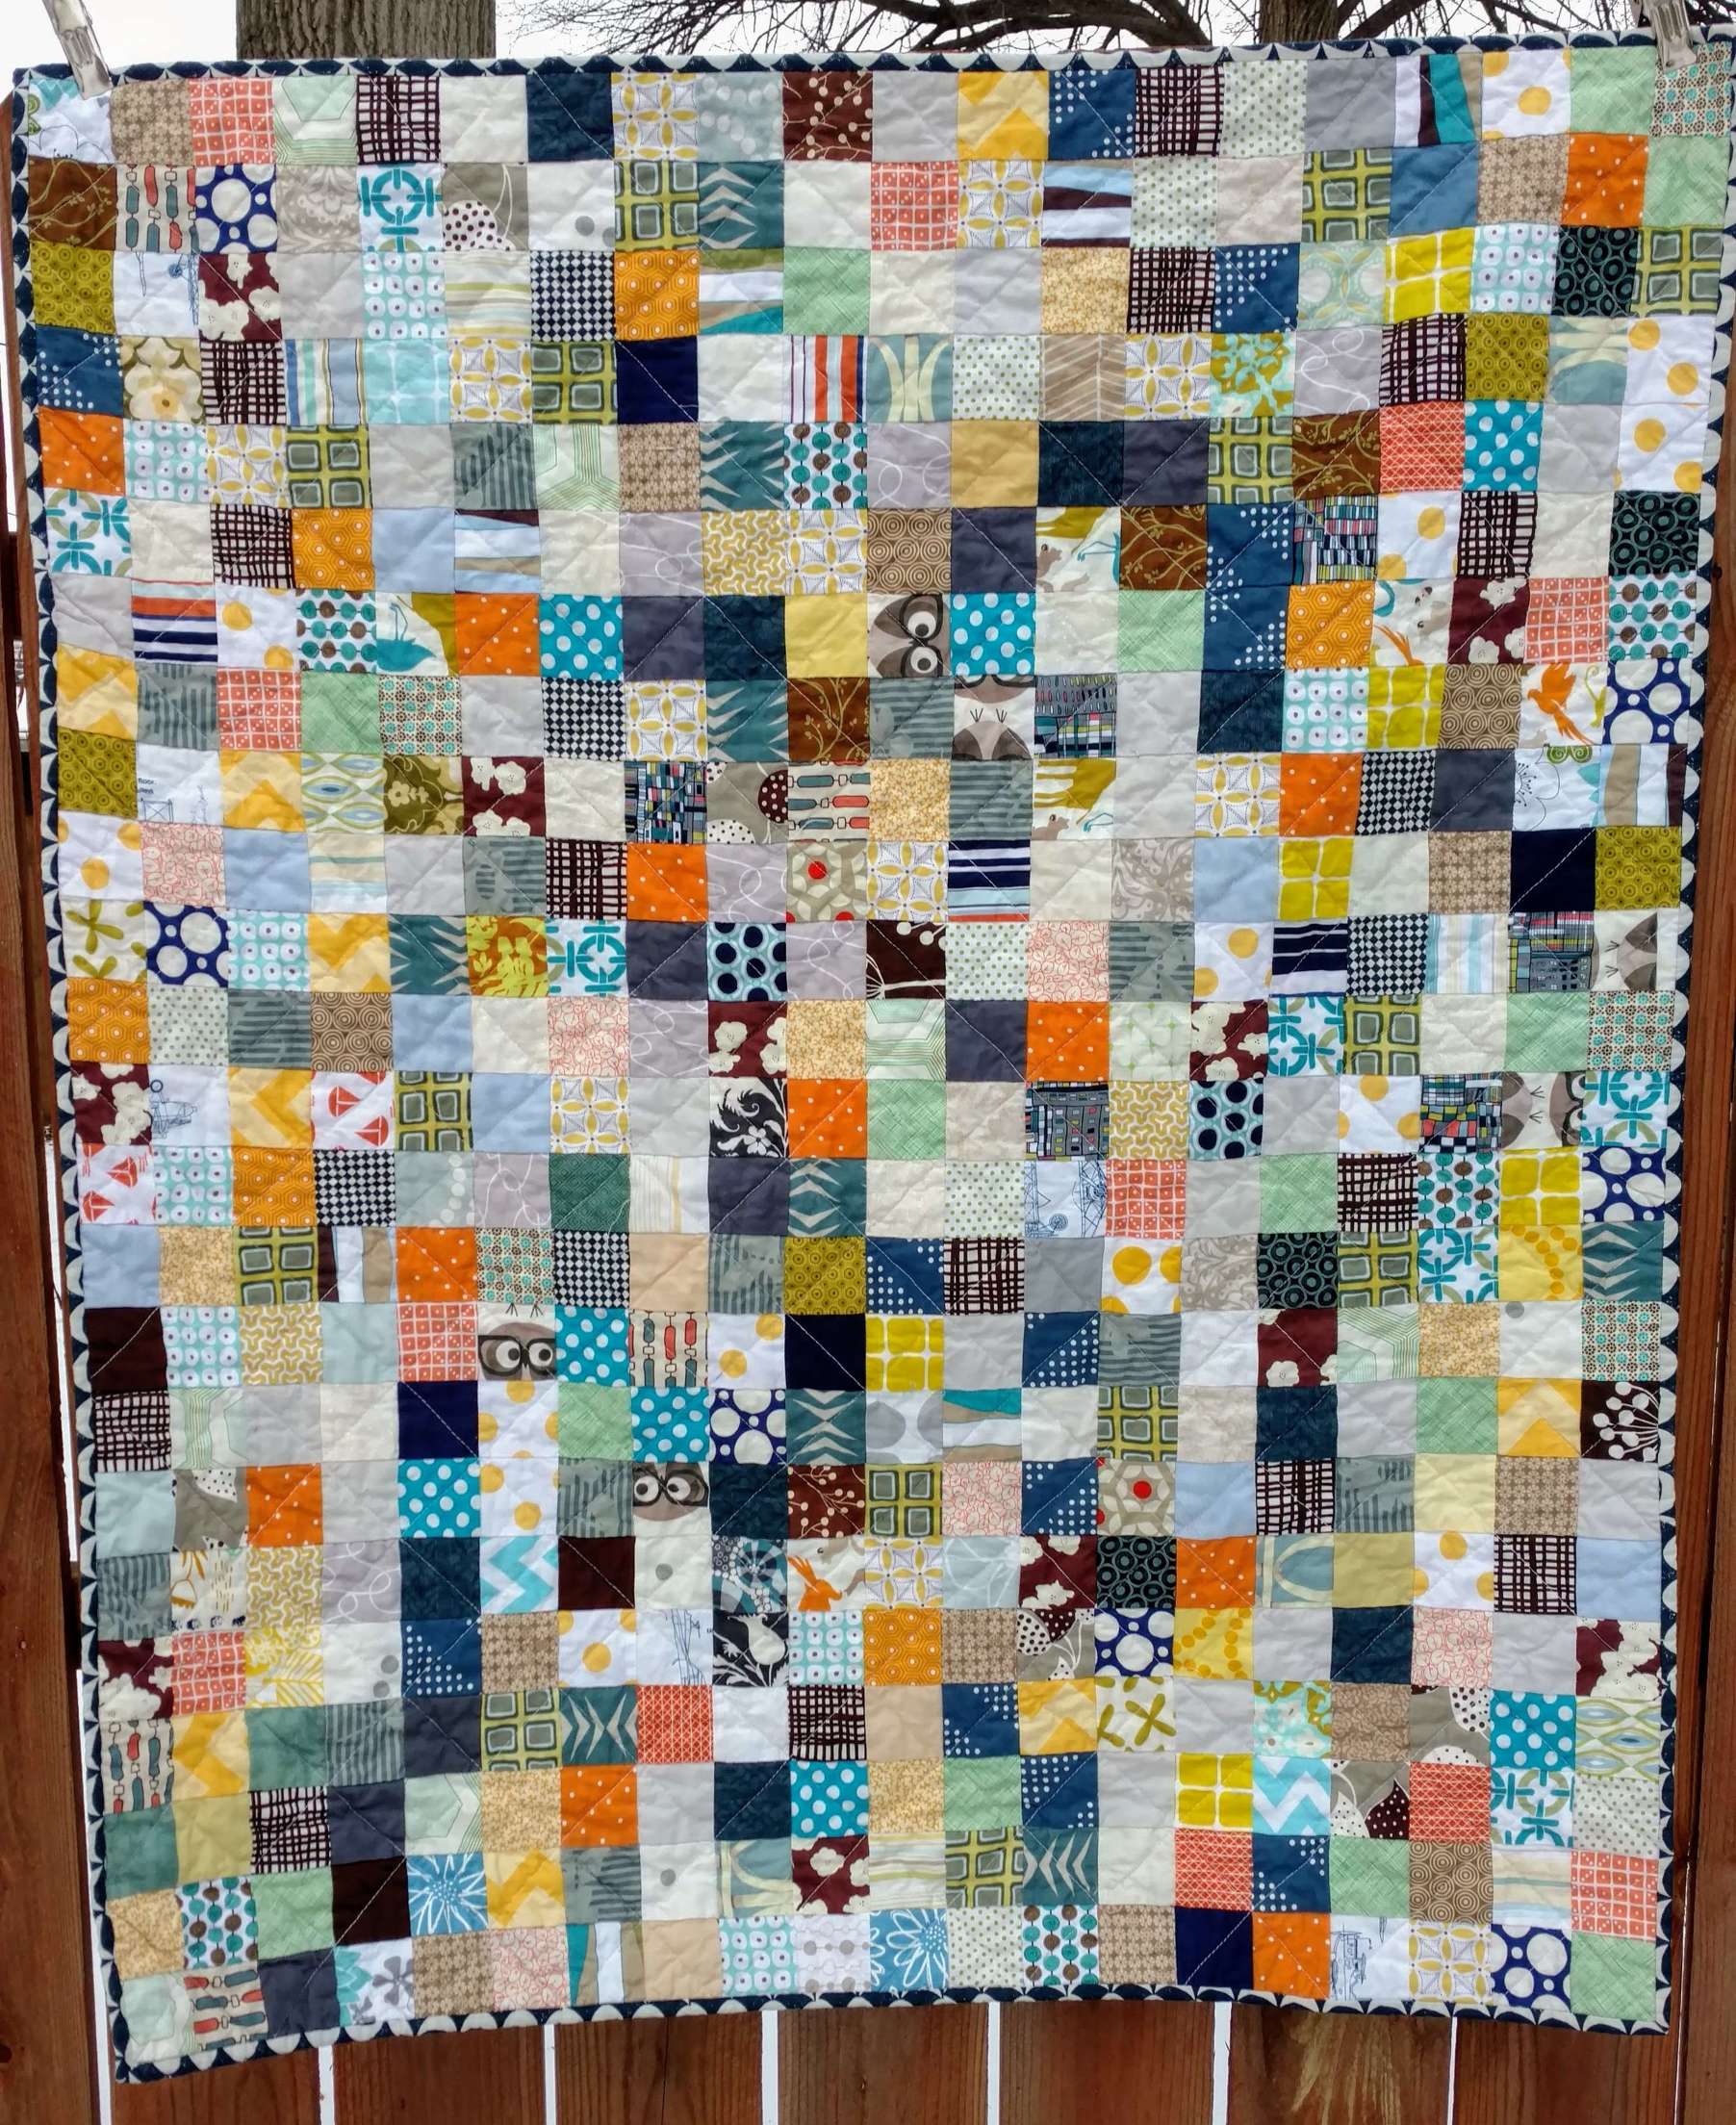
This quilt is ready for it’s new home and can be found here on Etsy.  By the way I’m a Dorothy Zbornak.

2018 Baby Quilt Goal 5/40


Linking up with Flamingo Toes Show & Tell Party

Gorgeous Granny: Fresh and Modern Granny Square Quilt

Granny square quilt, modern baby quilt, modern design, modern nursery decor, scrap quilt, jewel tone colors

Granny Squares are one of my favorite patterns outside of just patchwork.  It’s a staple in my designs.  This version is a bit darker and feels stormy.  You guys, these fabrics were all scraps and stash.

Sorting fabrics

Picking Fabrics

On Instagram a few weeks ago I saw someone destashing 2.5″ squares.  These are of course right up my alley.  Once the scraps arrived the idea for this quilt came to life.  The colors just spoke to me.  It did take some sorting and adding scraps to get just the right colors.

My goal was to make as many blocks as possible.  I had enough to make 31 blocks.  To help with speed, I set them up to able to chain piece the rows.

chain piecing quilt blocks

There was a slight panic as I was cutting into my light gray.  Was there going to be enough?  Not really, but I had some scraps to throw in.  That still wasn’t enough so an SOS went out to nearby quilters.  No one had any in stock so I had to trek to JoAnns on a Saturday afternoon to get more.  To my surprise it wasn’t an awful experience.  The store was packed and busy.  However, I walked right in to what I wanted and walked right back to the cutting counter.  There was some Kona Ash in the remnants bins as well.  BONUS!

Blocks

Look at these blocks, they are gorgeous.

Hence the name Gorgeous Grannies.  This quilt will be named Blanche Devereaux in honor the wonderful character from the TV show, The Golden Girls.  You’re welcome for this.  Plus, I’ve been to a few Galentine’s Day events recently.  The show perfectly sums up celebrating the friendship of ladies.

This top is just too good.

I was worried the colors wouldn’t balance out as well in the top as they did.  Too bad I didn’t have more of these fabrics to make a bigger quilt to keep for myself.  Love the colors and fabrics in this top.  What do you think?


First Finish of 2018 – A Scrappy Postage Stamp Quilt

scrappy postage stamp quilt, postage stamp quilt, baby boy quilt, scrap quilt, sewmystash2018, working off my stash

Right before Christmas break a friend requested a quilt for a little boy that loves giraffes.  I had planned to work on it while in San Francisco, but ultimately decided to not take my machine with me.  Once we got back I dove right in.  Since I keep my scraps sorted by size, it doesn’t take long to pull the right colors and have enough to make a quilt.  I did have to cut some scraps to add some variety.

Making the Top

I made stacks of white/neutral, gray, brown, green, aqua, navy, yellow, orange, and multi.  Then I randomly started chain piecing following my process.  The top size was to be 20 squares by 24 squares.

The top was finished over a weekend and I was ready to back it with some stash fabrics.  However, I found this adorable print on Instagram from @organicfabriccompany.  Shipping was fast and their packaging was a repurposed paper grocery bag.  As someone that tries to recycle and repurpose as much as I can, that touch was truly appreciated.   So glad I went with this fabric and added more of what the little guy likes.


Finished Product

A scrappy postage stamp quilt is one of my favorites to make.  So much so, that I’ve been working a video to help you whip up one in no time.  That’s coming soon along with a stretch goal that I’m not quite ready to share.  Back to this scrappy goodness.

I opted to quilt with cross hatch that creates a secondary larger diamond pattern.

Do you notice the last little tiny scraps of Neptune I had in my scrap tub?  I hate to see them go, but they will be used an loved.  The backing fabric was perfect for this quilt and the binding is a leftovers from a recent project.

If you follow me on Instagram, you may seen this picture.  My husband took it of me while I hand stitched the binding.  Yes, I hand stitched this binding since I had the time.  Rarely am I in front of the camera while sewing, but I love that he captured me perfectly.  Look close enough and you can see a sneak peek of what’s next.

makerswithquilts

I wrapped up the quilt for gift giving and it’s on the way to it’s new home.  

Every baby deserves a quilt and I love creating that special gift for others.

scrappy postage stamp quilt, postage stamp quilt, baby boy quilt, scrap quilt, sewmystash2018, working off my stash

2018 Baby Quilt Goal 1/40

Oh Deer! Wonky Stars

This quilt is full of firsts.  First time I have made a Wonky Stars quilt.  Also, the first time I’ve used my fat quarter bundle of Oh Deer! by Moda.  The fabric has been in my stash for years and was starting to feel neglected.  Maybe I was just waiting for the right project.

Design

The quilt was inspired by woodland creatures and more boy colors.  I had recently finished the Woodland Strings Quilt so I wanted to change my design up a bit.  I knew this fat quarter bundle was stashed away and had some animals on it.  My client wanted the green, blue, orange and yellow colors for a boy quilt.  I pulled those out and started to think about the best way to highlight the fabrics.

Wonky Stars!  Something I’ve not done, but could be a fun way to show off the fabrics.  My client was on board with the idea so it was time to prep for the blocks.  I cut my background fabric, which is a print I picked up at Joann’s.  It’s a white with little yellow polka dots.

Blocks

Making wonky stars goes quickly.  I was able to whip up 12 blocks within a couple of days after work.  There were coordinating solids added in as well.

Quilt Top

Laying out the quilt may have took longer than making the blocks.  I could not decide which layout I liked best.  Ultimately, this won.

Backing

The prints below were in my stash.  I think I picked them up from a neighborhood swap group I’m in for FREE!  The tub included some gorgeous Birch fabrics that you can see below.

Finished Quilt

For quilting I went with an all over loopy free motion pattern.  Want to know a secret?  It took 40 minutes to quilt.  Happy dance.

I can’t wait to make this quilt again with some of the other prints in the Oh Deer! bundle.  Next time, I will make them smaller.  I think smaller will help the blocks be wonkier.  That’s a word, right?

New Winter and Christmas Pillows

Pillow covers are a great way to spruce up your living room.  In August I shared some of the Holiday fabrics I had picked up in hopes of making pillow covers.  Happy to report the Winter and Christmas versions are finished before Christmas.

I had some other fabrics that coordinate in my stash from a giveaway I had won like two years ago.  This has been on my to-do list for a while.  Using a simple envelope pillow cover I was able to create these in an hour with help from P.  He did a great job handling the machine.

The big pillow is surprisingly comfy and is a form from Jo-Anns.  The softness is comparable to the Ikea goose feather pillow.  Not sure how it will hold up over time.

The backing a red sheet I had been stashing away.  I was able to make all the pillow backings using this twin sized sheet.  When at Goodwill or thrift stores, I will always check for sheets I can use while sewing.

Real Life

I would be lying if I told you these were all lined up beautifully on my couch and not scattered across the living room.  My Plott Hound immediately stole one and I found her snoozing away on it.  P decided to she needed to be covered up too and it was the perfect photo opportunity.   Yes, she is this ridiculous.

My freezer paper painted pillows now live under the tree.

Are you working on any last minute projects before Christmas?


The post may contain affiliate links.  If you may a purchase from a link, I may receive a small compensation.  

Indie Folk King Sized Patchwork Quilt

Indie Folk designed by Pat Bravo for Art Gallery fabrics is stunning.  My customer was torn between this line and one other.  She made the right choice.  Yes, this is a commissioned king sized quilt.  A bonus as I’m working on this quilt, I am creating a video highlighting my process.  Can’t wait to share with you that process.

Fabric

Lots of prep work goes into making a king sized quilt.  Half yard bundles of the fabric line were necessary and Fat Quarter Shop had the full line and great pricing.

For a patchwork quilt I prefer to incorporate coordinating solids.  No one near me sells Art Gallery solids and I really struggled to find them online, especially at a price I liked.  Crimson Tate stocks FreeSpirit solids and they coordinated well with Indie Folk’s colors.

Cutting

To maximize the fabric I cut 4.5 inch squares.  That means ALOT of squares for a king sized quilt.  My customer wants patchwork and this delivers that design element.  This step was probably the longest out of all of them since I needed around 700 squares.

Even the scrappy strips and snippets are delightful.

Sorting

Cleaning my sewing area after cutting was imperative.  This project will take over all my workspace for the next few weeks.  Having it organized and ready to work at all times is a huge time saver.  Taking the 10 minutes to clean was well worth it.

When prepping for a big project, this is a great time to check your machine as well.  I prepped three bobbins, cleaned and oiled my machine before starting any piecing.  Also, I put in a fresh needle for piecing.

The last step for preparation is sorting my fabrics.  This project I sorted by the print or solid.  Some projects I will sort by color, especially if a scrappy quilt.  You need some space to make a sort effective.  Using an extra cutting mat or folding table is helpful.

Next week I hope to share my portion on piecing the top.  Any guesses how many rows I need for this quilt?

Follow


Indie Folk Quilt – part 2

Indie Folk Quilt – part 3