
I have known Amanda from CottonBlossomThreads for years, we had lockers two down from each other for like 7 years. Over the last couple of years she has shared her craftiness with her blog. She has gardening skills that are impressive and her chickens live the life too. In addition her sewing skills have really been developing as well. Oh yeah, she cooks too. Another person that I’m in awe of everything they accomplish each day.
Handmade gifts are great to share during the holidays or anytime of the year. I was so excited when Amanda said she was doing a gift. Do you have a favorite that you have made or received? Please share below in the comments.
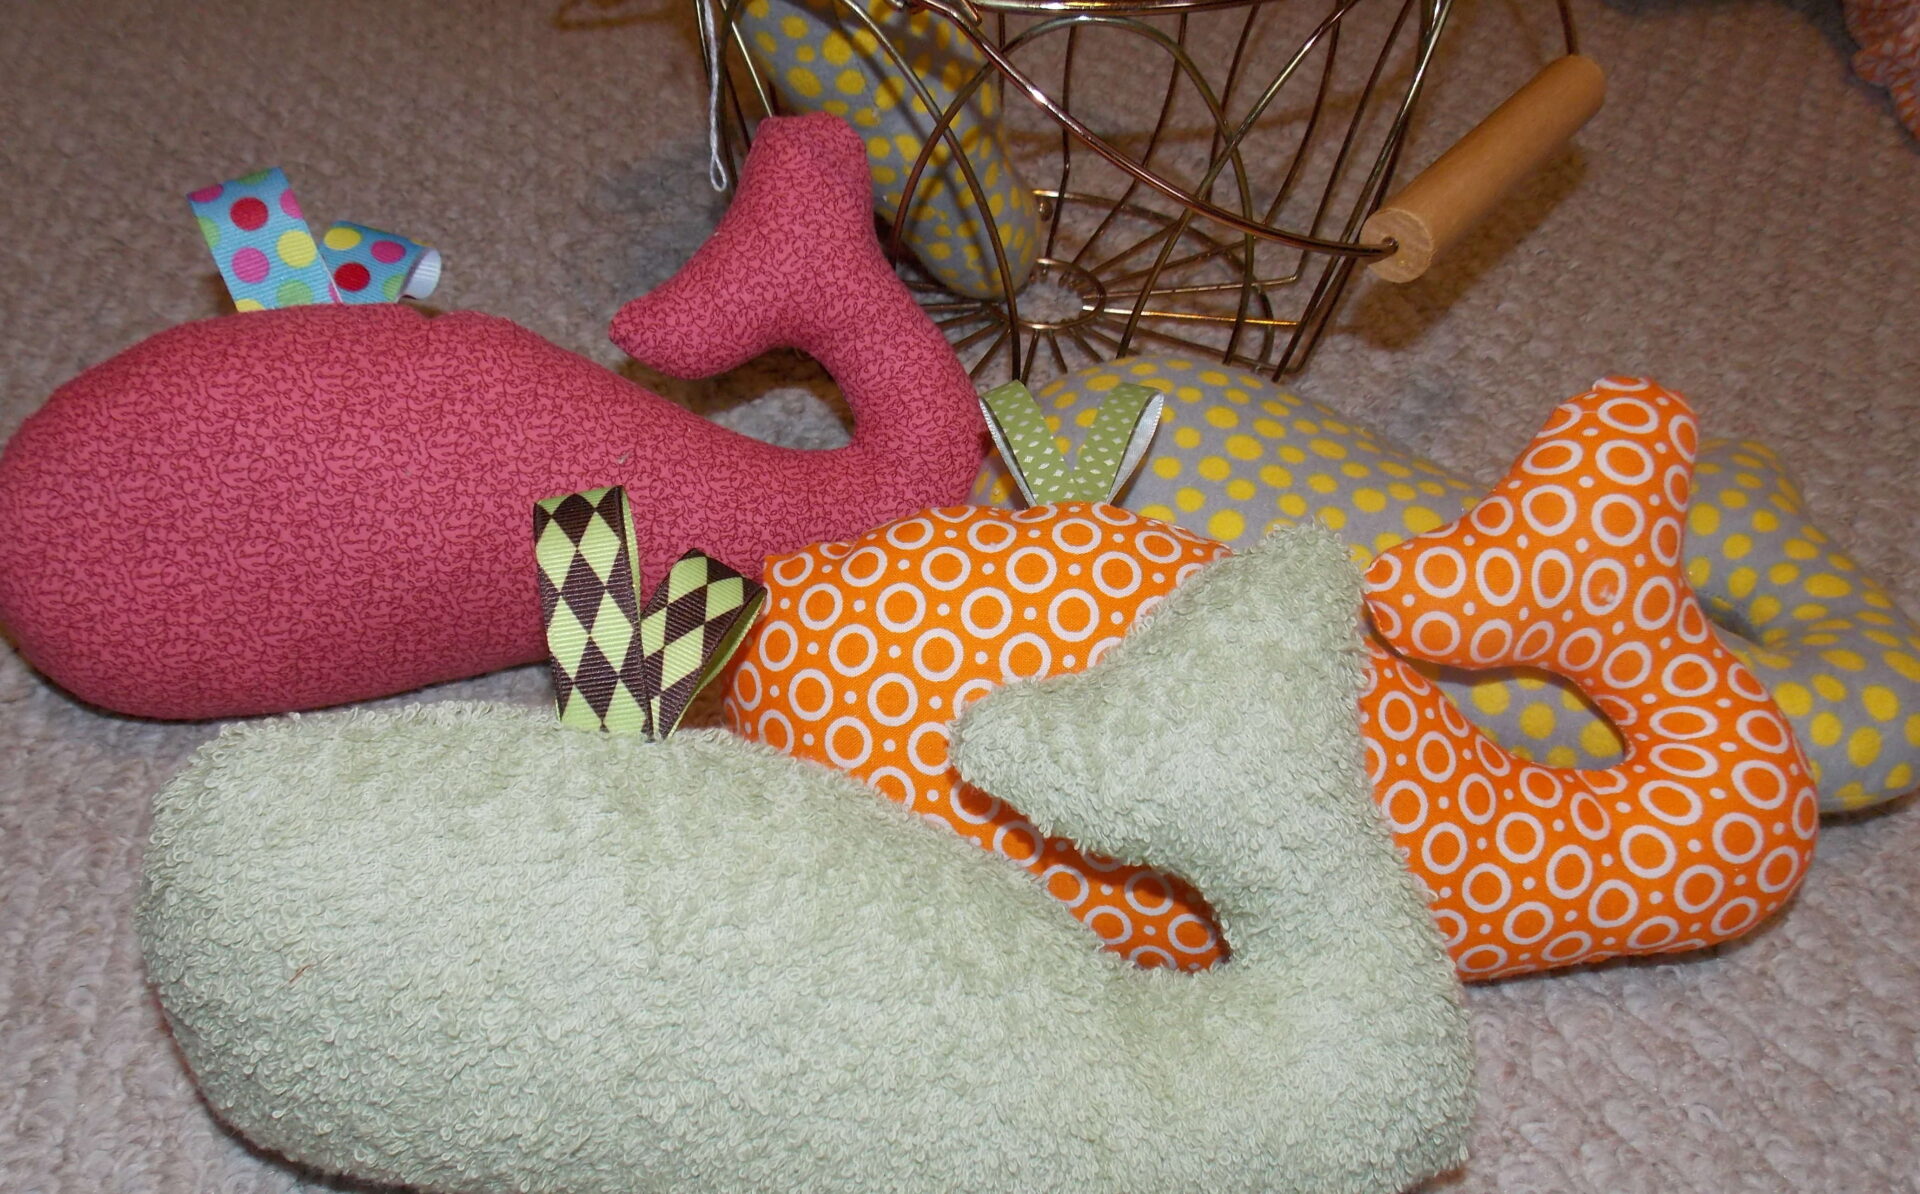
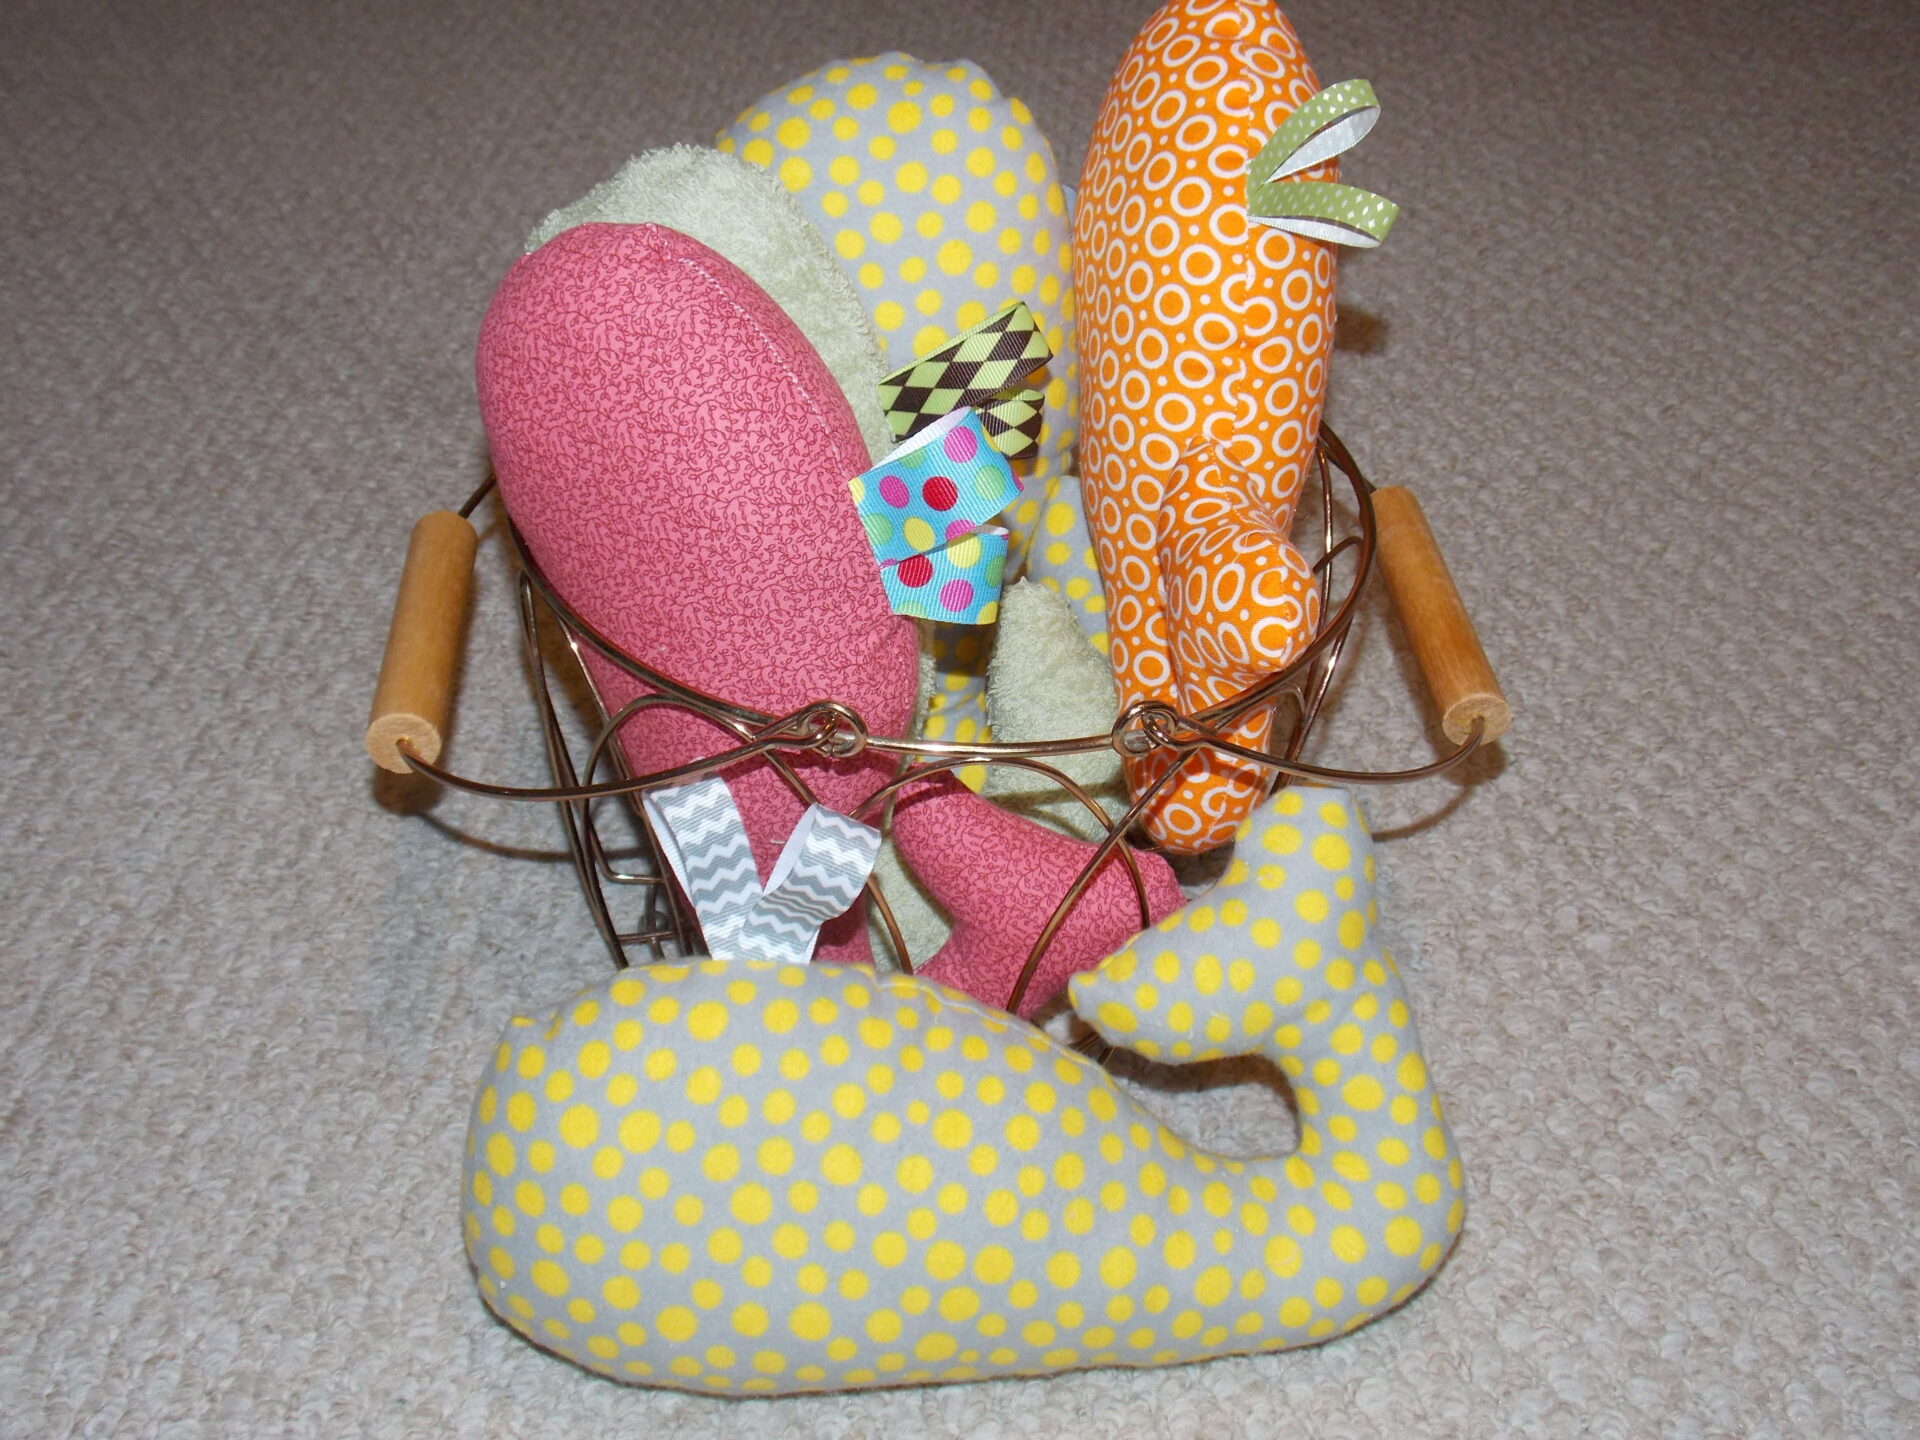
Handmade Whale Softie
Hi Quiltytherapy readers, this is Amanda from CottonBlossomThreads. I wanted to help Tisha out with her Christmas in July special and nothing says it better to me, than handmade gifts. Anyone can go out and buy a gift for someone, but it really shows you care taking the time to make something with your own hands. So, for this guest entry, I’m going to show you how to make a special whale softie for a baby or child.
 Supplies:
- 1 fat quarter (fabric measuring 18” x 22”) cotton, linen, flannel, etc.
- Coordinating thread
- Polyester fiberfill
- Ribbon scraps
Choose whatever color fabric you like, even a Christmas print would be cute to see peeking out of a stocking. This whale can be made out of flannel, cotton or I even made some with terry cloth. I added a couple ribbon spouts on top for sensory play and babies like to pull and chew on the ribbons. I didn’t add any button eyes for safety but you can always stitch a little “x” for an eye or use safety eyes, if you choose.
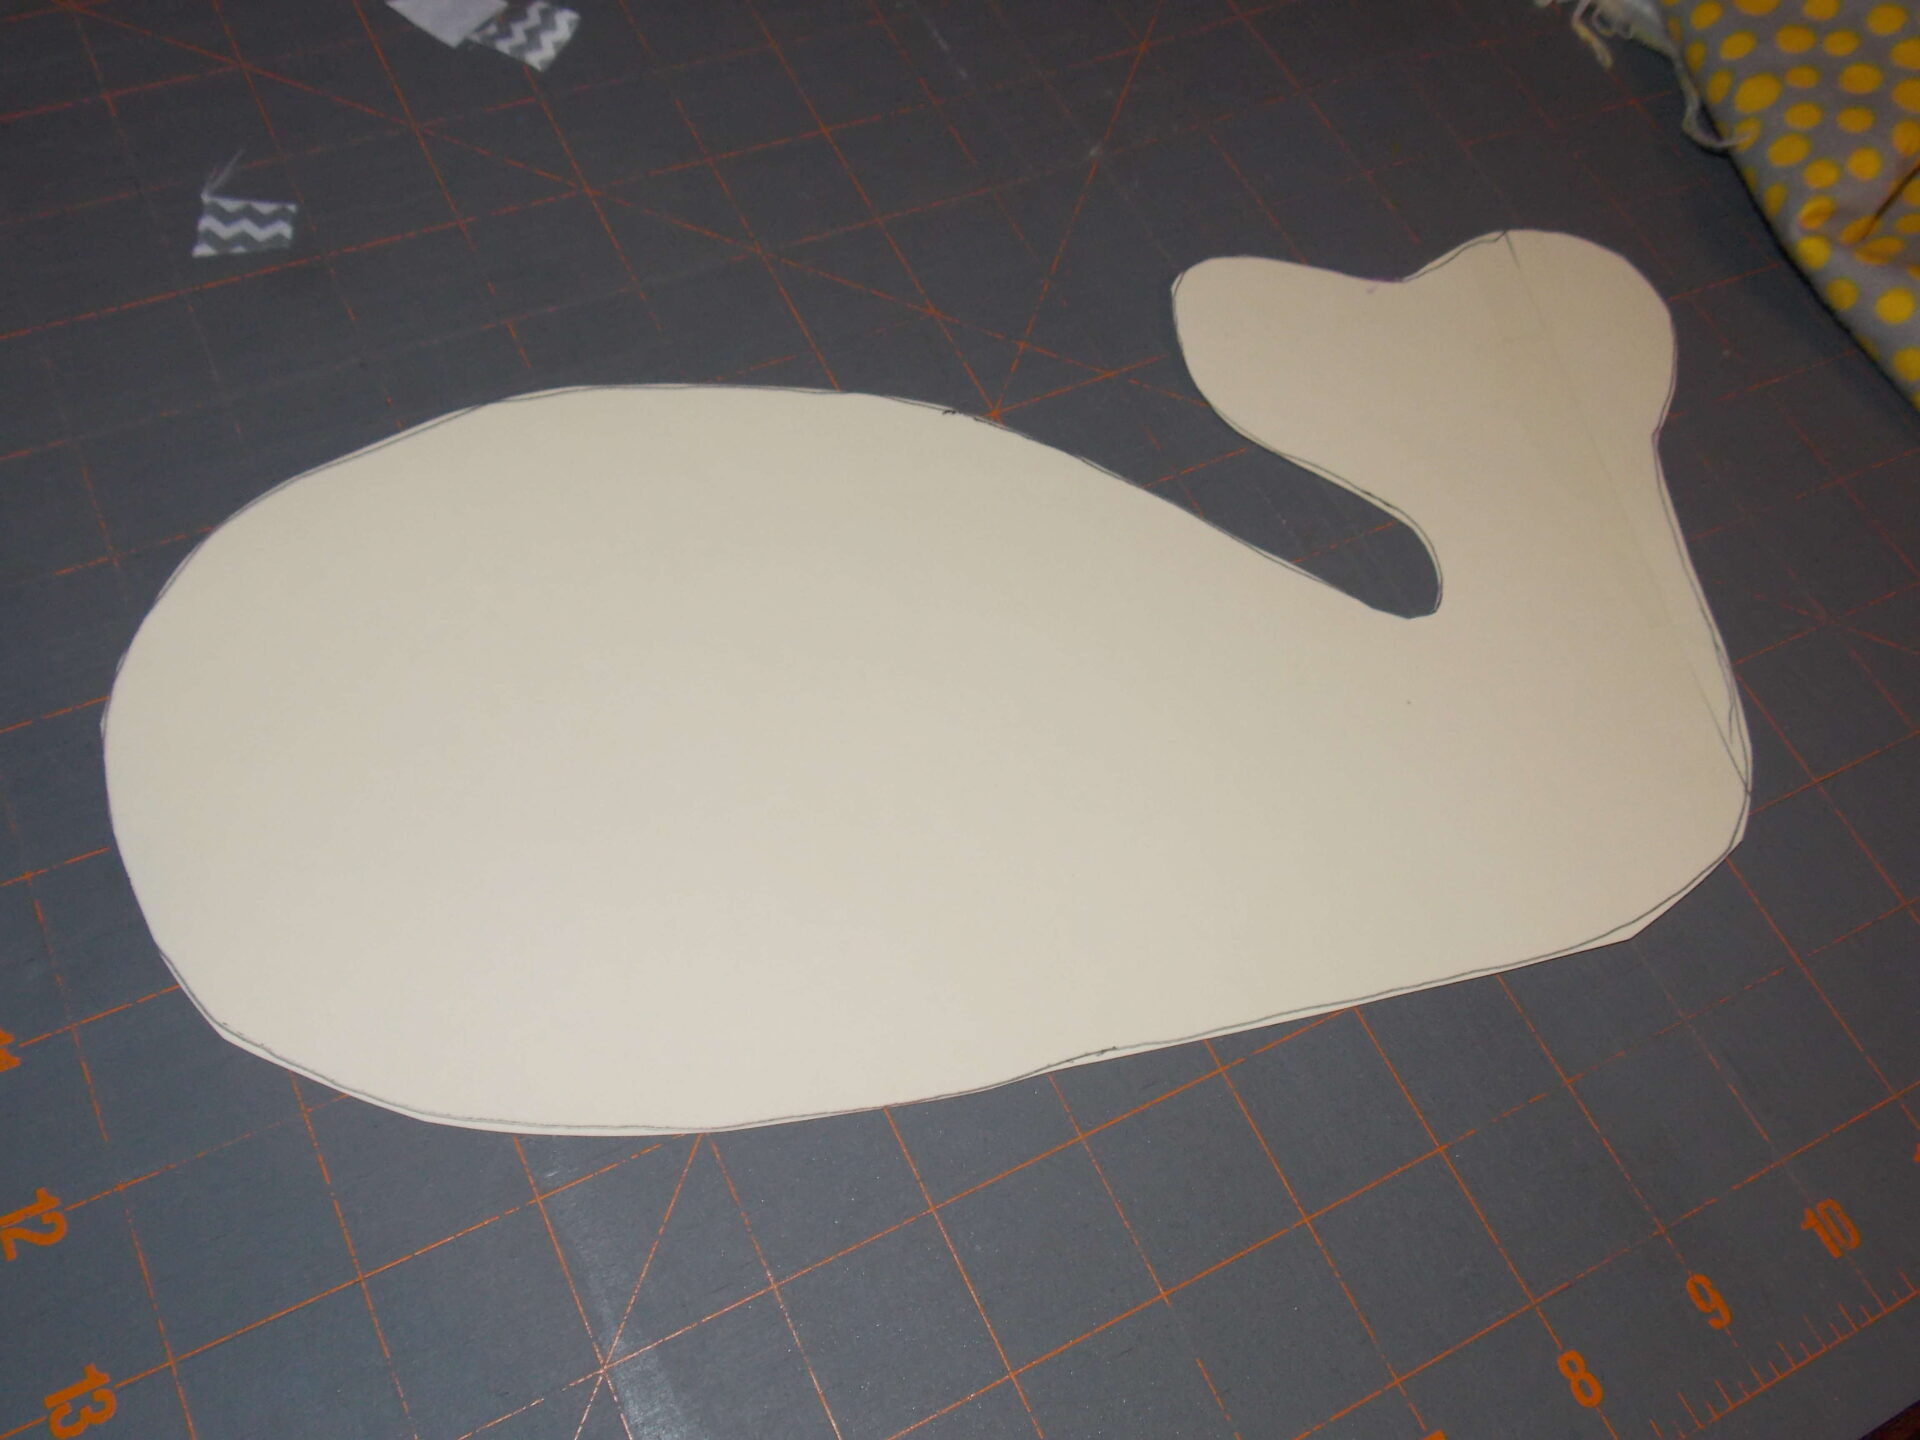
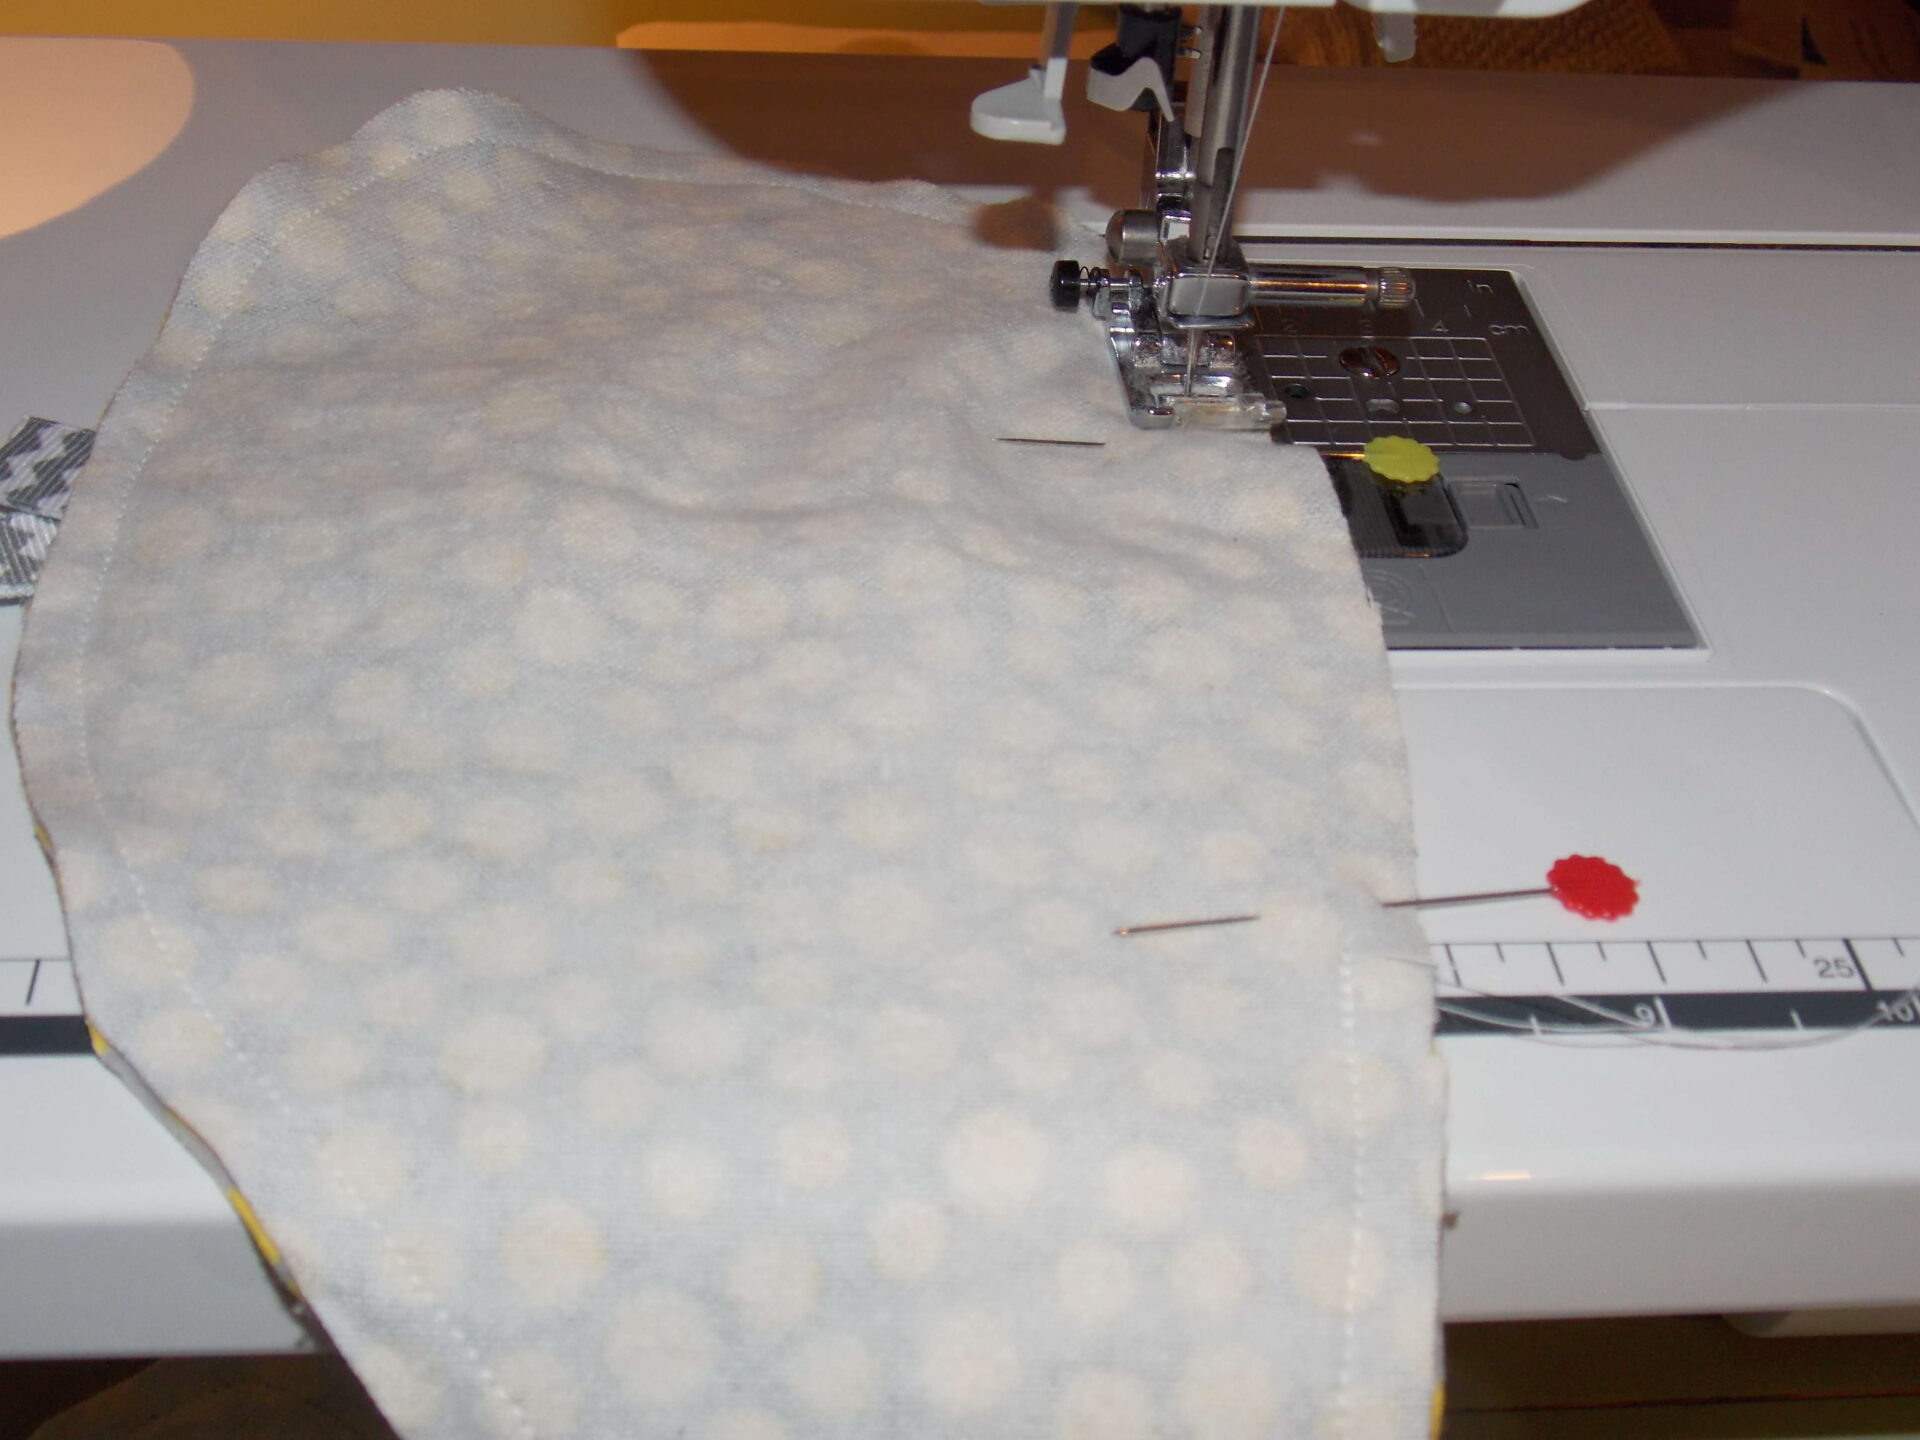
After you have chosen your fabric, freehand draw a simple whale shape or look one up online to trace. I made mine with sturdy cardstock and then traced the pattern onto two pieces of fabric. Cut out and place right sides together. Pin together, sandwiching your ribbons with the loops going down inside the whale and leaving the cut edges ¼ inch past the top of the whale. Your ribbons can be 5-6 inches long, however you want the spouts to be. When you sew and then flip right side out, the ribbons will be on top. Sew with a ½ inch seam allowance leaving a couple inches open on the bottom of the whale, use your pins to help you remember where to stop and start sewing.
After sewing, clip all your curves with a little snip, being careful not to clip into the seam allowance. After turning right side out, use a chopstick or blunt pencil to poke out the tail and all edges. Then fill the entire whale with filling, using either polyester fiberfill or cotton. It’s best to stuff with small pieces of batting rather than one big ball of it. Push it all inside until the whale is a good fluffy toy to your liking. Then sew the bottom seam shut with a little whipstitch or slipstitch, trying to match your thread color to the fabric.
These come together pretty quickly and mixing different ribbons with fabrics is the fun part. So make a whole boatload now ready to give out at Christmas!
Thanks for reading and happy sewing!
Amanda
I have been crafting and sewing for years. I always love making clothes, toys and other accessories. My other hobbies include chicken keeping, baking, canning and gardening. I’m always out in my garden with the chickens late into the evenings or in my craft room, sewing! During the day, I am a licensed clinical social worker and work as a therapist at a residential facility for kids with behavior problems, mental illness and intellectual disabilities. I utilize lots of creativity and crafting with my kids there, too and love teaching them new things!