Secret Santa Swap

I should just put it out there that I’m horrible at keeping secrets.  HORRIBLE!  The Indy Modern Quilt Guild hosted a Sneaky Santa swap this year.  We went through an automated service that randomly assigns you to people.  The system matched me with one of my best friends Rachael.  I knew almost immediately what I wanted to make, but had to be extra sneaky about it.

A little about Rachael

Rachael wanted something supporting feminism as she helps run a global non profit focused on the needs of women.  Have you heard of Support the Girls?  My wonderful friend had a goal a couple of years ago to collect 3500 bras to celebrate her 35th birthday.  She exceeded that goal in first few months.  She is helping to lead the change on how women can have access to undergarments and menstrual products.  Here basement is usually stuffed with bras, tampons, and pads.  Okay, she usually have bras all over her house.  I am proud of the work she is doing and the lives she is impacting.

You can read about more about her story here, here, and here.

There is no stopping this woman.

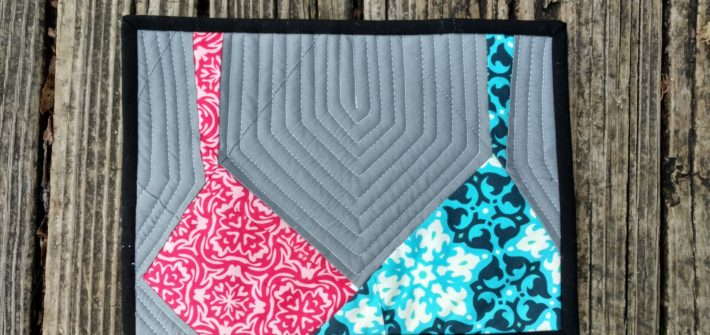
I wanted to make her a bra pot holder.  I was almost certain she didn’t have bras in her kitchen.  Over the weekend she informed me she did actually have some in her kitchen right now.  Of course!  In my research I found this paper piece pattern for a bra.  Thank goodness for secret boards on Pinterest.  We follow each other on social media, Pinterest, and usually ride to guild meetings together.  Plus we live around a mile from each other, it’s not unusual for us to pop over to each other’s houses.  I had it worked out with another member to run the package over to her house before the meeting so she could bring it.

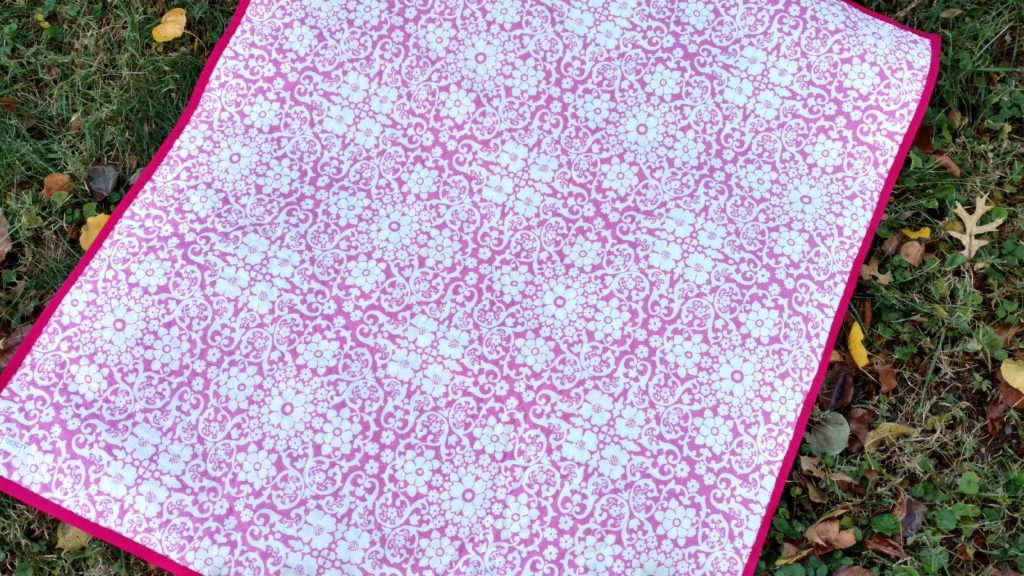
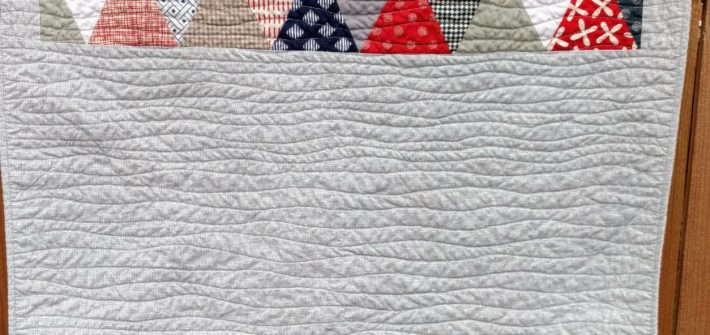
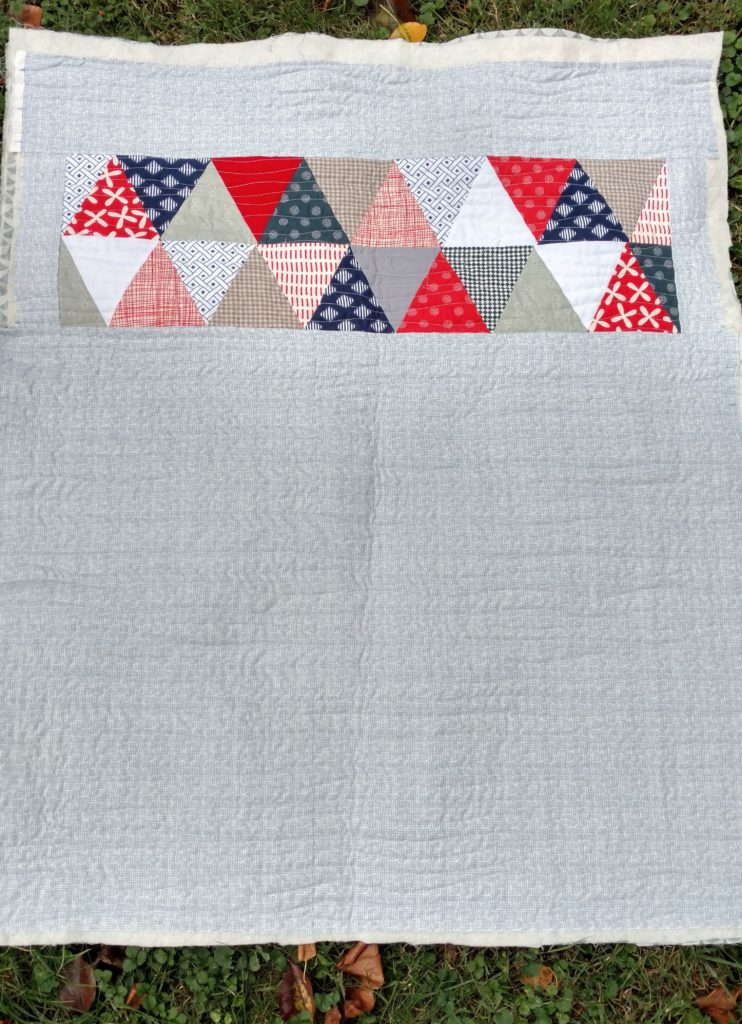
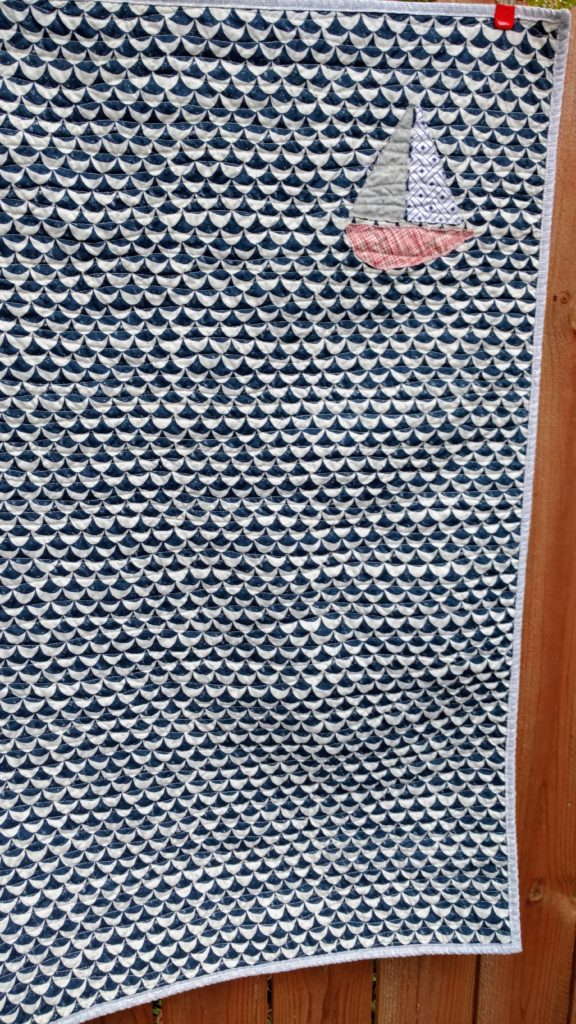
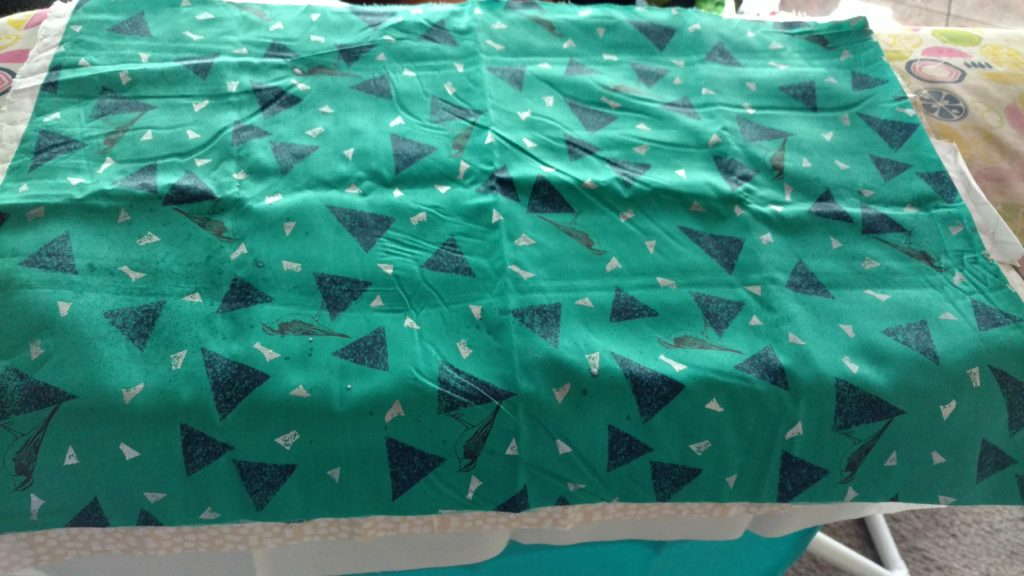
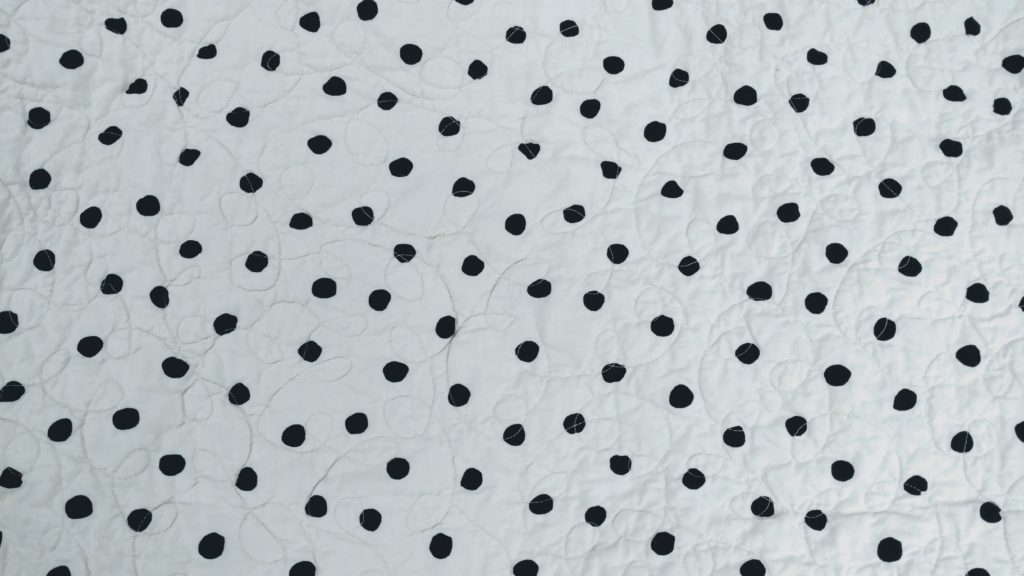
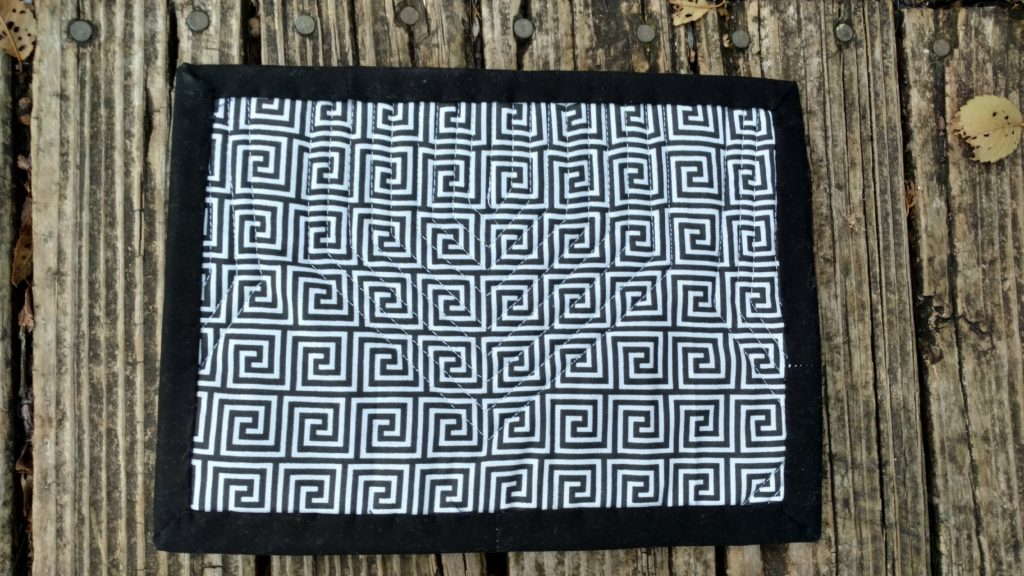
The bra took no time to make.  I backed it in a bold print and shared this photo on Instagram of the back.

Sneak peek of my Santa Swap item for the #imqgsecretsanta. I can show you the rest on Sunday.

A post shared by tisha nagel (@quiltytherapy) on

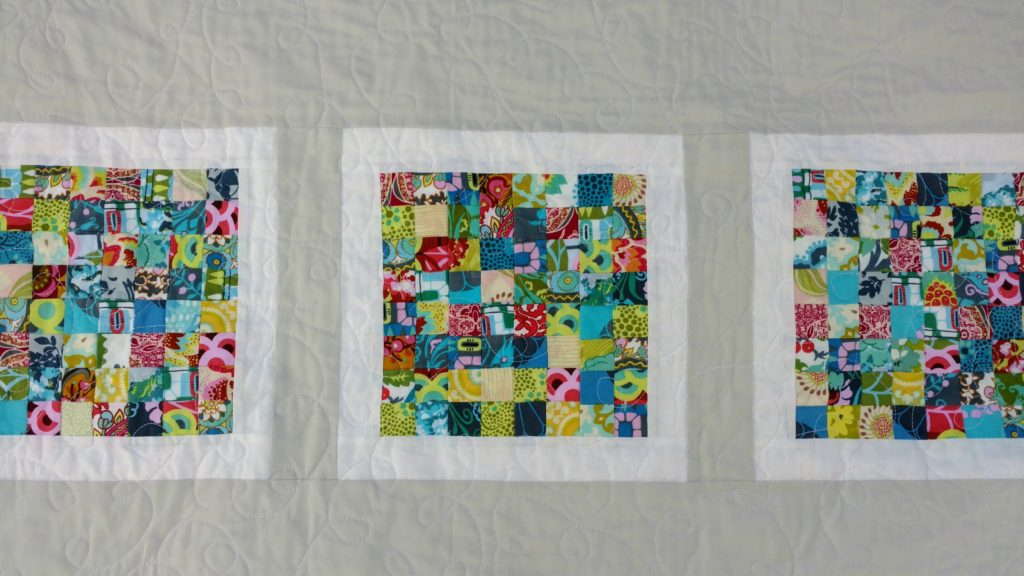
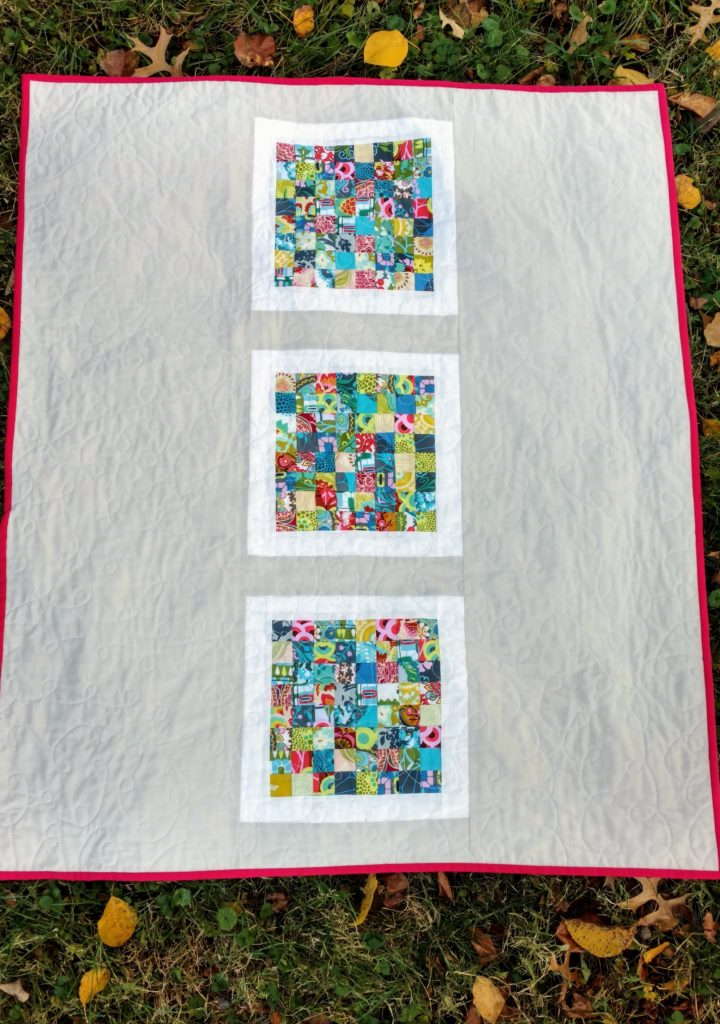
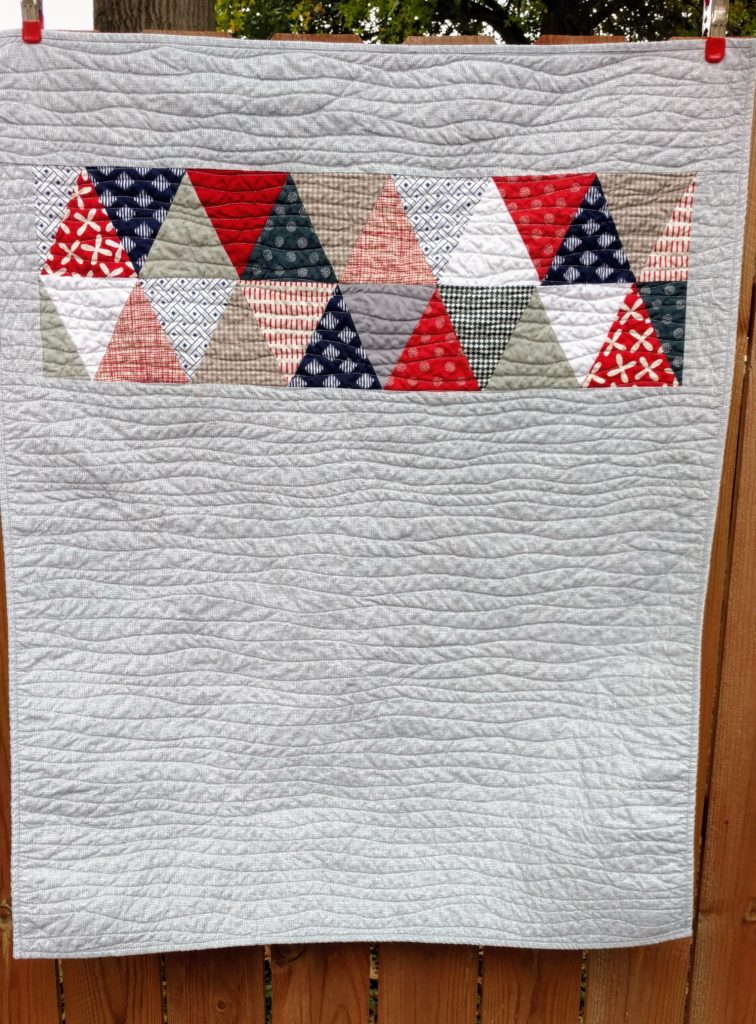
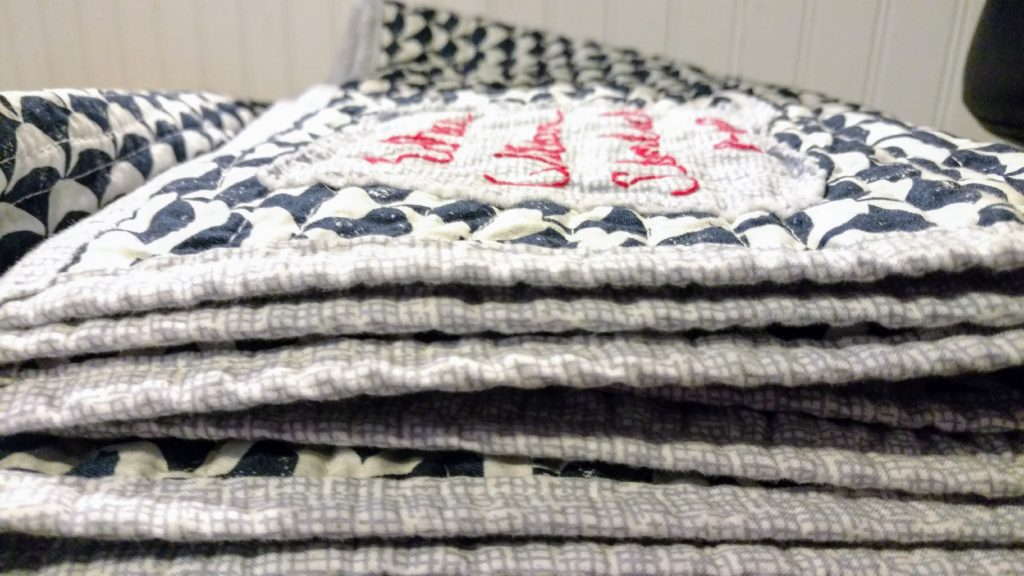
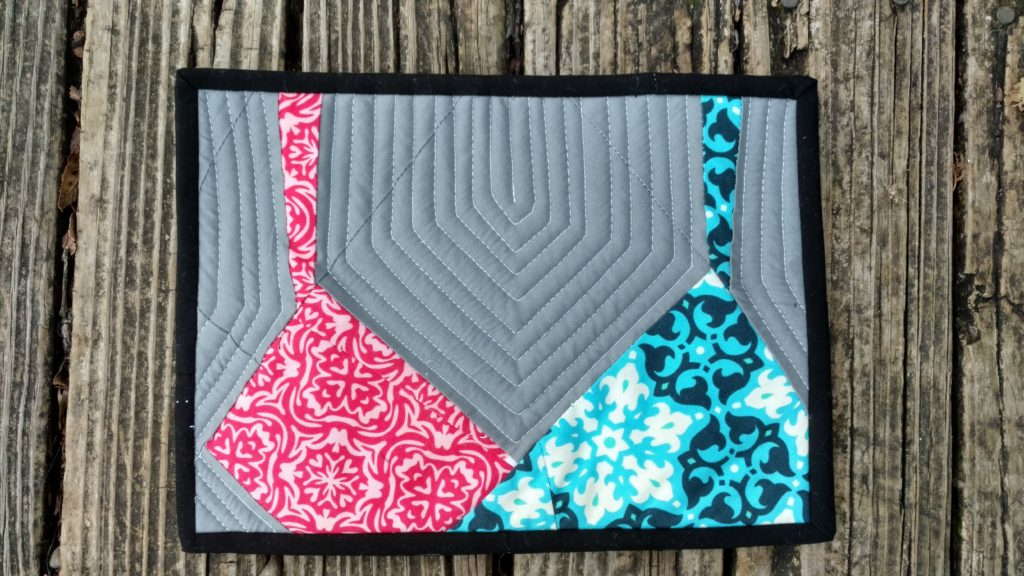
The finished product

Rachael guessed it was a house and immediately thought it was for her.  She had part of it correct.  When she opened it Sunday she saw the back and was excited.  She turned it over and saw this.


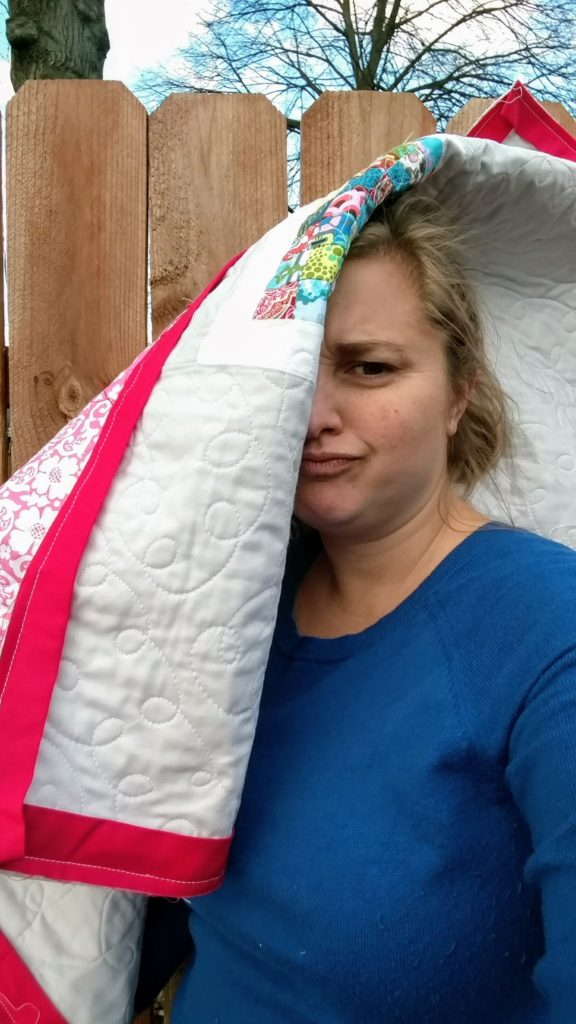
She loves it!!!  It was perfect for her.  So glad I got her and kept the secret to surprise her.

Sometimes your friend just gets you. #miniquilt #braquilt #imqg @quiltytherapy

A post shared by Rachael Adele Heger (@rachaelheger) on


Watching everyone open their gift and guess the maker was fun.  It’s a great way to learn about other’s in your guild and be creative.  Has your guild done anything similar?


Link ups

Flamingo Toes Show & Tell 

Tiny Scrap Quilt – Finished

tiny scrap quilt, scrap quilt, modern scrap quilt, amy butler cameo fabrics, stash quilt


After a disastrous start, the tiny scrap quilt is finished.  Having to redesign a project can be stressful.  However, I’m glad I wasn’t happy and stepped back for a few days.  Removing the white binding around the four square block was the right idea.  I combined the four squares to make an 8 x 8 larger block.

tiny scrap quilt block

I then a 2 inch white border was added on all sides of the block.  The new frame in white is more proportional to the block from the original idea.

tiny scrap quilt original design

I had always envisioned this quilt floating in a light Kona Ash gray.  It’s the perfect color to distract from the boldness of the Cameo scraps.

For the quilting I went with free motion quilting in an overall loops pattern.  My husband timed me and it took 40 minutes.  Holy camoly, can you believe that?  While digging through my stash during my clean out I found the backing print.  I thought it would be a nice compliment.

Bonus was finding Kona Pomegranate already made into binding.  This quilt is all scrap and stash.  Happy dance.

amy butler cameo tiny scrap quilt by quiltytherapy tiny scrap quilt, scrap quilt, modern scrap quilt, amy butler cameo fabrics, stash quilt

It’s now ready to head to it’s new home and snuggle a baby girl.

amy butler cameo tiny scrap quilt by quiltytherapy tiny scrap quilt, scrap quilt, modern scrap quilt, amy butler cameo fabrics, stash quilt


While trying to get some photos the other day, this happened.  The quilt fell over onto my head as I was taking a picture.  Real life.

The photo I did end up posting on Instagram was a hit.  Thank you everyone for your comments and suggestions throughout this process.

Other posts about the quilt

Tiny Scrap Quilt – Update 1

Tiny Scrap Quilt – A New WIP


Linking up with

Crazy Mom Quilts for Finish It Up Friday 

Quilting is more fun than Housework


Tiny Scrap Quilt – Update 1

There could be multiple updates on this project since I’m just not feeling the overall design.  Over the weekend I was prepared to add white around the blocks that I had already pieced.  I was going to buzz right through them and then add a gray border.

Well I buzzed right through them and then went to press the seams.  Reality set in.

The truth is I hate that white border now.  I was only able to add to two sides and after pressing I stopped.  The white is drowning out all the color in the tiny blocks.  I wanted it to create a frame.

For now I have not ripped off the white strips, but it is very tempting.  Another idea is floating around in my head that I may try.

Creating with no pattern

Since I like to freehand create quilts and let them develop organically, this happens quite frequently.  Typically, I can work through the design and be happy with the results.  When a quilt has no pattern, I get to stretch myself creatively.  Improvising challenges me to work through the creative process.  It can be frustrating to hit many roadblocks, but I’m not going to put out a quilt that I’m not pleased with.

Further ideas

I have been contemplating the next steps for a couple of days.  One design that I keep envisioning is more simple.  Rather than frame the little squares in white, let’s skip that portion and just frame in gray.  From there I would float the framed squares around the quilt.  Maybe this needs to be bigger than a baby size to play with scale more.  Check back next week to see where I have taken this project.


I’m open to suggestions if you have any input.


Tiny Scrap Quilt intro 

Tiny Scrap Quilt – A New WIP

Scrap management is topic of discussion for quilters.  The smallest scrap I keep is 1.5 inch square.  Some keep smaller and create wonderful pieces with these micro scraps.  I just can’t fathom keeping them smaller than 1.5 inch square.

A request for a baby girl quilt came in recently.  The customer asked for girly after I had found my forgotten stash of Amy Butler Cameo and some other scraps.  These will do the job.  However, they are 1.5 inch square scraps.  Where do I go with these?

Right now, I’m not entirely sure what the overall design will end up being.  The fabric and some coordinating solids will guide me in this process.  Do you remember this quilt?  As I’m designing I keep seeing something like this.

Hello Luscious Baby Girl Quilt used 2.5 inch squares as the center of the blocks.  My Amy Butler Cameo scraps seem so tiny in comparison, see below.

Hoping this weekend to have some time to figure out the design.  For now I have a little stack of squares ready for something great.  I’m open to feedback and ideas too.

Nautical Themed Baby Boy Quilt

I’m truly at a loss for words to talk about this quilt.  All I want to do is play this video when I think about it.  This song will probably get stuck in your head.

Apparently, that is a dark song.  I was just thinking more of the Sail Away with me part.  A customer asked for a nautical themed baby quilt.  The vision of the quilt immediately came to me.  Deep in my scraps were some leftover triangles from a previous quilt in red, gray and navy.

Design

My vision had these triangles looking like pendants or flags along with a minimal design.  The design challenge came when trying to find the right background fabric.  I wanted a light blue polka dot on white and just couldn’t find what I truly wanted.  Do you ever have that challenge?  Luckily, I did find a print that worked with my vision.

Laying out the fabrics beside the coordinating prints was really helpful.  Plus, the ladies at the quilt store gave me some valuable feedback.  The polka dot is great, but it would drown out the white prints sprinkled in.  The lighter blue print still showed off the navy and the white prints.  Done!  Designing the rest of the top was pretty easy.

The backing is a Lotta Jansdotter print I stocked up on a few months ago.  Doesn’t it look like fish scales?


Adding the sailboat was the customer’s idea and it really pulls simple quilt together.  I was able to complete the top, put the sailboat on, press the back, baste the quilt, and start quilting quickly with this project.  For the quilting I went with waves.  I marked the quilt on the edges every couple of inches.  This trick really helped keep my wavy lines straight across the quilt.  Then I filled in more lines along the way.

The texture the wavy lines created is perfect.  For the binding, I went with the remainder of the top print.  Doesn’t provide a frame of the quilt, but gives and infinity edge.

My smaller Brother machine decided to have electrical issues right before making this quilt.  The sailboat is just sewn on with straight stitches, I would have preferred zig zag.  The quilt is currently at it’s new home enjoying snuggles.


Woodland Strings Baby Boy Quilt

Woodland animals have been a trend for some time in nursery decor.  Amazingly, this is the first baby quilt I have made with that theme.  My husband says it doesn’t look like woodland creatures and I’m okay with that.  It’s there, but you have to look closely.

woodland strings baby quilt, baby quilt, string quilt, scrap quilt, gender neutral baby quilt, woodland animals nursery decor, nursery decor

Inspiration

Scrap packs from Crimson Tate were purchased months ago.  When my client suggested outdoors and animal for a boy, these fabrics immediately came to mind.  I had envisioned a string quilt when I first picked up the bundles and the idea had not faded.

Posing on Point by MyTeaandBrie was quilt design inspiration.  While I didn’t use her tutorial, I use more of the general layout.  Note:  the mailing list request is for My Tea & Brie, not my site.

Beyond Patchwork: String Piecing Tutorial


Piecing

I pressed and starched all my fabrics before cutting.

For my blocks I cut the following string sizes:

Center white strip:  2 inches

Grey strip:  3 inches

Other fabrics 1.5 or 2 inches in width

Ready to chain piece this batch

Chain piecing the blocks made it pretty easy to bust the top out.  I worked in 30 minute chunks then took a break.  Tip:  keep the iron nearby to make chain piecing more efficient.

Layout

In laying out the quilt top I was not overly picky about where things went.  An effort was made to keep too many colors from the same square.  Overall, it turned out great.

After completing the top, it was time to rip off all the little papers from the back.  My mother-in-law was in town for Fall Break.  I asked if she wanted to help and she joined in.  It was great to have someone help out, this part was going to take forever and I was on a deadline.  If I could get it to the client by X date, they could hand deliver.  Well, I had to get this sucker quilted and bound quickly to make that happen.

Quilting, Backing, and Binding

A couple of backing options were auditioned but this black and white dot ultimately won.  Doesn’t it play well with the front?

In the effort to meet my looming deadline, free motion quilting with loops won for quilting.  Seriously the quilting took an hour.  My mother-in-law and husband were watching something while I knocked this out.  They were surprised when I entered the room with the quilted piece.  I was pretty proud of myself.

However, while I was quilting, I found an error in my quilt.  Can you spot it?  If you’re a quilter probably, but most didn’t notice it.  There was a frantic post to my guild’s page and texts to a couple of friends.  The consensus was it’s a design element.  Ha!  If I wasn’t almost done with the quilting when my eye caught it I would have fixed it.  Sometimes you have to let the little things go and accept them.  It wasn’t the way I envisioned the quilt turning out, but it works.

Deep in my stash was the gray houndstooth flannel.  The piece I had was just enough to bind the quilt.  Everything to make this quilt was scraps or stash fabric which is a positive in my book.  Makes working against that looming deadline even better.

After thoughts

Pretty sure I want to remake this quilt in a bigger size to keep.  The colors are lovely, I am digging the jade.  Despite a tight deadline, the quilt made it to CA in time to be hand delivered.  The precipitant loved it.  Making a baby quilt that doesn’t scream baby is always nice too.

If you like the quilt, save it Pinterest for future reference.  I have it under Scrap Busting Projects.


Link Ups

Crazy Mom Quilts

Needle and Thread Thursday