Oh Deer! Wonky Stars

This quilt is full of firsts.  First time I have made a Wonky Stars quilt.  Also, the first time I’ve used my fat quarter bundle of Oh Deer! by Moda.  The fabric has been in my stash for years and was starting to feel neglected.  Maybe I was just waiting for the right project.

Design

The quilt was inspired by woodland creatures and more boy colors.  I had recently finished the Woodland Strings Quilt so I wanted to change my design up a bit.  I knew this fat quarter bundle was stashed away and had some animals on it.  My client wanted the green, blue, orange and yellow colors for a boy quilt.  I pulled those out and started to think about the best way to highlight the fabrics.

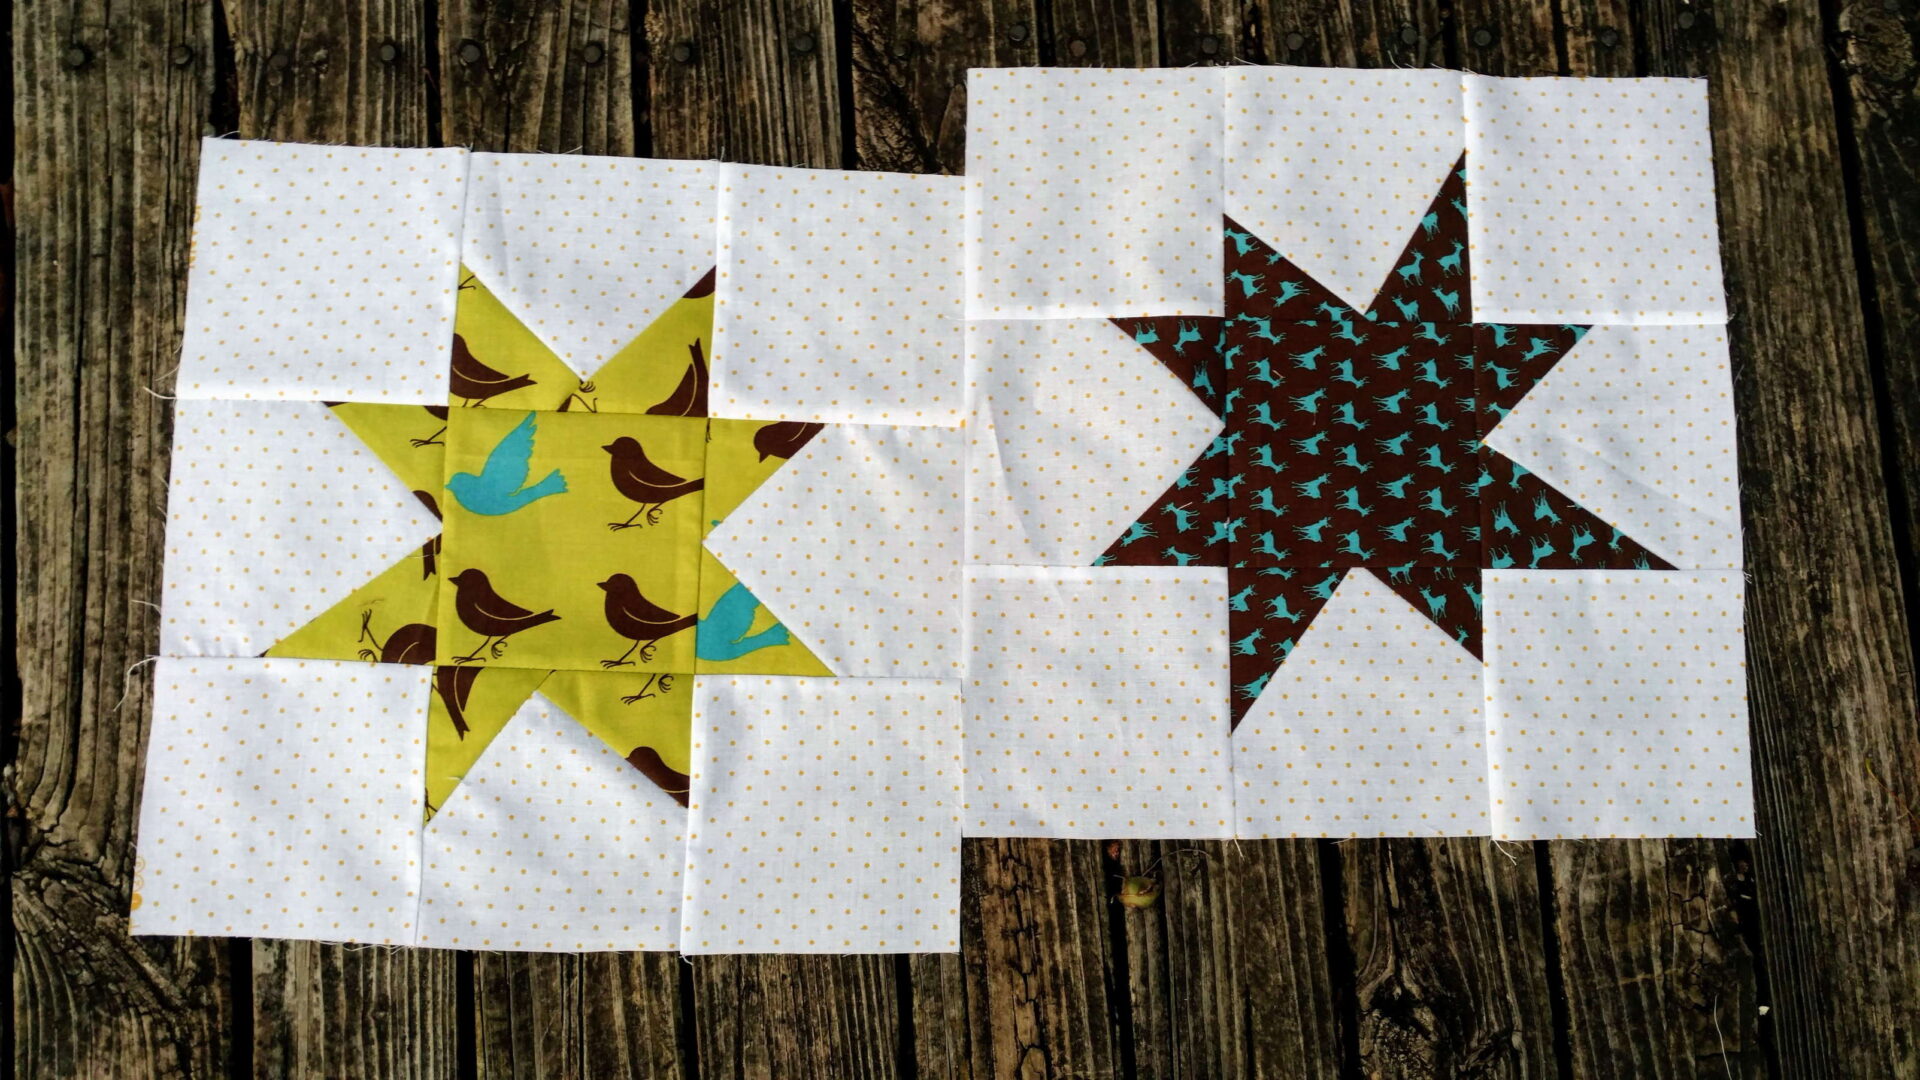
Wonky Stars!  Something I’ve not done, but could be a fun way to show off the fabrics.  My client was on board with the idea so it was time to prep for the blocks.  I cut my background fabric, which is a print I picked up at Joann’s.  It’s a white with little yellow polka dots.
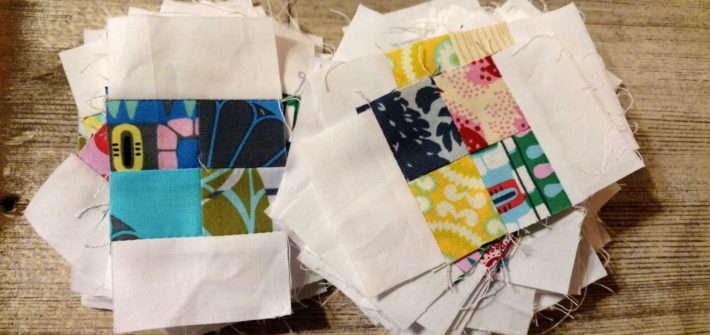
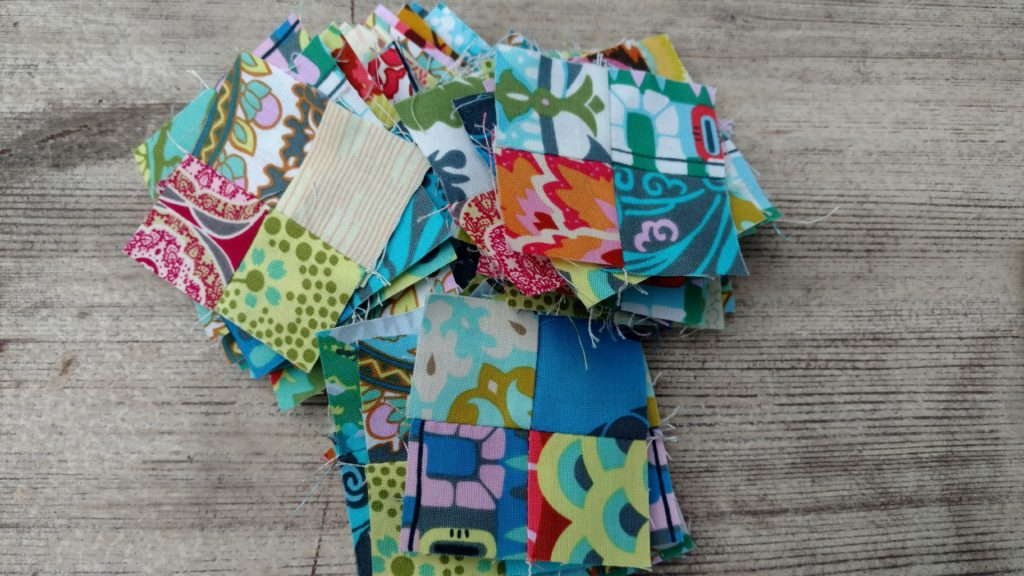
Blocks

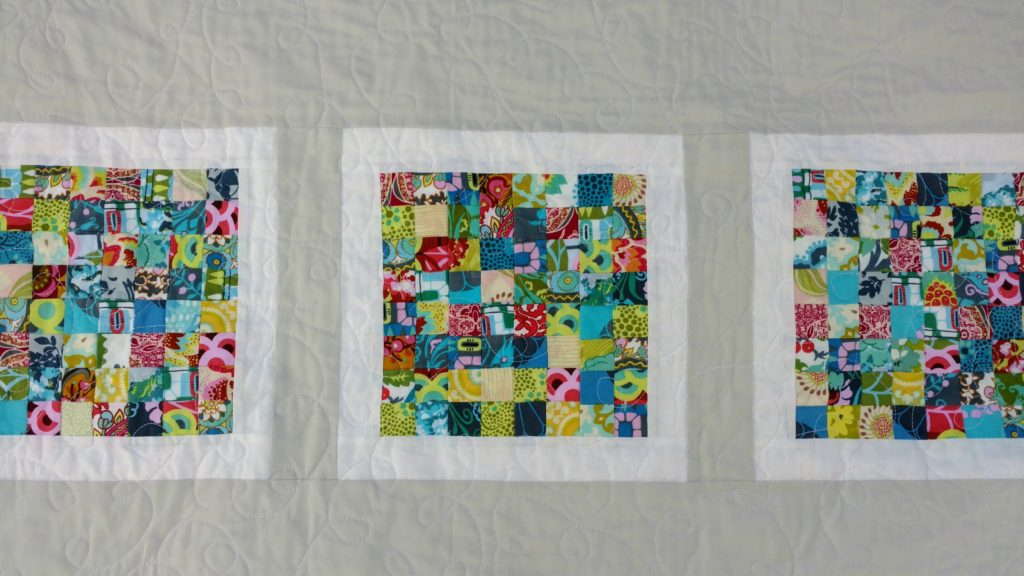
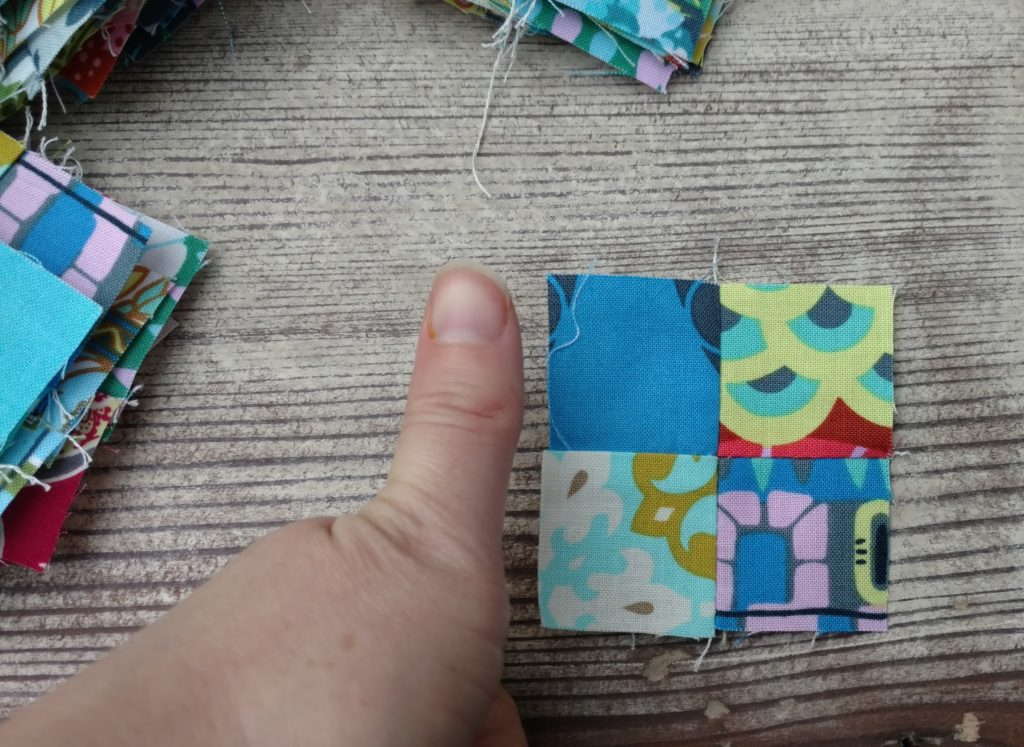
Making wonky stars goes quickly.  I was able to whip up 12 blocks within a couple of days after work.  There were coordinating solids added in as well.
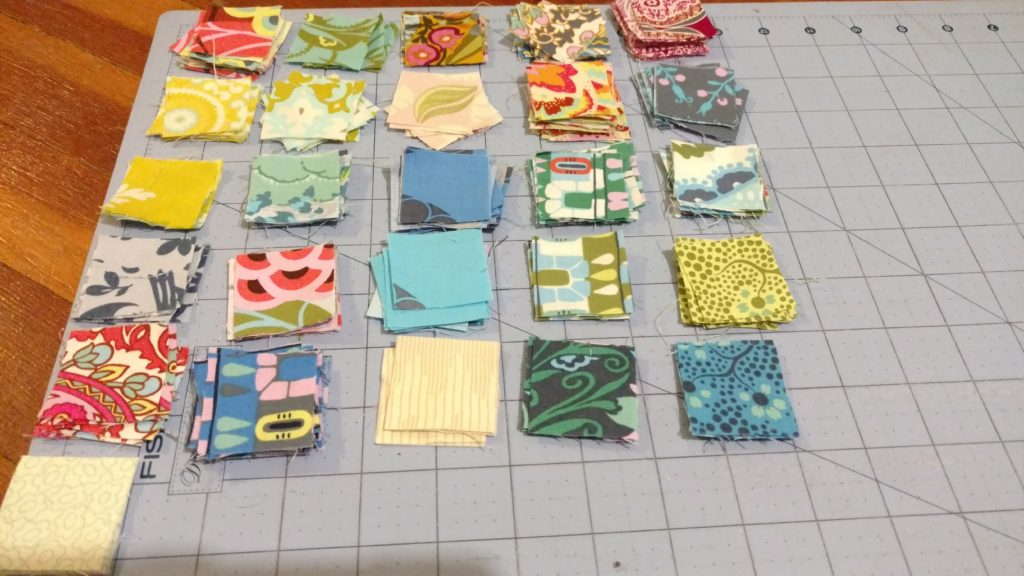
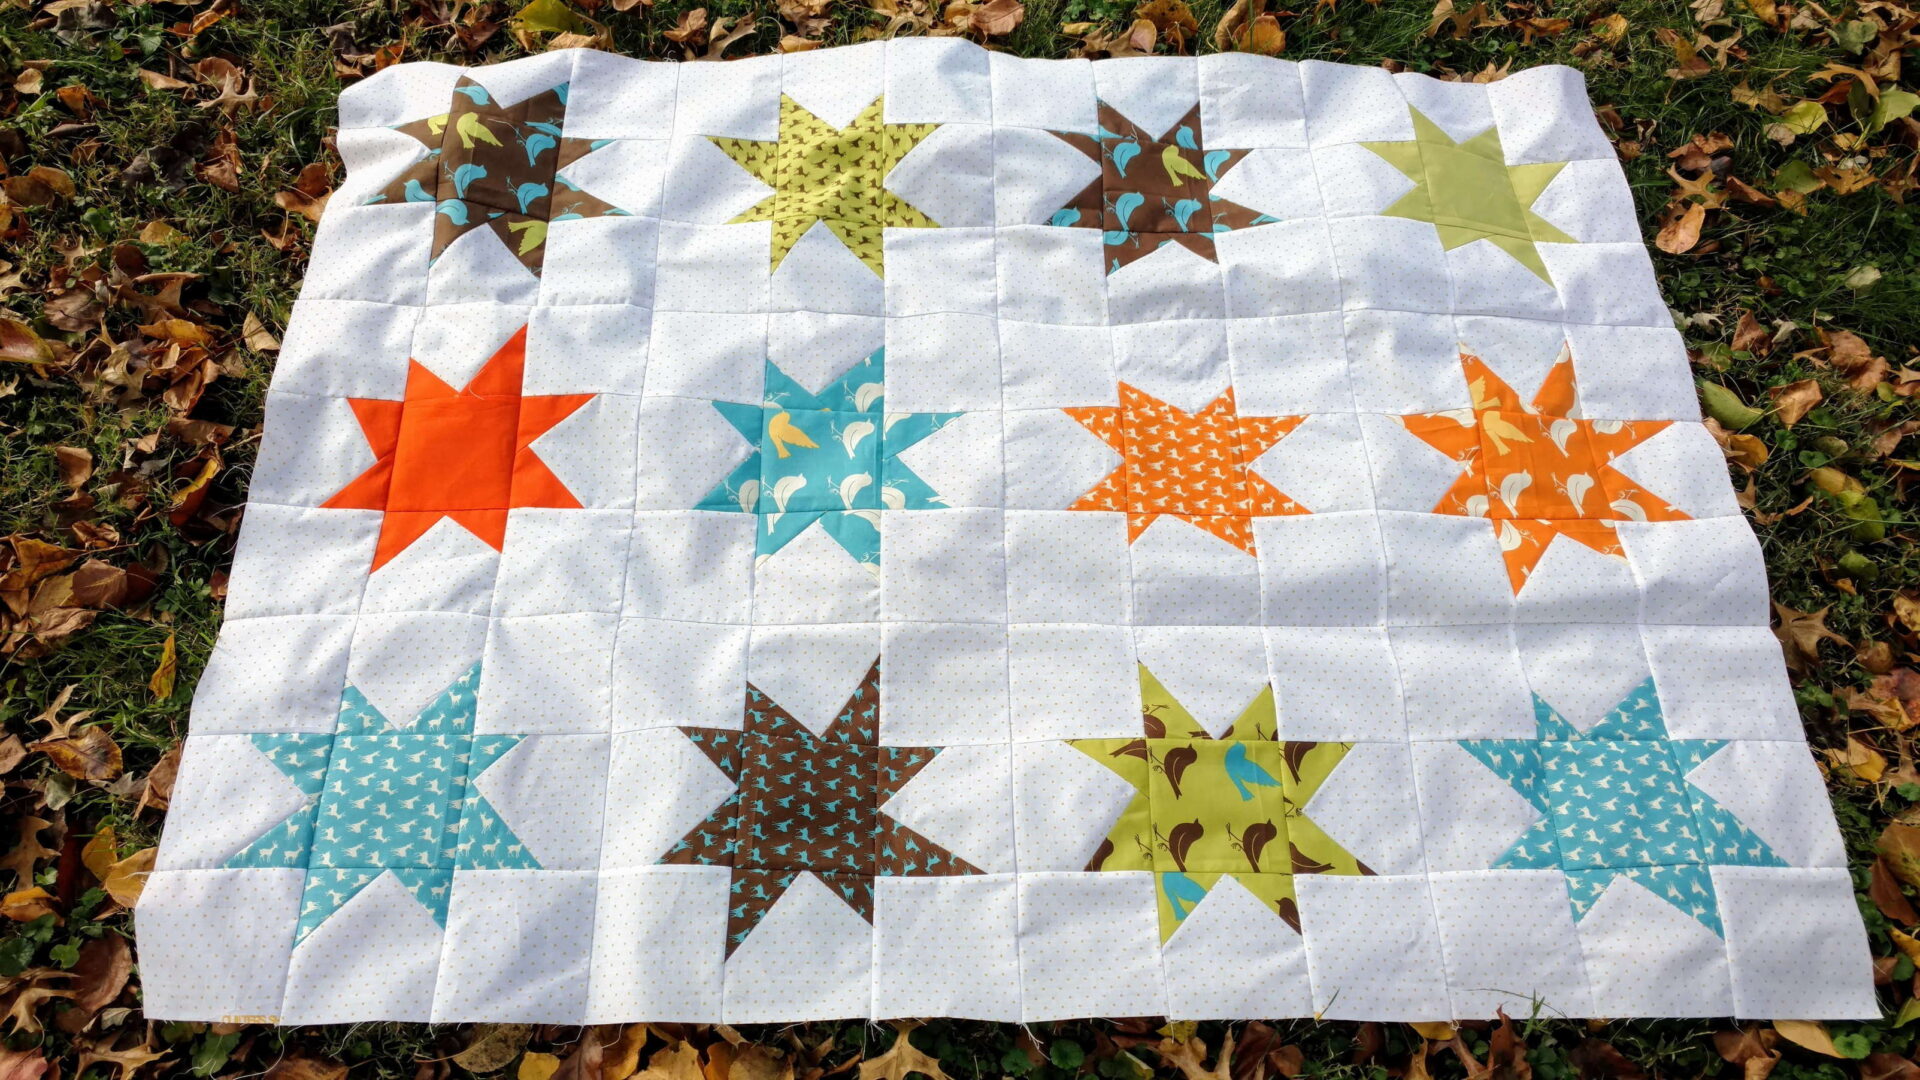
Quilt Top

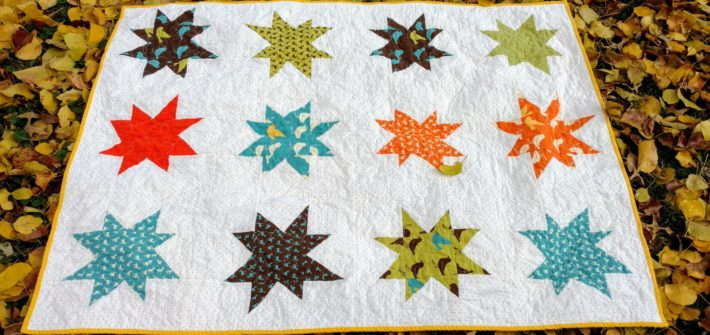
Laying out the quilt may have took longer than making the blocks.  I could not decide which layout I liked best.  Ultimately, this won.
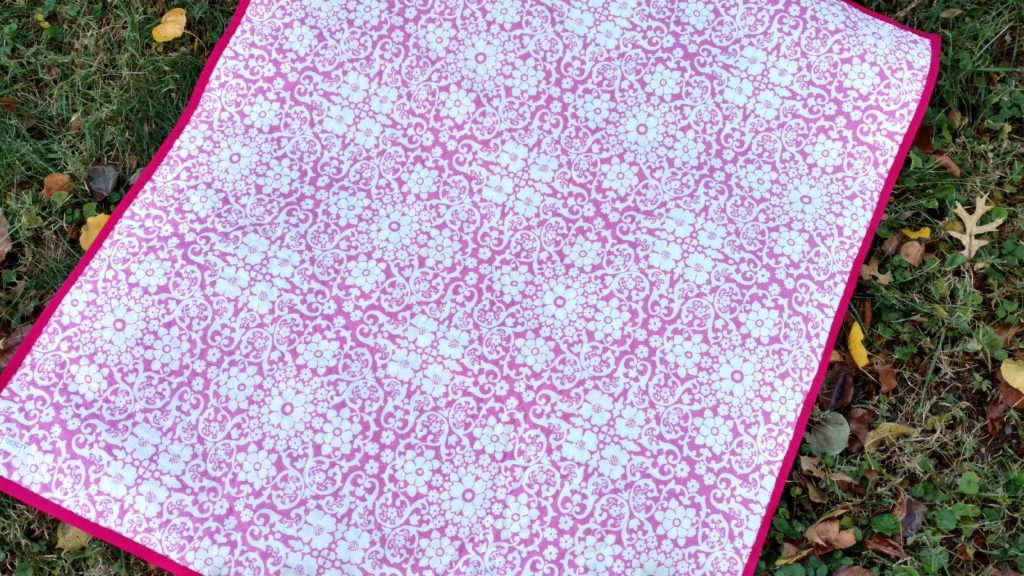
Backing

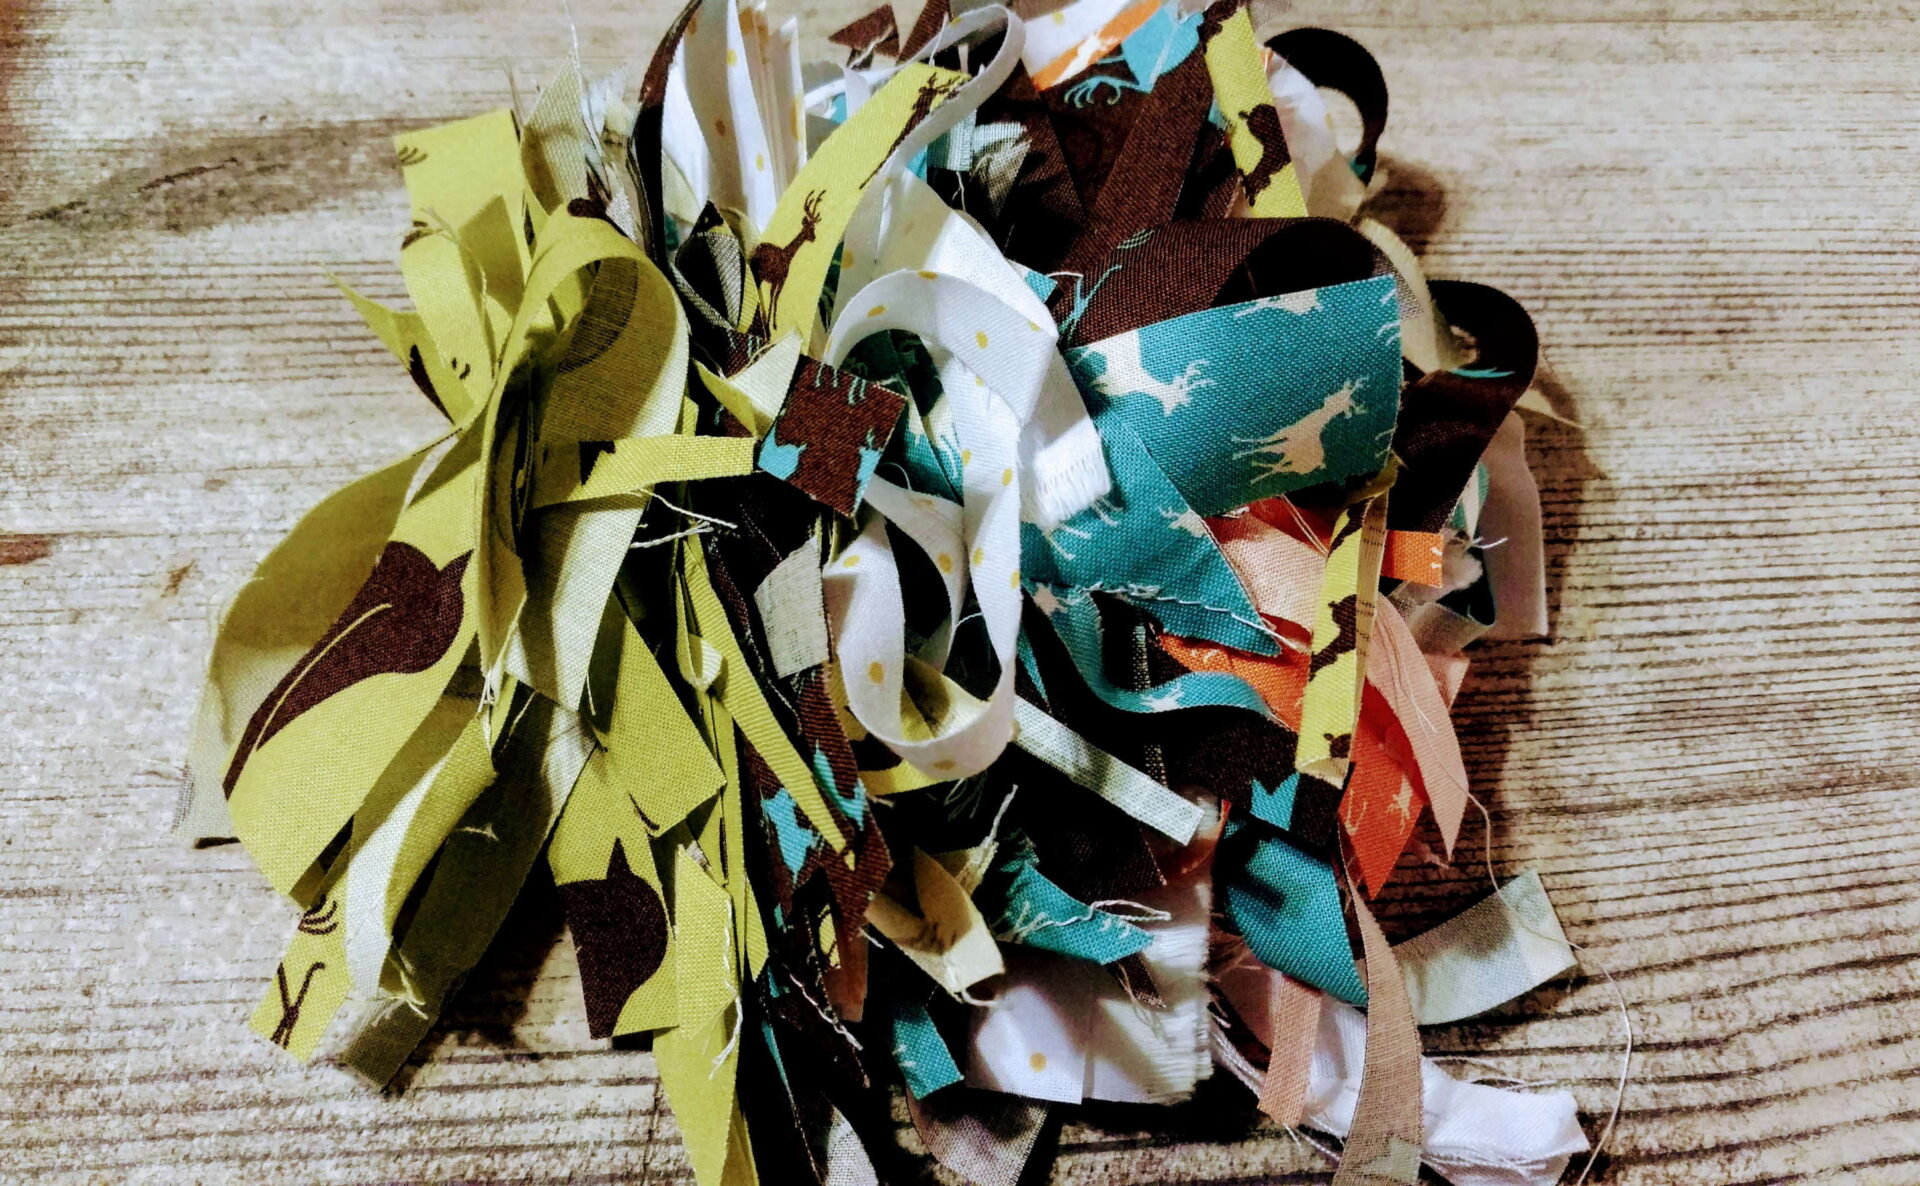
The prints below were in my stash.  I think I picked them up from a neighborhood swap group I’m in for FREE!  The tub included some gorgeous Birch fabrics that you can see below.
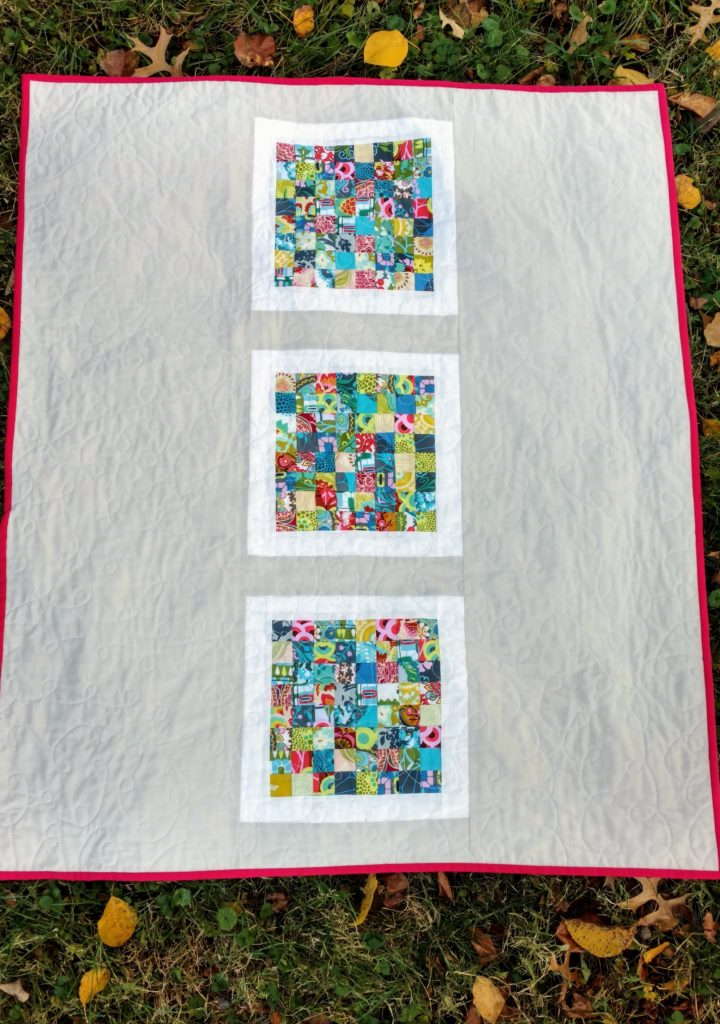
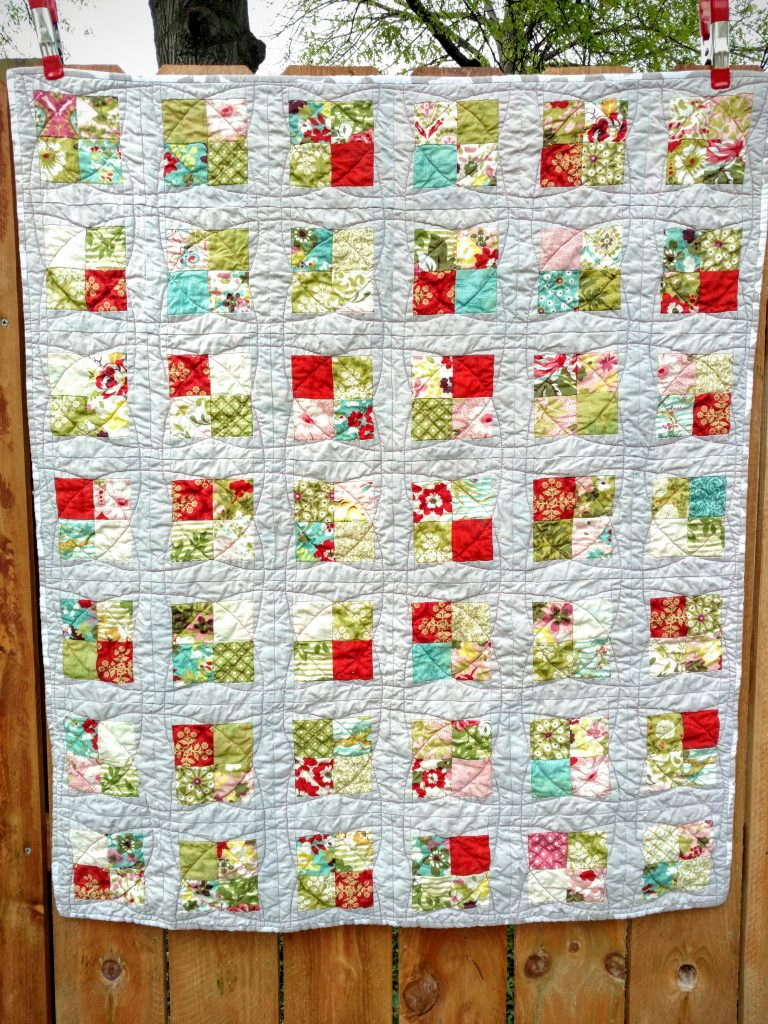
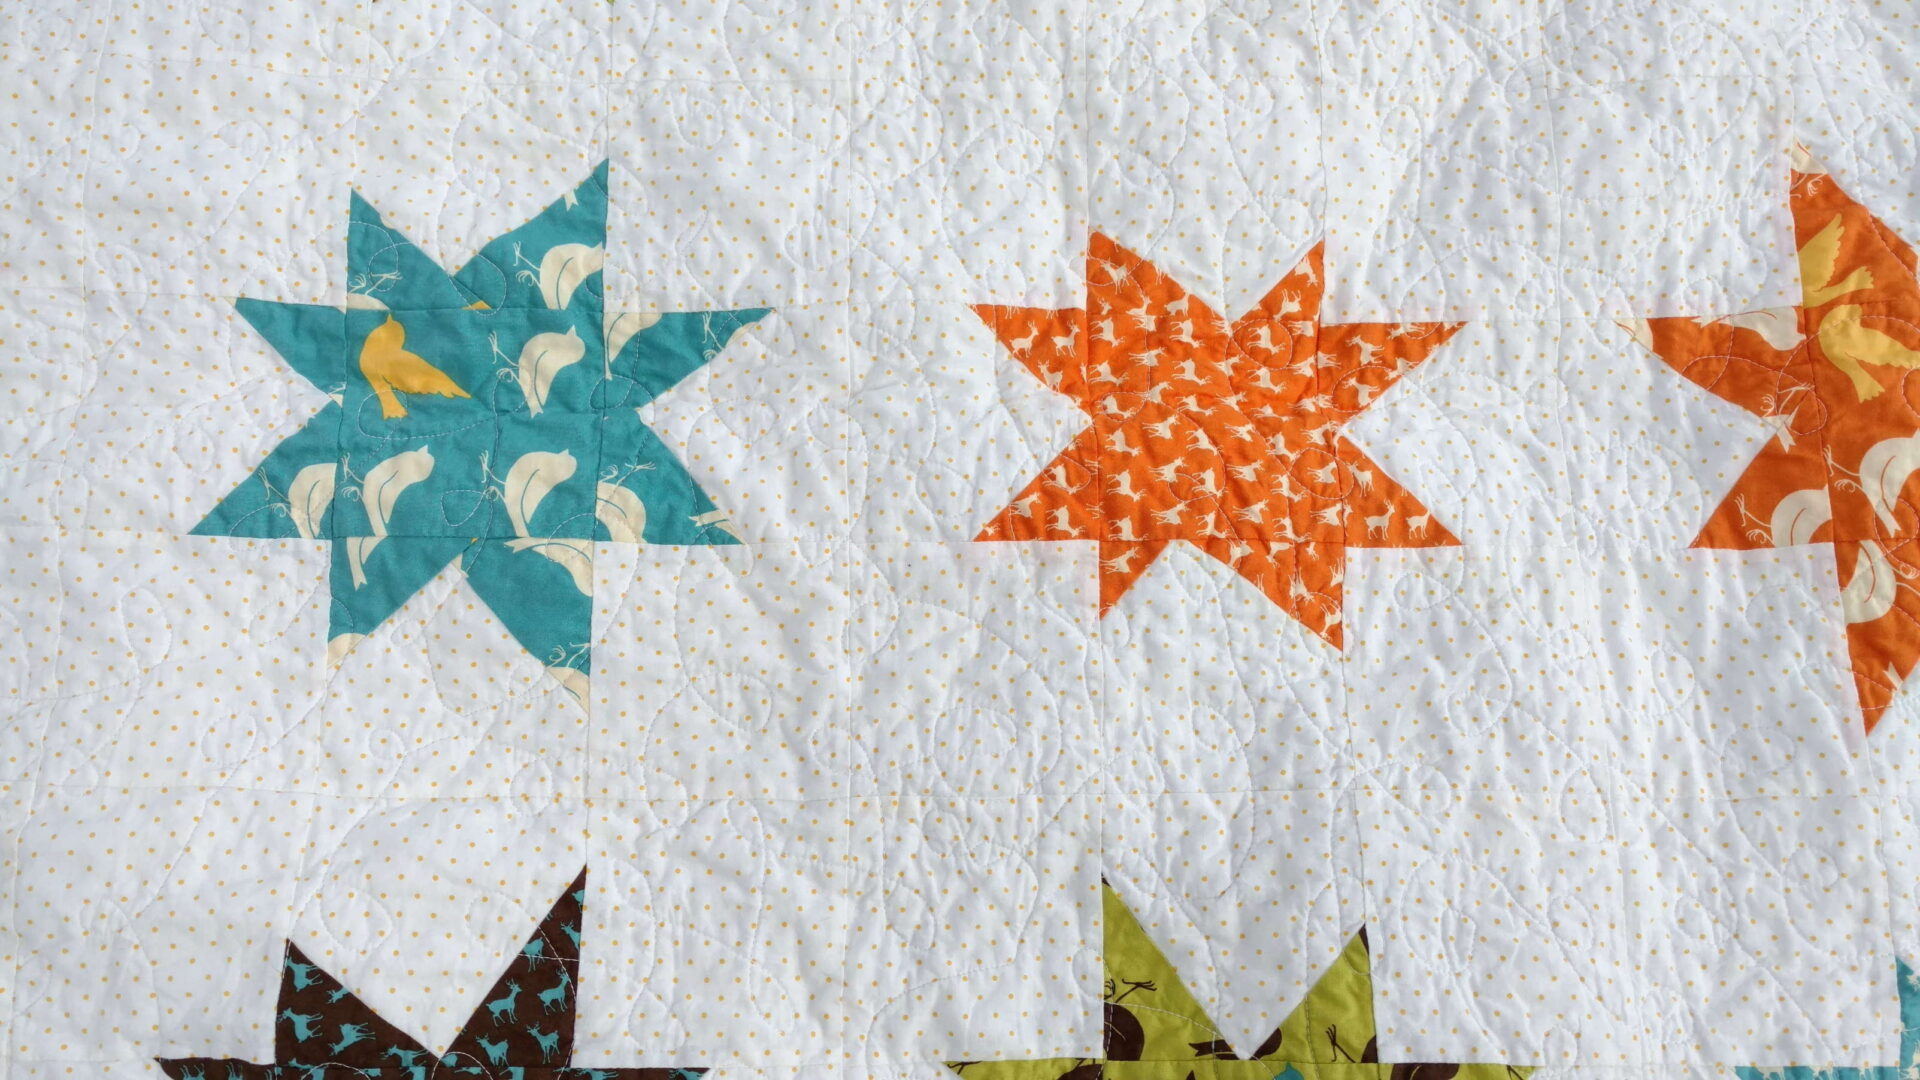
Finished Quilt

For quilting I went with an all over loopy free motion pattern.  Want to know a secret?  It took 40 minutes to quilt.  Happy dance.

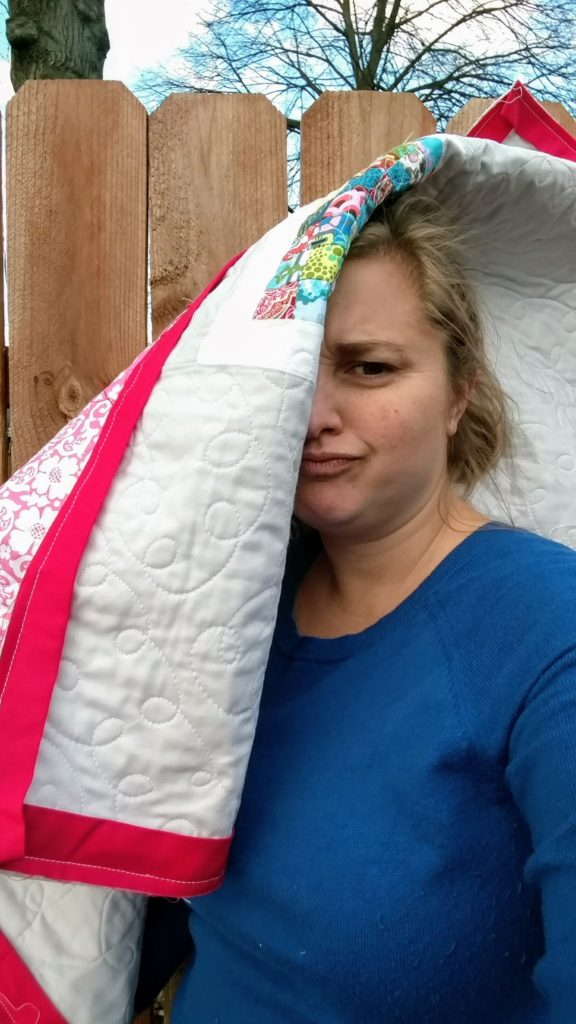
I can’t wait to make this quilt again with some of the other prints in the Oh Deer! bundle.  Next time, I will make them smaller.  I think smaller will help the blocks be wonkier.  That’s a word, right?

New Winter and Christmas Pillows

Pillow covers are a great way to spruce up your living room.  In August I shared some of the Holiday fabrics I had picked up in hopes of making pillow covers.  Happy to report the Winter and Christmas versions are finished before Christmas.

I had some other fabrics that coordinate in my stash from a giveaway I had won like two years ago.  This has been on my to-do list for a while.  Using a simple envelope pillow cover I was able to create these in an hour with help from P.  He did a great job handling the machine.

The big pillow is surprisingly comfy and is a form from Jo-Anns.  The softness is comparable to the Ikea goose feather pillow.  Not sure how it will hold up over time.

The backing a red sheet I had been stashing away.  I was able to make all the pillow backings using this twin sized sheet.  When at Goodwill or thrift stores, I will always check for sheets I can use while sewing.

Real Life

I would be lying if I told you these were all lined up beautifully on my couch and not scattered across the living room.  My Plott Hound immediately stole one and I found her snoozing away on it.  P decided to she needed to be covered up too and it was the perfect photo opportunity.   Yes, she is this ridiculous.

My freezer paper painted pillows now live under the tree.

Are you working on any last minute projects before Christmas?


The post may contain affiliate links.  If you may a purchase from a link, I may receive a small compensation.  

Secret Santa Swap

I should just put it out there that I’m horrible at keeping secrets.  HORRIBLE!  The Indy Modern Quilt Guild hosted a Sneaky Santa swap this year.  We went through an automated service that randomly assigns you to people.  The system matched me with one of my best friends Rachael.  I knew almost immediately what I wanted to make, but had to be extra sneaky about it.

A little about Rachael

Rachael wanted something supporting feminism as she helps run a global non profit focused on the needs of women.  Have you heard of Support the Girls?  My wonderful friend had a goal a couple of years ago to collect 3500 bras to celebrate her 35th birthday.  She exceeded that goal in first few months.  She is helping to lead the change on how women can have access to undergarments and menstrual products.  Here basement is usually stuffed with bras, tampons, and pads.  Okay, she usually have bras all over her house.  I am proud of the work she is doing and the lives she is impacting.

You can read about more about her story here, here, and here.

There is no stopping this woman.

I wanted to make her a bra pot holder.  I was almost certain she didn’t have bras in her kitchen.  Over the weekend she informed me she did actually have some in her kitchen right now.  Of course!  In my research I found this paper piece pattern for a bra.  Thank goodness for secret boards on Pinterest.  We follow each other on social media, Pinterest, and usually ride to guild meetings together.  Plus we live around a mile from each other, it’s not unusual for us to pop over to each other’s houses.  I had it worked out with another member to run the package over to her house before the meeting so she could bring it.

The bra took no time to make.  I backed it in a bold print and shared this photo on Instagram of the back.

Sneak peek of my Santa Swap item for the #imqgsecretsanta. I can show you the rest on Sunday.

A post shared by tisha nagel (@quiltytherapy) on

The finished product

Rachael guessed it was a house and immediately thought it was for her.  She had part of it correct.  When she opened it Sunday she saw the back and was excited.  She turned it over and saw this.


She loves it!!!  It was perfect for her.  So glad I got her and kept the secret to surprise her.

Sometimes your friend just gets you. #miniquilt #braquilt #imqg @quiltytherapy

A post shared by Rachael Adele Heger (@rachaelheger) on


Watching everyone open their gift and guess the maker was fun.  It’s a great way to learn about other’s in your guild and be creative.  Has your guild done anything similar?


Link ups

Flamingo Toes Show & Tell 

Tiny Scrap Quilt – Finished

tiny scrap quilt, scrap quilt, modern scrap quilt, amy butler cameo fabrics, stash quilt


After a disastrous start, the tiny scrap quilt is finished.  Having to redesign a project can be stressful.  However, I’m glad I wasn’t happy and stepped back for a few days.  Removing the white binding around the four square block was the right idea.  I combined the four squares to make an 8 x 8 larger block.

tiny scrap quilt block

I then a 2 inch white border was added on all sides of the block.  The new frame in white is more proportional to the block from the original idea.

tiny scrap quilt original design

I had always envisioned this quilt floating in a light Kona Ash gray.  It’s the perfect color to distract from the boldness of the Cameo scraps.

For the quilting I went with free motion quilting in an overall loops pattern.  My husband timed me and it took 40 minutes.  Holy camoly, can you believe that?  While digging through my stash during my clean out I found the backing print.  I thought it would be a nice compliment.

Bonus was finding Kona Pomegranate already made into binding.  This quilt is all scrap and stash.  Happy dance.

amy butler cameo tiny scrap quilt by quiltytherapy tiny scrap quilt, scrap quilt, modern scrap quilt, amy butler cameo fabrics, stash quilt

It’s now ready to head to it’s new home and snuggle a baby girl.

amy butler cameo tiny scrap quilt by quiltytherapy tiny scrap quilt, scrap quilt, modern scrap quilt, amy butler cameo fabrics, stash quilt


While trying to get some photos the other day, this happened.  The quilt fell over onto my head as I was taking a picture.  Real life.

The photo I did end up posting on Instagram was a hit.  Thank you everyone for your comments and suggestions throughout this process.

Other posts about the quilt

Tiny Scrap Quilt – Update 1

Tiny Scrap Quilt – A New WIP


Linking up with

Crazy Mom Quilts for Finish It Up Friday 

Quilting is more fun than Housework


Tiny Scrap Quilt – Update 1

There could be multiple updates on this project since I’m just not feeling the overall design.  Over the weekend I was prepared to add white around the blocks that I had already pieced.  I was going to buzz right through them and then add a gray border.

Well I buzzed right through them and then went to press the seams.  Reality set in.

The truth is I hate that white border now.  I was only able to add to two sides and after pressing I stopped.  The white is drowning out all the color in the tiny blocks.  I wanted it to create a frame.

For now I have not ripped off the white strips, but it is very tempting.  Another idea is floating around in my head that I may try.

Creating with no pattern

Since I like to freehand create quilts and let them develop organically, this happens quite frequently.  Typically, I can work through the design and be happy with the results.  When a quilt has no pattern, I get to stretch myself creatively.  Improvising challenges me to work through the creative process.  It can be frustrating to hit many roadblocks, but I’m not going to put out a quilt that I’m not pleased with.

Further ideas

I have been contemplating the next steps for a couple of days.  One design that I keep envisioning is more simple.  Rather than frame the little squares in white, let’s skip that portion and just frame in gray.  From there I would float the framed squares around the quilt.  Maybe this needs to be bigger than a baby size to play with scale more.  Check back next week to see where I have taken this project.


I’m open to suggestions if you have any input.


Tiny Scrap Quilt intro 

Tiny Scrap Quilt – A New WIP

Scrap management is topic of discussion for quilters.  The smallest scrap I keep is 1.5 inch square.  Some keep smaller and create wonderful pieces with these micro scraps.  I just can’t fathom keeping them smaller than 1.5 inch square.

A request for a baby girl quilt came in recently.  The customer asked for girly after I had found my forgotten stash of Amy Butler Cameo and some other scraps.  These will do the job.  However, they are 1.5 inch square scraps.  Where do I go with these?

Right now, I’m not entirely sure what the overall design will end up being.  The fabric and some coordinating solids will guide me in this process.  Do you remember this quilt?  As I’m designing I keep seeing something like this.

Hello Luscious Baby Girl Quilt used 2.5 inch squares as the center of the blocks.  My Amy Butler Cameo scraps seem so tiny in comparison, see below.

Hoping this weekend to have some time to figure out the design.  For now I have a little stack of squares ready for something great.  I’m open to feedback and ideas too.